As I rummaged through my pantry searching for a quick meal, I stumbled upon a can of chickpeas and a half-empty pouch of tuna—an unexpected partnership waiting to happen. Thus, my Chickpea Tuna Salad was born, bringing together wholesome goodness in a mere 10 minutes. This vibrant salad is not only a protein powerhouse but also a perfect way to transform leftovers into something spectacular. With a refreshing burst from crunchy veggies and a bright lemony dressing, it’s a dish that sings of summer while being versatile enough for any season. Whether you’re looking to impress guests or simply seeking to break free from the fast-food routine, this salad fits the bill—nourishing without requiring much time in the kitchen. Are you ready to dive into a bowl of plant-based goodness? Let’s get started!
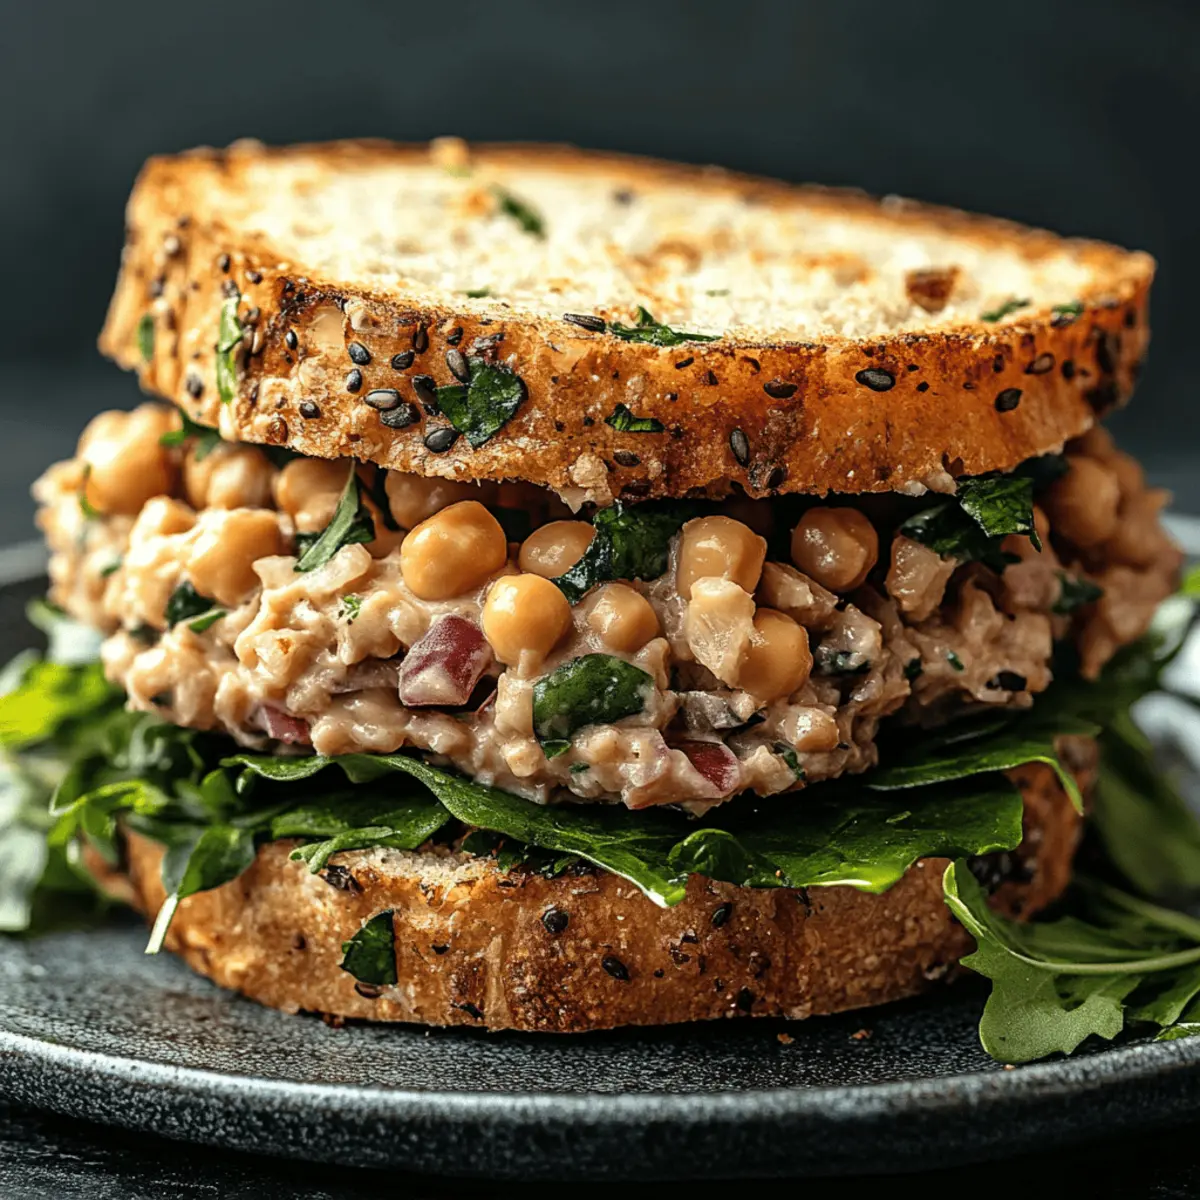
Why is Chickpea Tuna Salad so amazing?
Quick & Easy: You can whip this delicious Chickpea Tuna Salad together in just 10 minutes—perfect for busy weeknights or unexpected guests!
Nutritious Delight: Packed with 20g of protein and fiber-rich chickpeas, this salad nourishes your body while keeping you full.
Versatile Flavor: Whether served as a side or main dish, it pairs beautifully with crusty bread or atop a fresh bed of greens.
Fresh & Zesty: Bright notes of lemon juice and vibrant veggies add a refreshing touch that revitalizes your palate and uplifts your mood.
Crowd-Pleaser: This salad is a hit at picnics, potlucks, or family dinners—everyone will be asking for seconds!
Chickpea Tuna Salad Ingredients
• Here’s everything you need for a delightful Chickpea Tuna Salad!
For the Salad
• Chickpeas – 1 can (15 oz), drained and rinsed for a nutritious base that’s high in protein.
• Canned Tuna – ½ cup, packed with flavor and great for heart health.
• Red Onion – ¼ cup, finely chopped adds a zesty crunch to the salad.
• Cucumber – ½ cup, sliced for a refreshing, crunchy texture.
• Cherry Tomatoes – ½ cup, halved for a burst of sweetness and vibrant color.
• Fresh Parsley – ¼ cup, chopped to sprinkle in freshness and enhance flavor.
For the Dressing
• Olive Oil – 2 tablespoons, adds healthy fats and a silky finish to the salad.
• Lemon Juice – 1 tablespoon, brightens the flavors and brings a zesty tang.
• Salt – to taste, enhances all the flavors—don’t skip this!
• Pepper – to taste, gives a gentle heat and balance to the chill of veggies.
Step‑by‑Step Instructions for Chickpea Tuna Salad
Step 1: Prepare the Chickpeas
Start by opening the can of chickpeas, then pour them into a colander. Rinse them under cold running water for about 30 seconds to remove excess sodium and any canning liquid. Shake off the water and let the chickpeas drain. They should look clean and glistening, ready to be mixed into your delicious Chickpea Tuna Salad.
Step 2: Chop the Vegetables
Next, take your red onion and chop it finely, aiming for small, manageable pieces to enhance texture. Slice the cucumber into small cubes and halve the cherry tomatoes. In about 5 minutes, you’ll have a vibrant mix of colors and crunch that will bring freshness to your salad. Set these chopped veggies aside in a large mixing bowl.
Step 3: Prepare the Tuna
Open the can of tuna and drain any liquid. Use a fork to break the tuna into small, flaky chunks. This should take about a minute; make sure the pieces are well-separated to mix easily with the other ingredients. Once ready, add the tuna to the large mixing bowl with the chopped vegetables.
Step 4: Combine the Ingredients
In the same large bowl, gently combine the drained chickpeas, tuna, and chopped veggies together. Use a spatula to toss them lightly, ensuring everything is evenly distributed. This process should take around 2 minutes. The bright colors and textures will create an inviting look for your Chickpea Tuna Salad.
Step 5: Dress the Salad
Drizzle 2 tablespoons of olive oil and 1 tablespoon of lemon juice over the mixture. Season generously with salt and pepper to taste, enhancing the flavors of the salad. Toss everything again with a gentle hand for about 1 minute until all ingredients are evenly coated with the dressing, making it visually appealing.
Step 6: Garnish and Serve
If desired, sprinkle extra chopped parsley or capers on top of your Chickpea Tuna Salad for added flavor and presentation. Serve immediately, or let it chill in the fridge for a few minutes to enhance the taste. Your refreshing salad can be enjoyed cold or at room temperature, perfect for any occasion!
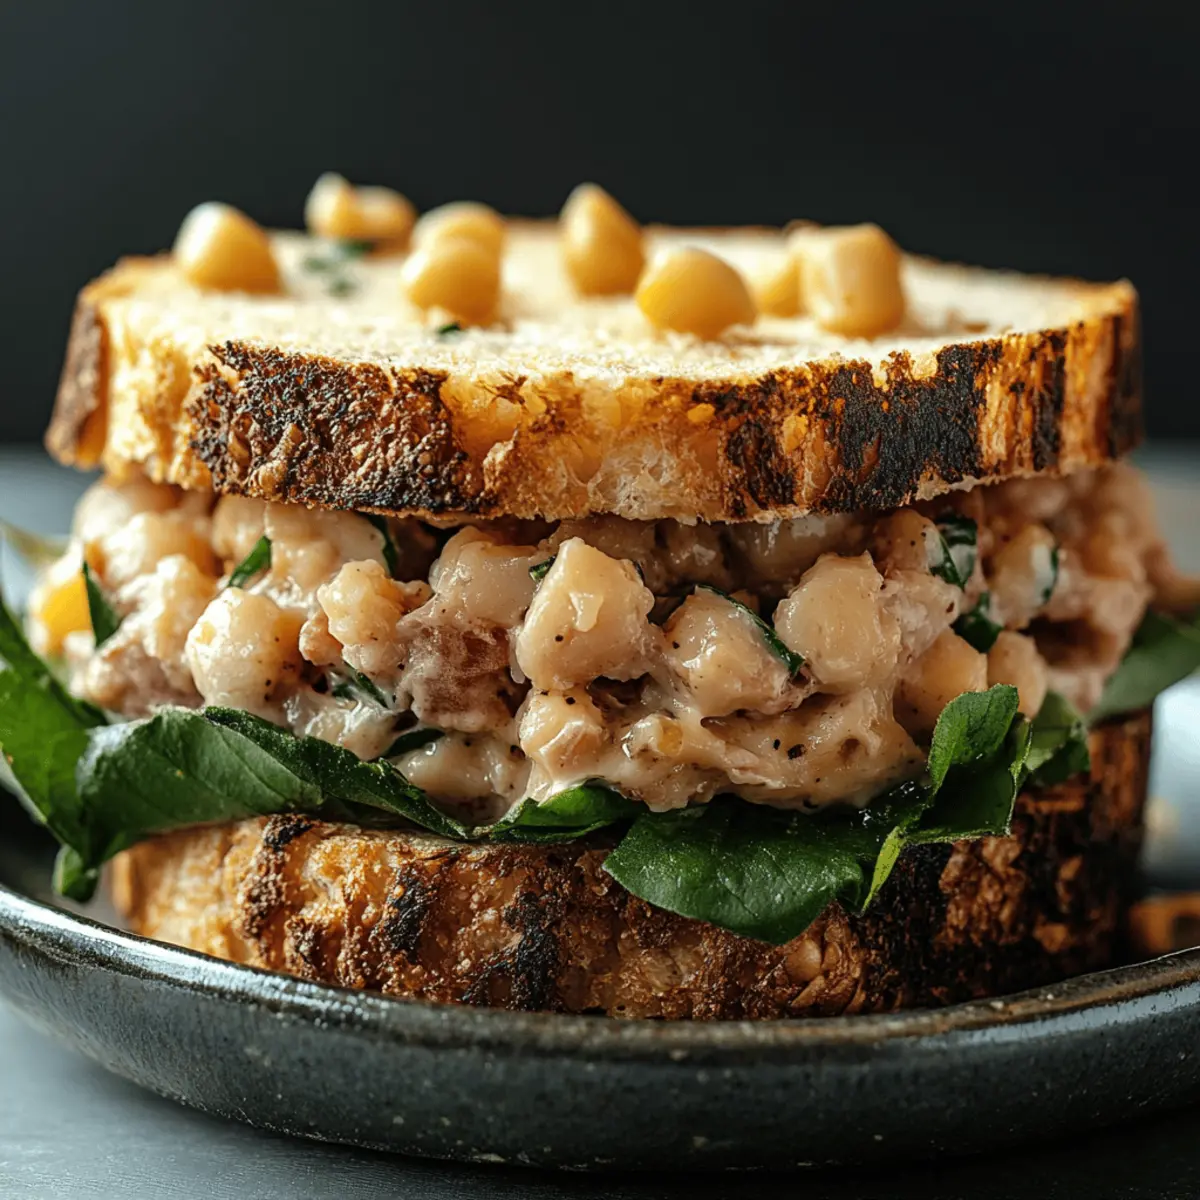
Expert Tips for Chickpea Tuna Salad
Rinse Chickpeas Well:
Ensure you rinse the canned chickpeas thoroughly to remove excess sodium and improve the overall flavor of your Chickpea Tuna Salad.
Opt for Fresh Veggies:
Using fresh cucumbers, cherry tomatoes, and parsley will add crispness and vibrant color, enhancing the taste and nutritional value of the salad.
Season to Taste:
Don’t be shy with the salt and pepper! Adjust seasoning according to your preference to ensure every bite of your Chickpea Tuna Salad bursts with flavor.
Toss Gently:
When combining the ingredients, toss gently to avoid smashing the chickpeas or tuna, preserving the lovely textures that make this salad delightful.
Chill Before Serving:
For an even more refreshing experience, let the salad chill in the fridge for about 30 minutes before serving. This allows the flavors to meld beautifully!
Chickpea Tuna Salad Variations
Feel free to customize your Chickpea Tuna Salad to suit your taste buds—let’s make this recipe truly yours!
-
Dairy-Free: Substitute traditional tuna with garlic-infused chickpeas for a creamy, vegan-friendly alternative.
-
Add Avocado: Mix in half a ripe avocado for a rich, creamy texture that brings healthy fats into the mix. This will enhance the flavor and richness, making each bite feel indulgent.
-
Spicy Kick: Toss in chopped jalapeños or a dash of hot sauce for a fiery twist. If you enjoy heat, this will wake up your taste buds.
-
Herb Variation: Swap parsley for fresh dill or cilantro to bring a unique herbal brightness to the salad. The change in herbs can completely transform the flavor profile, taking your dish in an exciting new direction.
-
Crunchy Twist: Add a handful of chopped walnuts or sunflower seeds for an extra crunch and nutty flavor that complements the other ingredients.
-
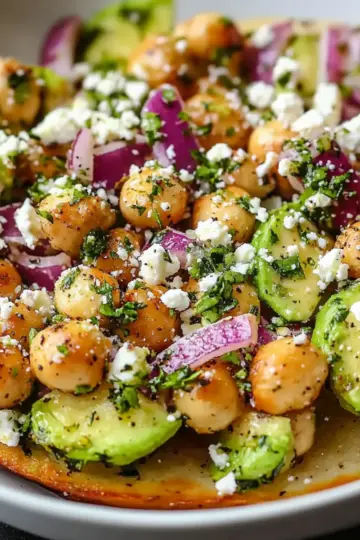
Mediterranean Flair: Incorporate olives and feta cheese for a Mediterranean-inspired taste. This twist effortlessly elevates your meal with bold Mediterranean flavors.
-
Quinoa Boost: Mix in cooked quinoa for added texture and protein. It transforms the salad into a heartier meal—perfect for lunch or dinner.
-
Citrus Medley: Experiment with different citrus juices, like lime or orange, for a fresh, fruity zing that balances the savory notes beautifully.
Make Ahead Options
These Chickpea Tuna Salad preparations are ideal for busy home cooks looking to save time! You can chop the red onion, cucumber, and cherry tomatoes up to 24 hours in advance and store them in an airtight container in the refrigerator. Similarly, you can also prepare and mix the chickpeas and tuna in a bowl ahead of time—just keep them separated from the veggies until you’re ready to serve. To maintain quality and prevent sogginess, add the olive oil and lemon dressing just before serving. When you're ready for a satisfying meal, simply combine everything with the dressing, and enjoy a lovely, fresh salad without any stress!
How to Store and Freeze Chickpea Tuna Salad
Fridge: Store leftovers in an airtight container for up to 2 days. This keeps your Chickpea Tuna Salad fresh and delicious for quick meals or snacks.
Freezer: While not ideal for freezing due to its fresh ingredients, if necessary, place the salad in a freezer-safe container for up to 1 month. Keep in mind that the texture may change upon thawing.
Reheating: If you've frozen it, thaw the salad in the fridge overnight before enjoying. Serve chilled or at room temperature for the best flavor experience.
What to Serve with Chickpea Tuna Salad
If you’re searching for delightful pairings to elevate your Chickpea Tuna Salad, you’re in for a treat!
- Crusty Whole-Grain Bread: Perfectly complements the salad's fresh flavors while adding chewy texture for a satisfying bite.
- Pita Chips: Their crispiness makes a delightful contrast to the creamy, zesty salad, turning your meal into a crunchy experience.
- Fresh Mixed Greens: A bed of greens adds another layer of freshness and nutritional value, enhancing the dish with vibrant colors and textures.
- Avocado Halves: Serve the salad inside avocado halves for a creamy and nutritious twist—this adds indulgence while keeping it light.
- Lemonade: A refreshing lemonade makes the perfect accompaniment, cutting through the richness while highlighting the lemony notes of the salad.
- Caprese Skewers: These bite-sized mozzarella, basil, and tomato skewers offer a juicy burst of flavor that ropes in the freshness of your meal.
- Chilled White Wine: A glass of chilled Sauvignon Blanc brings out the zesty highlights of the salad while creating a classy dining experience.
- Fruit Salad: A light and sweet fruit salad as a side brings a refreshing finish, balancing the savory elements wonderfully—every bite feels like summer!
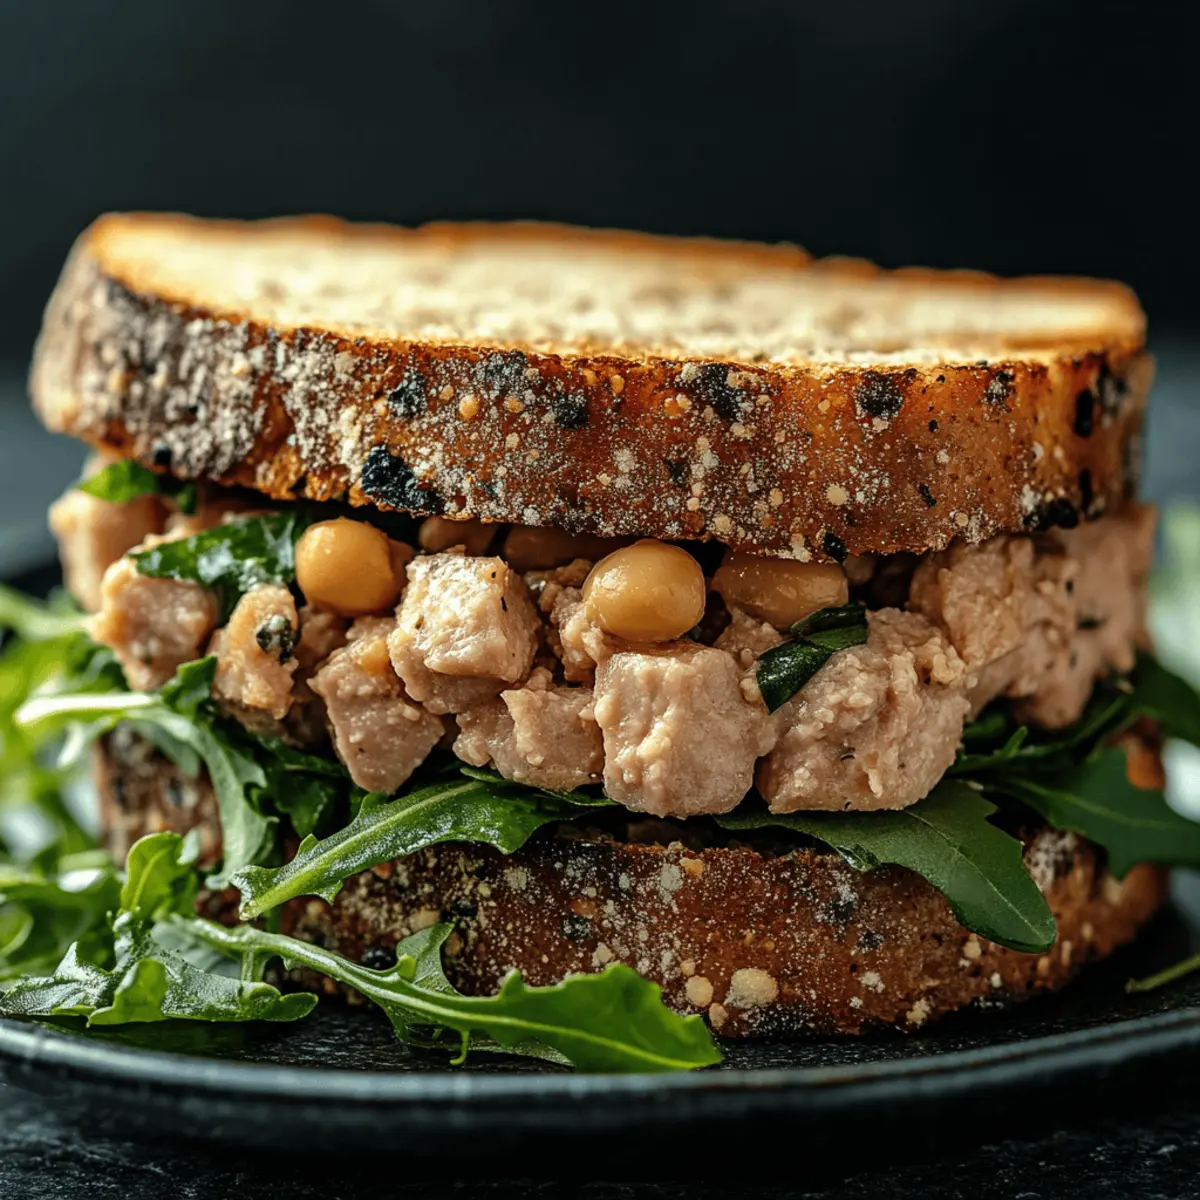
Chickpea Tuna Salad Recipe FAQs
How do I choose ripe ingredients for the salad?
Absolutely! When selecting your cucumbers, look for ones that are firm and bright green, without any dark spots or wrinkles. The cherry tomatoes should be plump and red, while the red onion should feel heavy for its size, indicating freshness. The more colorful your veggies, the more inviting your Chickpea Tuna Salad will be!
How should I store leftover Chickpea Tuna Salad?
Very simply! Place your leftovers in an airtight container in the fridge for up to 2 days. This keeps the salad fresh and ready for you to enjoy again. Just give it a gentle toss before serving, as some of the dressing may settle at the bottom.
Can I freeze Chickpea Tuna Salad?
While I don’t typically recommend freezing it due to the texture changes in the veggies, if you must, use a freezer-safe container. It can be stored for up to 1 month. When you're ready to eat, thaw it in the fridge overnight before serving. Keep in mind, the fresh crunch might be a bit softer after freezing, but the flavor will still be tasty!
I’m worried about sodium; any tips?
Absolutely! To control the sodium content, always rinse and drain your canned chickpeas and tuna well before using them. You can also opt for low-sodium versions of these canned ingredients. When seasoning, start with a small pinch of salt and adjust to your taste to create a flavorful yet healthier Chickpea Tuna Salad.
Is this salad appropriate for those with dietary allergies?
Definitely! This Chickpea Tuna Salad is naturally gluten-free and dairy-free. However, check your canned ingredients to ensure they are processed in a facility without cross-contamination for allergies. If you're introducing this salad to pets, be cautious—avoid any ingredients like onion and seasonings that may be harmful, keeping their health in mind.
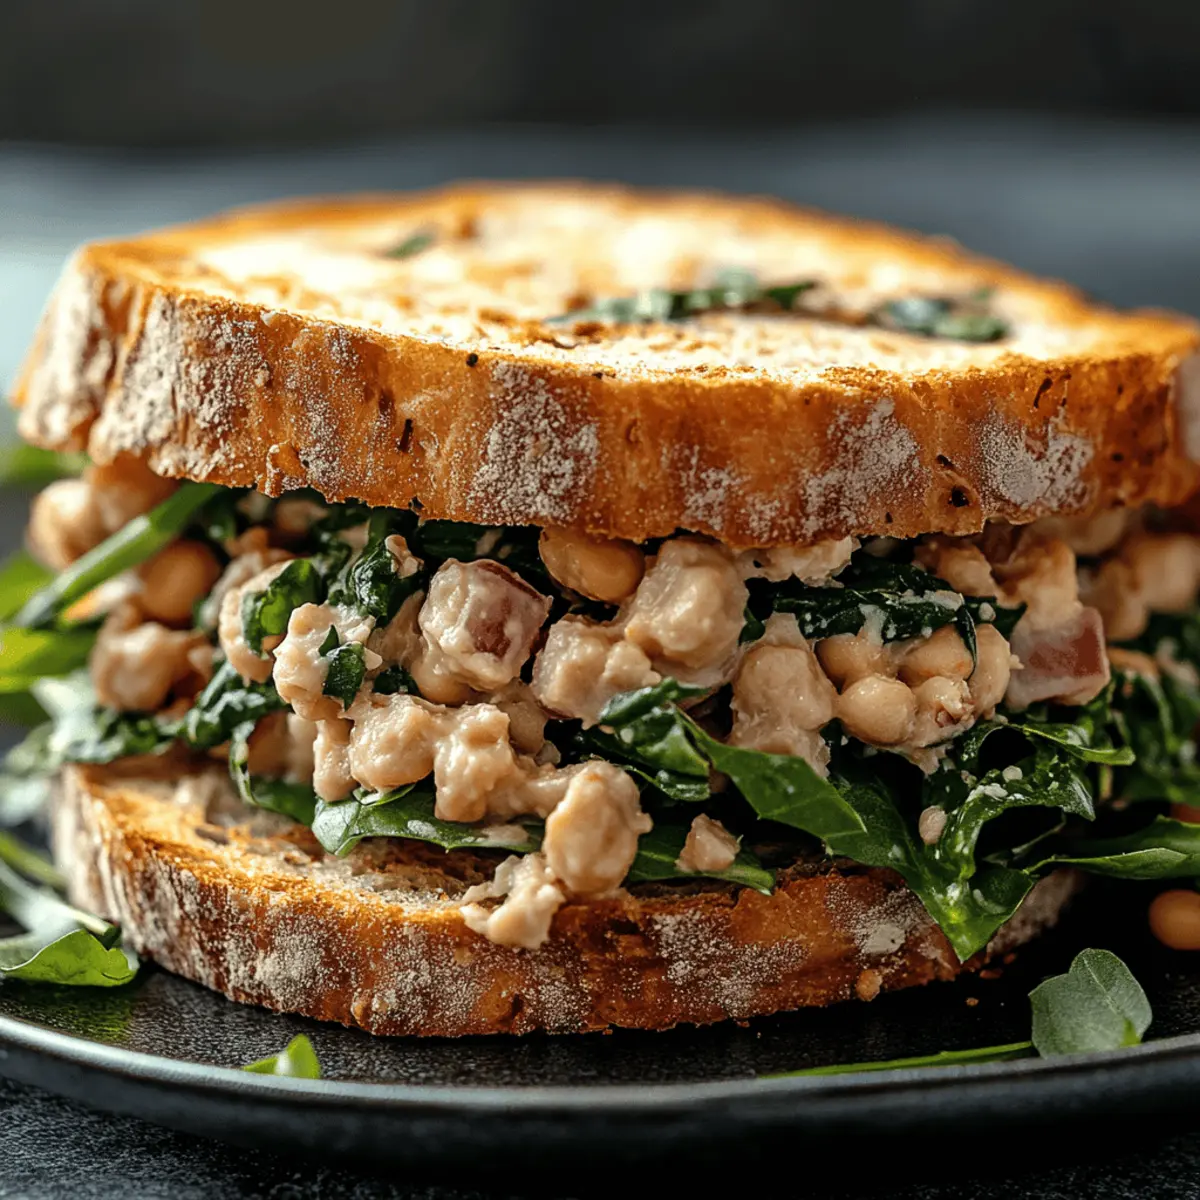
Delicious Chickpea Tuna Salad Ready in Just 10 Minutes
Ingredients
Equipment
Method
- Start by opening the can of chickpeas, then pour them into a colander. Rinse them under cold running water for about 30 seconds to remove excess sodium and any canning liquid. Shake off the water and let the chickpeas drain.
- Next, take your red onion and chop it finely, aiming for small, manageable pieces. Slice the cucumber into small cubes and halve the cherry tomatoes. Set these chopped veggies aside in a large mixing bowl.
- Open the can of tuna and drain any liquid. Use a fork to break the tuna into small, flaky chunks. Once ready, add the tuna to the large mixing bowl with the chopped vegetables.
- In the same large bowl, gently combine the drained chickpeas, tuna, and chopped veggies together. Use a spatula to toss them lightly, ensuring everything is evenly distributed.
- Drizzle 2 tablespoons of olive oil and 1 tablespoon of lemon juice over the mixture. Season generously with salt and pepper to taste, tossing everything again until evenly coated.
- If desired, sprinkle extra chopped parsley on top for added flavor and presentation. Serve immediately, or let it chill in the fridge for a few minutes.

Leave a Reply