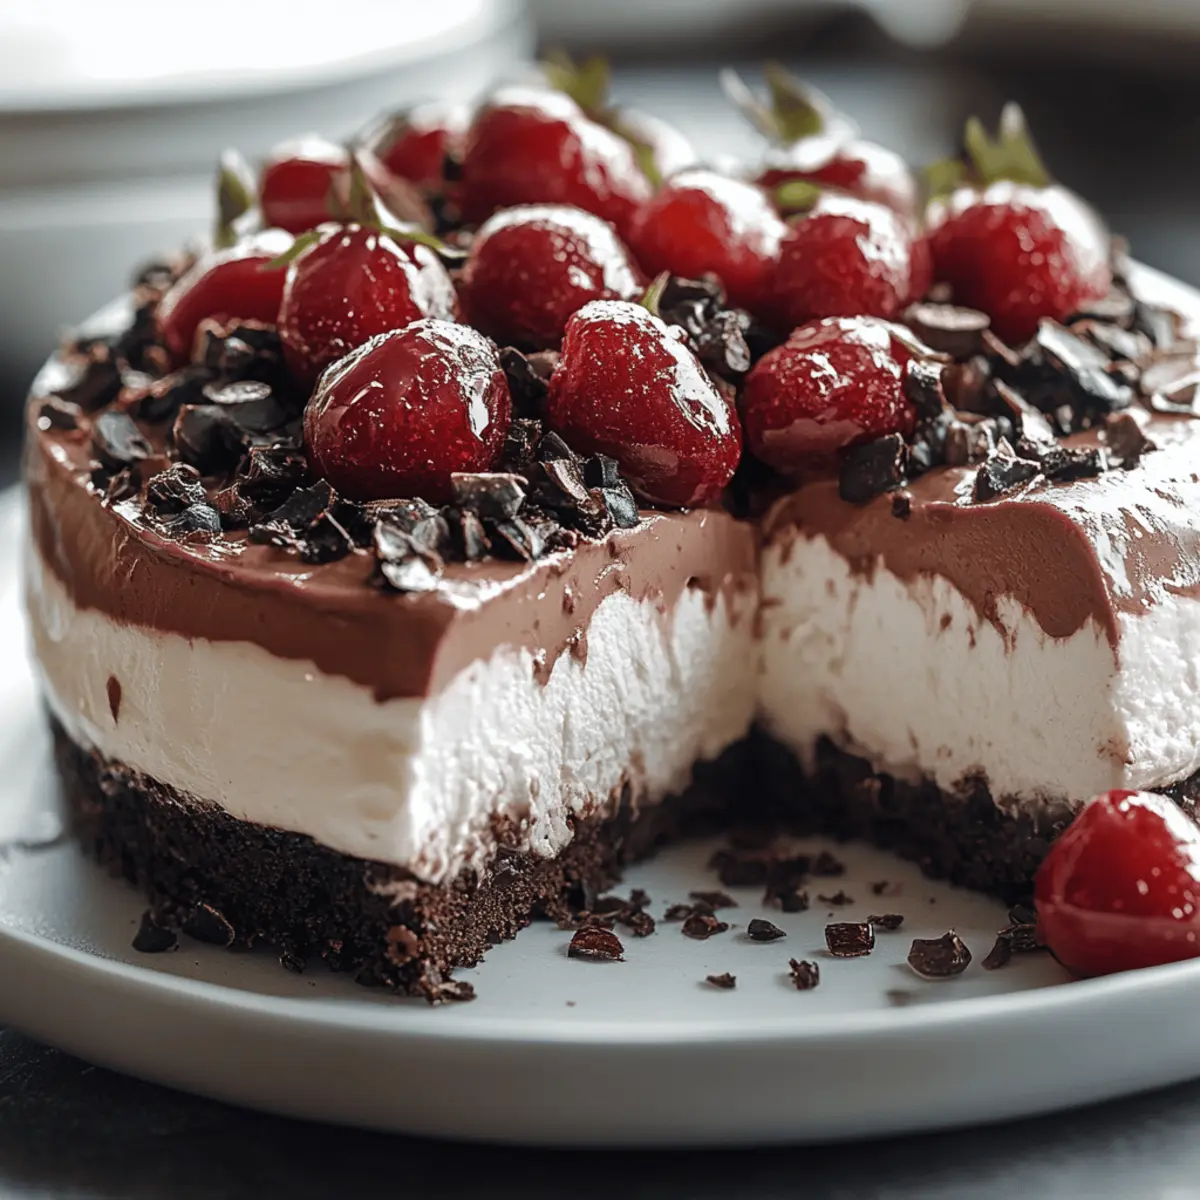
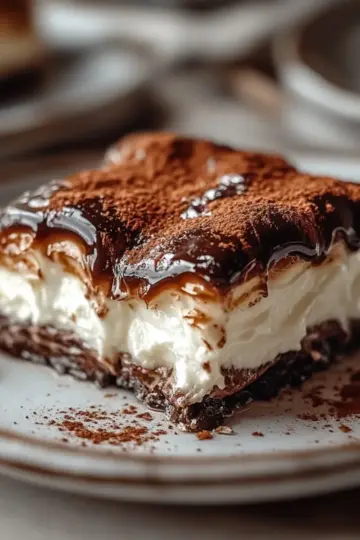
As I stood in my kitchen, a gentle wave of nostalgia washed over me, transporting me to my childhood where desserts were always a cause for celebration. Today, I’m excited to share my take on the classic Black Forest Cheesecake. This luscious dessert combines rich chocolate and tangy cherries, making it a show-stopping centerpiece for any gathering. One of the best parts? It’s surprisingly easy to whip up and can be made ahead, freeing up your time for more important things—like sharing stories and laughter around the table. Plus, the creamy texture paired with the cherry topping is a guaranteed crowd-pleaser! Have you ever indulged in a slice of this spectacular cheesecake? Let’s dive into the recipe and create your own sweet memories!
Why is Black Forest Cheesecake so irresistible?
Decadent, Chocolatey Delight: Each slice offers a luxurious blend of rich chocolate flavors and creamy texture that will leave you in bliss.
Crowd-Pleasing Sensation: This cheesecake is sure to wow guests at any gathering, making it your go-to dessert for family dinners or celebrations.
Surprisingly Simple: Don’t let its sophisticated appearance fool you—this recipe is straightforward, perfect for both novice and experienced bakers.
Make-Ahead Convenience: Prepare it the day before your event, allowing the flavors to meld beautifully while saving you time on the big day.
Versatile Topping Options: While cherries are a classic choice, feel free to experiment with different fruits or chocolate drizzles to make it your own!
Indulge in this Black Forest Cheesecake, where nostalgia blends perfectly with creativity for a truly unforgettable dessert experience!
Black Forest Cheesecake Ingredients
• Get ready to gather the delicious components of this show-stopping dessert!
For the Crust
- Chocolate cookie crumbs – perfect for that rich, chocolatey base.
- Granulated sugar – balances the flavors in the crust.
- Melted butter – binds the crumbs together for a firm crust.
For the Cheesecake Filling
- Cream cheese – provides the creamy richness that cheesecake lovers adore.
- Granulated sugar – sweetens the filling perfectly without overpowering it.
- Large eggs – essential for the cheesecake’s structure and smooth texture.
- Semisweet chocolate – melted and cooled, adds indulgent flavor to the cheesecake.
- Sour cream – adds a tangy note that enhances the overall flavor.
- Vanilla extract – infuses warmth and depth into the filling.
For the Topping
- Heavy cream – whipped to fluffy perfection for a light topping.
- Powdered sugar – sweetens the whipped cream without graininess.
- Vanilla extract – enhances the flavor of the whipped cream filling.
- Cherry pie filling (or fresh cherries) – brings a burst of tangy sweetness that’s classic to Black Forest Cheesecakes.
Embrace the deliciousness of this Black Forest Cheesecake and get cooking—it’s time to create something unforgettable!
Step‑by‑Step Instructions for Black Forest Cheesecake
Step 1: Preheat and Prepare the Pan
Begin by preheating your oven to 325°F (160°C). While it warms up, take a 9-inch springform pan and thoroughly grease the inner surfaces. To prevent any leaks, wrap the exterior with aluminum foil, ensuring no gaps remain, as this will help keep your cheesecake moist during baking.
Step 2: Make the Chocolate Crust
In a medium mixing bowl, combine 1 ½ cups of chocolate cookie crumbs with ¼ cup of granulated sugar and 6 tablespoons of melted butter. Mix until everything resembles damp sand. Firmly press this mixture into the bottom of the prepared springform pan, creating an even layer. Bake the crust for 10 minutes, then allow it to cool completely.
Step 3: Prepare the Cheesecake Filling
In a large mixing bowl, beat together 24 ounces of softened cream cheese and 1 cup of granulated sugar until the mixture is smooth and creamy, about 3-4 minutes. Add the 3 large eggs one at a time, mixing after each addition until just incorporated. Then, gently stir in 8 ounces of melted and slightly cooled semisweet chocolate, ½ cup of sour cream, and 1 teaspoon of vanilla extract until well combined.
Step 4: Assemble the Cheesecake
Pour the creamy cheesecake filling over the cooled chocolate crust in the springform pan. Use a spatula to smooth the surface, then tap the pan gently on the countertop to release any trapped air bubbles. Next, place the springform pan in a large roasting pan and carefully add hot water until it reaches halfway up the sides of the springform pan for a water bath.
Step 5: Bake and Cool the Cheesecake
Bake the cheesecake in the preheated oven for 55 to 65 minutes, or until the center is set yet still slightly jiggly, indicating a creamy texture. Once done, turn off the oven, crack the door open, and let the cheesecake cool inside for about an hour to prevent cracking.
Step 6: Chill the Cheesecake
After the cheesecake reaches room temperature, transfer it to the refrigerator and allow it to chill for at least 4 hours, preferably overnight. This step is crucial for setting the flavors and texture of your Black Forest Cheesecake, resulting in a decadent and flavorful dessert.
Step 7: Prepare the Topping
When you’re ready to serve, whip 1 cup of heavy cream with 2 tablespoons of powdered sugar and 1 teaspoon of vanilla extract until soft peaks form. This fluffy topping will enhance your cheesecake beautifully.
Step 8: Finish with Cherries
Spread the cherry pie filling over the center of the chilled cheesecake, allowing the vibrant colors to peek through. Pipe or dollop the whipped cream around the edges for a finishing touch. For an extra indulgence, garnish with chocolate shavings before serving your spectacular Black Forest Cheesecake!
What to Serve with Black Forest Cheesecake?
Pair this elegant dessert with delightful sides that enhance the chocolate and cherry flavors while creating a balanced meal experience.
-
Fresh Fruit Salad: A mix of berries and citrus adds brightness that complements the rich cheesecake, providing a refreshing contrast.
-
Vanilla Ice Cream: The creamy sweetness of vanilla ice cream contrasts perfectly with the chocolatey cheesecake, elevating the dessert experience.
-
Coffee or Espresso: A warm cup of coffee cuts through the sweetness, balancing the flavors wonderfully and making each bite even more satisfying.
-
Whipped Cream Topping: More of that luscious whipped cream around the cake enhances its decadent nature, making it feel indulgently rich and creamy.
-
Chocolate-Covered Strawberries: These luxurious bites echo the chocolate notes and add a fresh twist that invites guests to enjoy a bit of fruity sweetness.
-
Dark Chocolate Shavings: Sprinkle over the cake for added texture and a touch of elegance; it highlights the chocolate flavor in the cheesecake beautifully.
-
Sparkling Water with Lemon: A light beverage choice that cleanses the palate, sparkling water with a hint of lemon adds a refreshing element to the dessert table.
-
Almond Biscotti: Crunchy and slightly sweet, almond biscotti pairs harmoniously with the cheesecake, providing a delightful texture and just the right amount of nutty flavor.
-
Mint Chocolate Chip Cookies: For a playful, nostalgic touch, serve these alongside the cheesecake. The mint will refresh while enhancing the chocolate flavors.
How to Store and Freeze Black Forest Cheesecake
Fridge: Once chilled, store the cheesecake in an airtight container for up to 5 days. This preserves its creamy texture while keeping the flavors fresh.
Freezer: If you want to make it ahead, freeze the cheesecake (without toppings) for up to 3 months. Wrap it well in plastic wrap and foil to prevent freezer burn.
Thawing: To enjoy frozen Black Forest Cheesecake, transfer it to the fridge for at least 8 hours before serving. This ensures it rethaws evenly and maintains its delicious creaminess.
Reheating: While cheesecake is best served cold, if you’ve added any toppings, you may want to let it sit at room temperature for about 30 minutes before serving for optimal flavor.
Black Forest Cheesecake Variations
Feel free to get creative with your cheesecake, adding personal touches that will excite your taste buds!
-
Gluten-Free Crust: Substitute chocolate cookie crumbs with gluten-free cookies or almond flour for a delicious gluten-free base. This will maintain the rich flavor while catering to dietary needs.
-
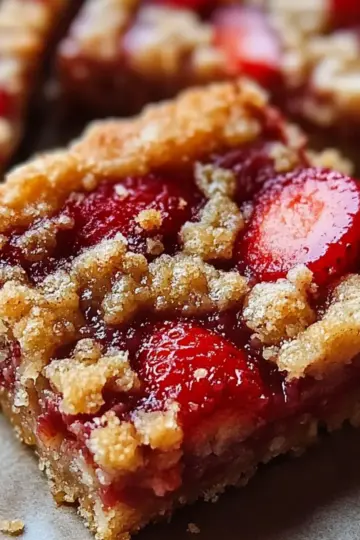
Alternate Toppings: Use fresh raspberries or strawberries instead of cherry pie filling for a different fruity twist. The bright, tart flavors will elevate your cheesecake experience!
-
Add a Liqueur: Enhance the filling by adding 2 tablespoons of cherry liqueur or amaretto for an adult version. This will deepen the dessert's complexity and delight your guests!
-
Sugar-Free Option: Swap granulated sugar for your favorite sugar substitute for a lighter treat. The cheesecake will still be deliciously creamy and satisfying without the extra sugar.
-
Cocoa Nibs for Crunch: Sprinkle cocoa nibs or crushed nuts on top of the cheesecake before serving for unexpected texture. This little crunch adds character and complements the smooth creaminess beautifully!
-
Rich Chocolate Ganache: Drizzle warm chocolate ganache over the top before adding whipped cream for an indulgent finish. This will take the decadent flavor up a notch and impress dessert lovers!
-
Swirls of Flavor: Incorporate a swirl of your favorite fruit puree (like raspberry or strawberry) into the cheesecake filling before baking. This will create stunning visual appeal and an extra burst of flavor in every bite.
-
Spiced Infusion: Add a pinch of cinnamon or nutmeg to the crust for a hint of warmth. This subtle spice will add an extraordinary balance to the richness of the cheesecake.
Embrace the joy of experimentation and make this Black Forest Cheesecake your own!
Make Ahead Options
These Black Forest Cheesecake preparations are perfect for busy home cooks looking to save time! You can prep the crust by making and baking it up to 3 days ahead. Simply cool it completely, then store it in an airtight container in the refrigerator. The cheesecake filling can be prepared and poured over the crust 1 day in advance; just cover the springform tightly with plastic wrap once it reaches room temperature and chill it overnight in the fridge to enhance its flavors. When you're ready to serve, whip the heavy cream and dollop it with cherry pie filling right before enjoying your delicious Black Forest Cheesecake! This way, you achieve a spectacular dessert while freeing up your day for cherished moments with loved ones.
Expert Tips for Black Forest Cheesecake
Chill Properly: Ensure your cheesecake cools in the fridge for at least 4 hours, preferably overnight, for optimal texture and flavor melding.
Avoid Overmixing: When incorporating eggs into the filling, mix just until combined. Overmixing can lead to a dense cheesecake.
Water Bath Trick: Always use a water bath for baking to prevent cracks. Place the springform into a larger pan filled with hot water, ensuring even cooking.
Flavor Variations: While cherries are traditional, consider using fresh raspberries or strawberries as a vibrant topping for a flavorful twist.
Serve at Room Temperature: For the best taste and texture, serve your Black Forest Cheesecake slightly chilled but not too cold, allowing the flavors to shine through.
Black Forest Cheesecake Recipe FAQs
How do I select ripe cherries for the topping?
Absolutely! If you're using fresh cherries, look for deep red cherries with a shiny skin, free of dark spots or blemishes. They should be firm to the touch, indicating ripeness. If you’re going for cherry pie filling, ensure it’s a brand that uses real fruit for the best flavor.
What’s the best way to store leftover cheesecake?
Very! To keep your Black Forest Cheesecake fresh, transfer any leftovers to an airtight container and store it in the fridge for up to 5 days. If it's fully topped with cherries and whipped cream, you can cover it loosely with plastic wrap for a day or two, but the cream may lose its fluffiness over time.
Can I freeze Black Forest Cheesecake?
Absolutely! To freeze, wrap the cheesecake (without any toppings!) tightly in plastic wrap and then in aluminum foil. This will prevent freezer burn. It can last up to 3 months in the freezer. Just remember, when you're ready to enjoy it, thaw it in the fridge for about 8 hours before serving to maintain its creamy texture.
What should I do if my cheesecake cracks during baking?
Don't worry! If your cheesecake cracks, it can still taste delicious. You can do a quick cover-up by adding more whipped cream and cherries right before serving, which will divert attention from the crack. To prevent this, always use a water bath during baking, and avoid overmixing after adding the eggs.
Are there any dietary considerations I should keep in mind?
Yes! If you're making this for someone with dietary restrictions, you can use gluten-free chocolate cookies for the crust or substitute cream cheese with a dairy-free alternative. Make sure to check the cherry filling for allergens, as some processed versions may contain gluten or high fructose corn syrup. As always, it’s best to ask your guests about allergies ahead of time to ensure everyone can enjoy this delicious dessert.
Decadent Black Forest Cheesecake You’ll Crave Again and Again
Ingredients
Equipment
Method
- Preheat your oven to 325°F (160°C) and grease the inner surfaces of a 9-inch springform pan.
- Wrap the exterior of the springform pan with aluminum foil to prevent leaks.
- In a bowl, combine chocolate cookie crumbs, granulated sugar, and melted butter. Press the mixture into the bottom of the springform pan.
- Bake the crust for 10 minutes and allow to cool completely.
- In another bowl, beat cream cheese and granulated sugar until smooth. Add eggs one at a time, then mix in melted chocolate, sour cream, and vanilla extract.
- Pour the filling over the cooled crust, smoothing the top.
- Place the springform pan in a larger roasting pan and add hot water halfway up the sides for a water bath.
- Bake for 55 to 65 minutes until the center is set but slightly jiggly. Cool in the oven with the door cracked for an hour.
- Chill in the refrigerator for at least 4 hours, preferably overnight.
- Whip the heavy cream with powdered sugar and vanilla until soft peaks form. Spread cherry pie filling on top and add whipped cream around the edges.

Leave a Reply