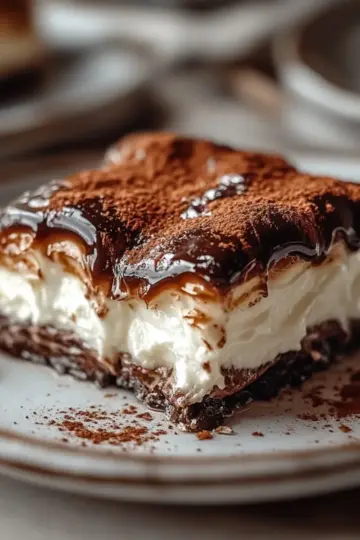
As I sifted through my pantry, searching for a sweet escape, I stumbled upon the perfect combination of ingredients that would soon transform into a beloved classic: the Italian Chocolate Tart. This Crostata al Cioccolato doesn't just satisfy your chocolate cravings; it offers a delightful balance of rich, creamy filling enveloped in a flaky crust. One of the best perks? It's as easy to make as it is indulgent, making it a fantastic option for impressing guests or enjoying a cozy dessert night. Plus, with its make-ahead capabilities, you can prepare this tart the day before and rest easy, knowing a slice of heaven awaits in your fridge. Curious about how to create this chocolate masterpiece? Let’s dive in!
Why choose the Italian Chocolate Tart?
Decadent flavors come together in this rich tart, offering a chocolate experience that is simply irresistible. Easy preparation means you can wow your family or guests with minimal effort, thanks to straightforward steps and simple ingredients. Versatile serving options allow you to dress it up with whipped cream, berries, or nuts for a personalized touch. Make-ahead friendly means less stress on the day of your event, as it stores beautifully in the fridge. Crowd-pleaser status is guaranteed, ensuring every bite will leave everyone craving more! Enjoy a slice of indulgence without the fuss!
Italian Chocolate Tart Ingredients
• Create the perfect Italian Chocolate Tart with these essential ingredients!
For the Crust
- Flour – Use all-purpose flour for a tender and flaky crust.
- Granulated sugar – Adds sweetness to balance the rich chocolate filling.
- Cocoa powder – Provides that delicious chocolate flavor right in the crust.
- Salt – Enhances the sweetness and richness of the tart.
- Cold butter – Ensures a flaky texture; keep it chilled for best results.
- Egg – Acts as a binder for the crust, giving it structure.
- Egg yolk – Richens the crust and adds a comforting depth.
For the Filling
- Milk – Whole milk is ideal for a creamy filling; don’t skimp!
- Egg yolks – Adds richness and creates a smooth custard-like filling.
- Granulated sugar – Sweetens the filling; you can adjust based on your preference.
- Flour – Helps to thicken the filling and stabilize it once cooled.
- Dark chocolate – The star of the show; opt for a high-quality chocolate for the best flavor.
With these Italian Chocolate Tart ingredients, you're ready to make a dessert that not only looks stunning but tastes divine!
Step‑by‑Step Instructions for Italian Chocolate Tart
Step 1: Prepare the Crust
In a large mixing bowl, whisk together 200 g of flour, 100 g of granulated sugar, 40 g of cocoa powder, and ¼ teaspoon of salt until well combined. Cut in 120 g of cold butter using a pastry cutter or your fingertips, blending until the mixture resembles coarse crumbs with pea-sized bits of butter.
Step 2: Form the Dough
Add one whole egg and one egg yolk to the crumb mixture, gently mixing until a dough forms. If the dough feels sticky, add a dusting of flour. Shape the dough into a disk, wrap it in plastic wrap, and refrigerate for at least 30 minutes to firm up.
Step 3: Roll Out the Dough
Preheat your oven to 180°C (350°F). Once the dough is chilled, lightly flour your work surface and roll out the dough to about ¼ inch thick, ensuring it fits your 9-inch tart pan. The dough should be large enough to cover the sides as well.
Step 4: Shape the Tart Shell
Carefully lay the rolled-out dough into the tart pan, gently pressing it into the edges and trimming any excess. Make sure to prick the bottom with a fork to prevent bubbling during baking. This step is essential for achieving a perfectly flat crust.
Step 5: Bake the Crust
Place the tart shell in the preheated oven and bake for 15 minutes or until the edges are lightly golden. Keep an eye on it to avoid over-baking. Once done, remove it from the oven and allow it to cool completely while you prepare the filling for the Italian Chocolate Tart.
Step 6: Heat the Milk
In a medium saucepan, heat 400 ml of whole milk over medium heat until it begins to steam and is just below boiling. Stir occasionally to prevent scorching. This step builds a luscious base for your filling, so be attentive!
Step 7: Whisk the Egg Mixture
In a separate bowl, whisk together 4 egg yolks, 80 g of granulated sugar, and 40 g of flour until smooth and creamy. This mixture will create a rich custard, so make sure it is well combined before proceeding to the next step.
Step 8: Combine the Mixtures
Gradually pour the hot milk into the egg mixture while whisking constantly to temper the eggs and prevent curdling. This action will create a homogenous mixture essential for a silky filling.
Step 9: Cook the Filling
Return the combined mixture to the saucepan and cook over medium heat, stirring continuously. Continue cooking until the mixture thickens, about 6-8 minutes. You’ll know it’s ready once it coats the back of a spoon.
Step 10: Add Chocolate
Remove the filling from heat and stir in 120 g of dark chocolate, mixing until completely melted and smooth. This chocolate-infused mixture is the highlight of your Italian Chocolate Tart, so take a moment to savor the aroma.
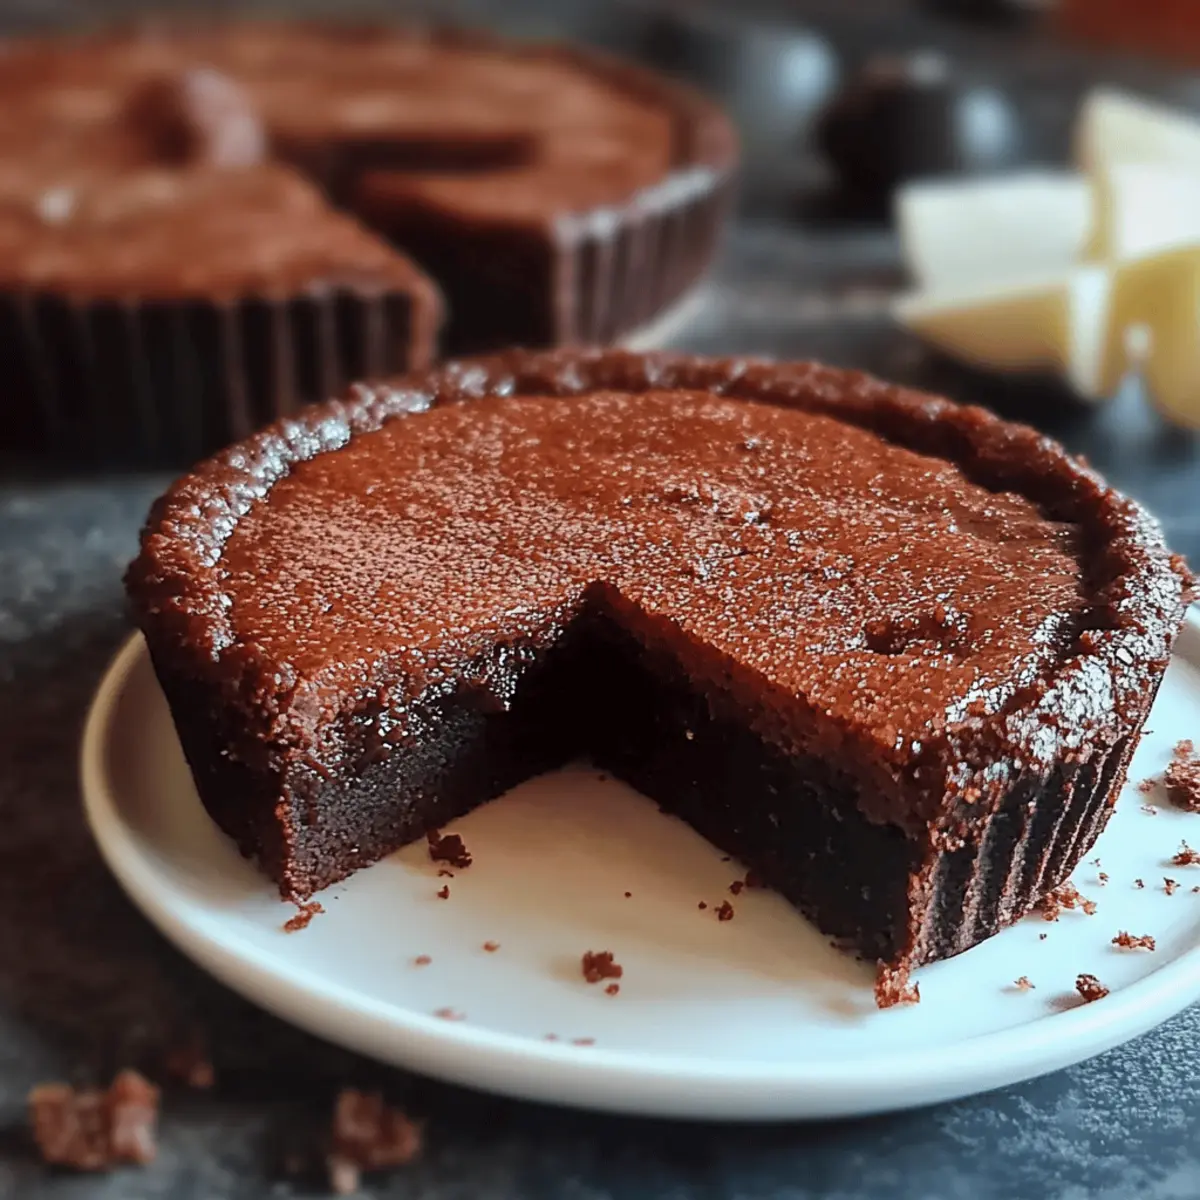
Step 11: Fill the Tart Shell
Pour the rich chocolate filling into the cooled tart shell. Make sure to spread it evenly for a beautiful finish. The filling should be silky and inviting, showcasing the decadent chocolate flavor.
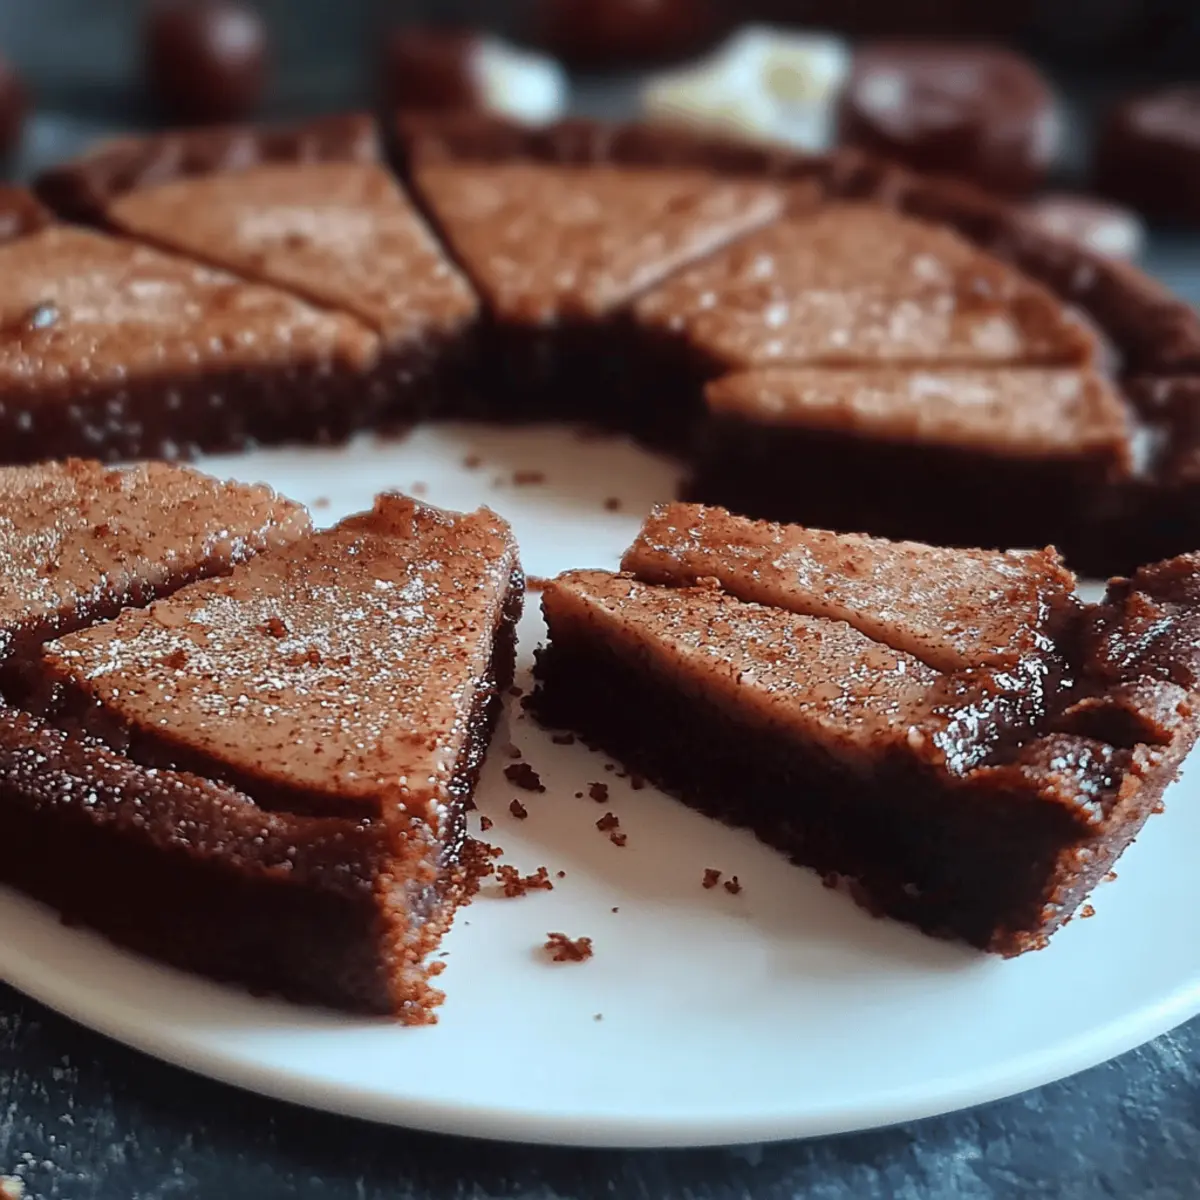
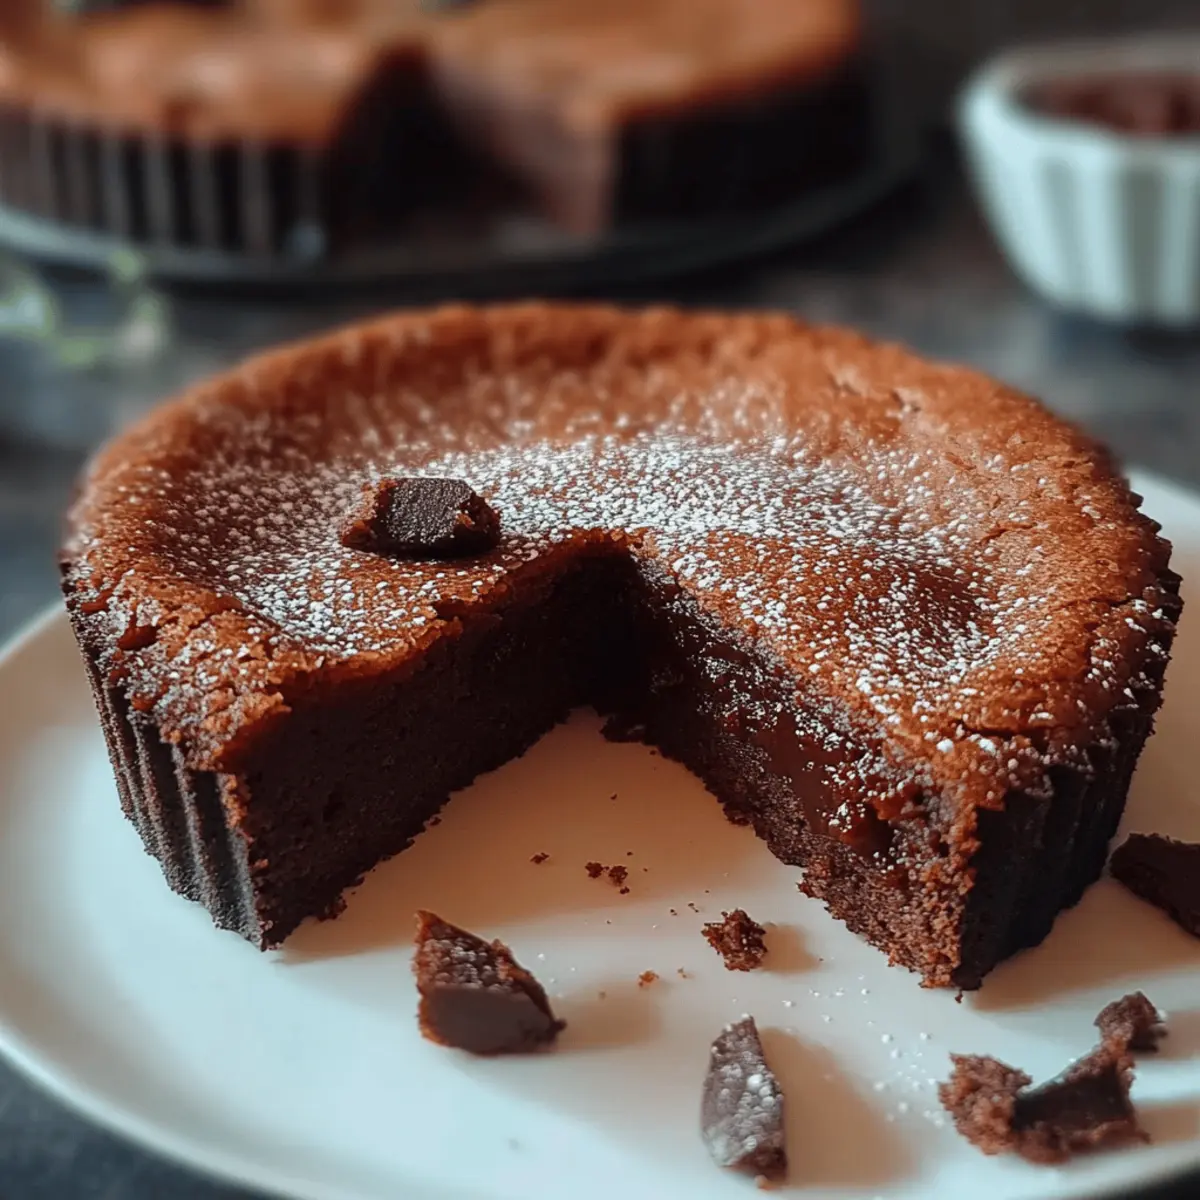
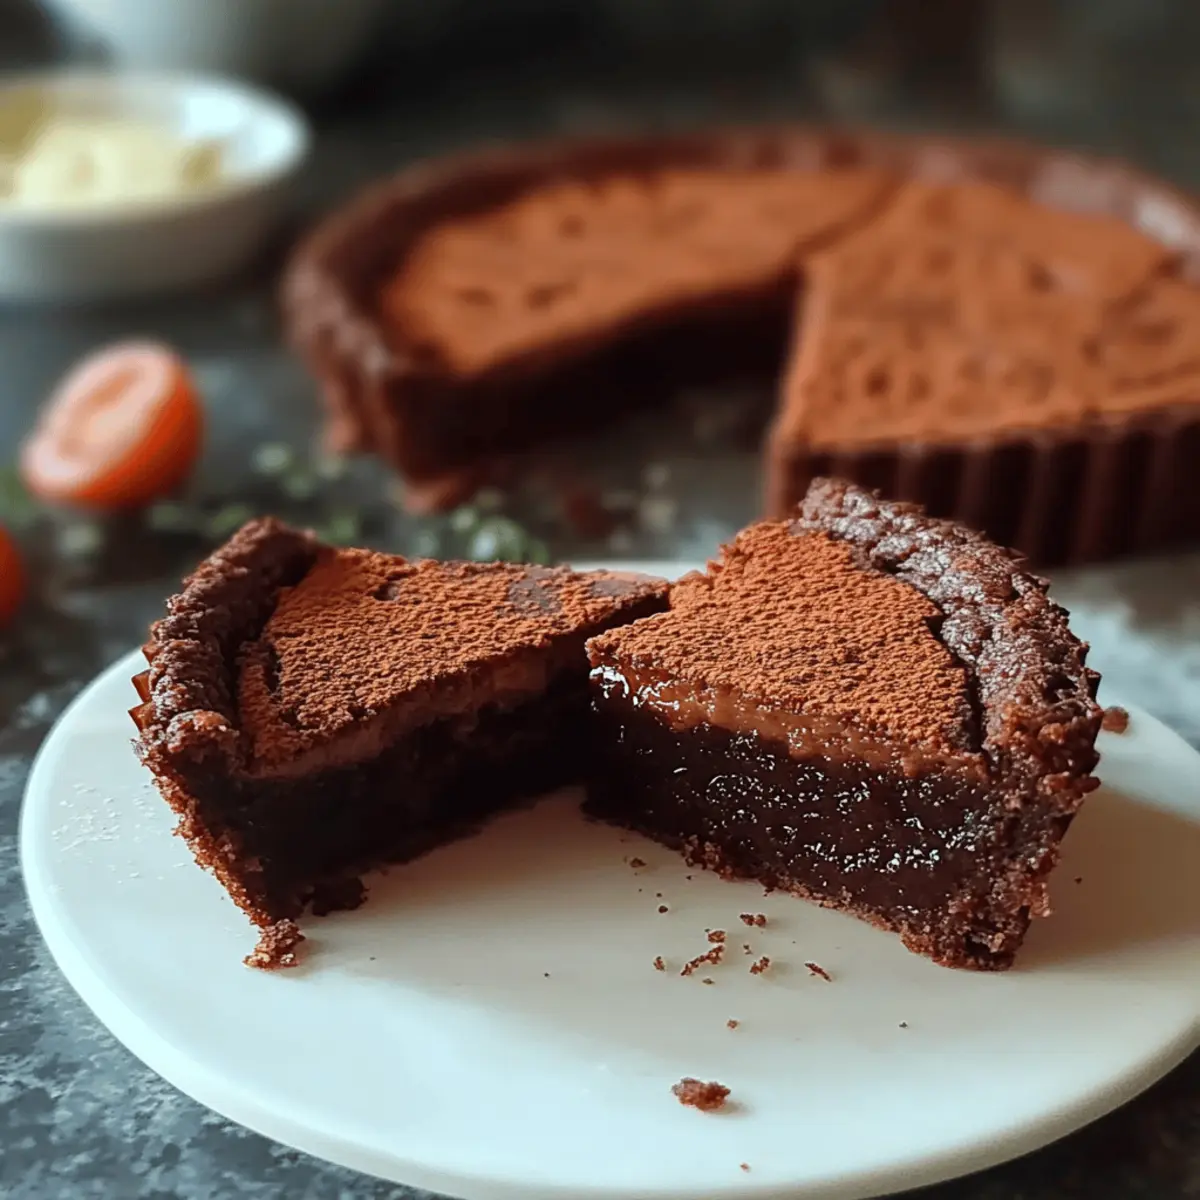
Step 12: Chill and Serve
Refrigerate the tart for at least 30 minutes to allow the filling to set properly. Once chilled, slice and serve your delightful Italian Chocolate Tart, perhaps with whipped cream or fresh berries for an added touch of elegance.
How to Store and Freeze Italian Chocolate Tart
Fridge: Keep your Italian Chocolate Tart in an airtight container for up to 3 days to maintain its freshness and flavor.
Freezer: If you want to extend its deliciousness, freeze the tart wrapped tightly in plastic wrap and aluminum foil for up to 2 months.
Defrosting: To enjoy your frozen tart, thaw it in the refrigerator overnight before serving. This will allow the filling to regain its creamy texture.
Reheating: If desired, gently warm individual slices in the microwave for a few seconds for a cozy dessert experience—just don’t overheat!
Expert Tips for Italian Chocolate Tart
• Measure Accurately: Use a kitchen scale for the flour and sugar; precise measurements ensure a perfect crust and filling consistency.
• Chill the Dough: Always refrigerate the dough for at least 30 minutes. This helps the fat solidify, resulting in a flaky Italian Chocolate Tart.
• Prevent Overbaking: Keep an eye on your crust while it bakes; a lightly golden edge is perfect, but overbaking will lead to a dry texture.
• Whisk Continuously: When adding hot milk to the egg mixture, whisk continuously to prevent curdling and ensure a smooth filling.
• Use Quality Chocolate: Opt for high-quality dark chocolate for the most delicious flavor in your tart—it's truly the heart of this recipe!
• Chill Well: Allow the tart to chill for at least 30 minutes after filling; this helps the chocolate set, making it easier to slice and serve.
Italian Chocolate Tart Variations
Feel free to put your own spin on this delightful tart for a taste adventure that excites your palate!
-
Gluten-Free: Substitute all-purpose flour with a gluten-free blend to accommodate dietary needs while keeping the tart delicious.
-
Nutty Twist: Add 50 g of finely ground hazelnuts or almonds to the crust for a delightful nutty flavor that complements the chocolate.
-
Dairy-Free: Use coconut milk and dairy-free butter to create a luscious filling, perfect for those avoiding dairy without sacrificing flavor!
-
Mint Chocolate: Incorporate a few drops of peppermint extract into the filling for a refreshing minty twist that adds a festive flair.
-
Fruit Infusion: Top your tart with fresh raspberries or strawberries before serving. The natural sweetness and tartness of the fruit provide a perfect contrast to the rich chocolate.
-
Spicy Heat: Add a pinch of cayenne pepper to the filling for a surprising kick that pairs wonderfully with chocolate, making for an exciting treat.
-
Caramel Drizzle: Finish with a homemade or store-bought caramel drizzle. The sweet, gooey layer adds an irresistible touch and elevates the whole tart experience!
-
Coconut Flake: Sprinkle toasted coconut flakes on top before serving. This adds texture and a tropical flavor that complements the chocolate beautifully.
These variations not only allow you to explore different flavors and textures but also make each tart uniquely yours. Enjoy experimenting!
Make Ahead Options
These Italian Chocolate Tart make-ahead options are perfect for busy home cooks looking to reduce kitchen stress! You can prepare the crust up to 24 hours in advance by rolling it out, pressing it into the tart pan, and then wrapping it tightly in plastic wrap before refrigerating. The filling can also be made ahead; just cool it and pour it into the tart shell before chilling. If stored properly, your tart will maintain its deliciousness for up to 3 days in the refrigerator. When ready to serve, simply slice and garnish with whipped cream or fresh berries for that wow factor. Enjoy your time-saving dessert without compromising on flavor!
What to Serve with Italian Chocolate Tart
Indulging in a slice of rich chocolate tart is an experience that calls for delightful accompaniments to create a memorable meal.
-
Whipped Cream: A dollop of freshly whipped cream adds a light, airy contrast to the dense chocolate, enhancing each bite.
-
Fresh Berries: Raspberries or strawberries bring a burst of tartness, beautifully balancing the richness of the Italian Chocolate Tart and introducing a splash of color.
-
Vanilla Ice Cream: Creamy vanilla ice cream melts into the warm tart, creating a delightful medley of flavors that scream comfort and satisfaction.
-
Espresso or Coffee: The robust flavor of a strong espresso pairs perfectly with the decadent tart, amplifying its chocolate notes and providing a pleasant end to any meal.
-
Hazelnut Praline: Crunchy, sweet hazelnut praline sprinkled on top adds texture and a nutty flavor that beautifully complements the chocolate filling.
-
Caramel Sauce: Drizzling warm caramel sauce over each slice introduces a sweet, buttery element that enhances the overall indulgence of this dessert.
-
Mint Sprigs: A sprig of fresh mint adds a refreshing note and a beautiful visual garnish, elevating the presentation of your Italian Chocolate Tart.
-
Nutty Biscotti: Serve alongside crunchy almond or hazelnut biscotti for a delightful texture contrast, perfect for dipping into coffee or pairing with the tart.
These delightful pairings will transform your dessert into a complete, unforgettable experience that dances on your palate with each bite!
Italian Chocolate Tart Recipe FAQs
What type of flour should I use for the crust?
Absolutely, all-purpose flour is your best bet for this Italian Chocolate Tart. It provides the right balance of structure and tenderness, ensuring a flaky crust that's easy to handle and delicious to eat.
How do I know when my chocolate tart is ready to serve?
The filling of your Italian Chocolate Tart should be set but still slightly wobbly in the center after chilling. A good visual cue is ensuring that the edges are stable while the center has a gentle jiggle – it will firm up as it cools completely!
What’s the best way to store leftover tart?
Store your leftover Italian Chocolate Tart in an airtight container in the refrigerator for up to 3 days. Just make sure it's well-covered to prevent it from absorbing any odors and to keep its delightful freshness!
Can I freeze the Italian Chocolate Tart?
Absolutely! To freeze, wrap the tart tightly in plastic wrap followed by aluminum foil. This helps prevent freezer burn. It can be frozen for up to 2 months. When you're ready to enjoy, simply place it in the refrigerator overnight to thaw. I often make extras and freeze them for special occasions!
Are there any dietary restrictions to consider with this recipe?
Yes! This Italian Chocolate Tart contains gluten and dairy, which some people may need to avoid. For a gluten-free alternative, you can try a gluten-free flour blend. Also, be cautious with the dark chocolate if you or your guests have allergies; check for any potential allergens in the brand you use. For egg-free options, you might want to explore egg substitutes like flax eggs, but this may alter the texture slightly.
How can I prevent the crust from becoming soggy?
To prevent your crust from sogginess, be sure to prick the bottom of the tart shell with a fork before baking. This allows steam to escape, keeping your crust crispy. You can also lightly bake it for a few minutes before adding the filling to create a bit more firmness. Enjoy baking this delightful Italian Chocolate Tart!
Indulge in the Best Italian Chocolate Tart Ever
Ingredients
Equipment
Method
- In a large mixing bowl, whisk together flour, sugar, cocoa powder, and salt until well combined.
- Cut in cold butter using a pastry cutter until the mixture resembles coarse crumbs.
- Add one whole egg and one egg yolk, gently mixing until a dough forms.
- Shape the dough into a disk, wrap in plastic wrap, and refrigerate for at least 30 minutes.
- Preheat your oven to 180°C (350°F).
- Roll out the chilled dough to about ¼ inch thick, ensuring it fits your 9-inch tart pan.
- Carefully lay the rolled-out dough into the tart pan and prick the bottom with a fork.
- Place the tart shell in the preheated oven and bake for 15 minutes.
- Remove from oven and let cool completely.
- In a medium saucepan, heat whole milk over medium heat until steaming.
- In a separate bowl, whisk together egg yolks, sugar, and flour until smooth.
- Gradually pour hot milk into the egg mixture while whisking constantly.
- Return combined mixture to saucepan and cook over medium heat, stirring continuously until thickened.
- Remove from heat and stir in dark chocolate until melted.
- Pour the filling into the cooled tart shell evenly.
- Refrigerate for at least 30 minutes to set before serving.


Leave a Reply