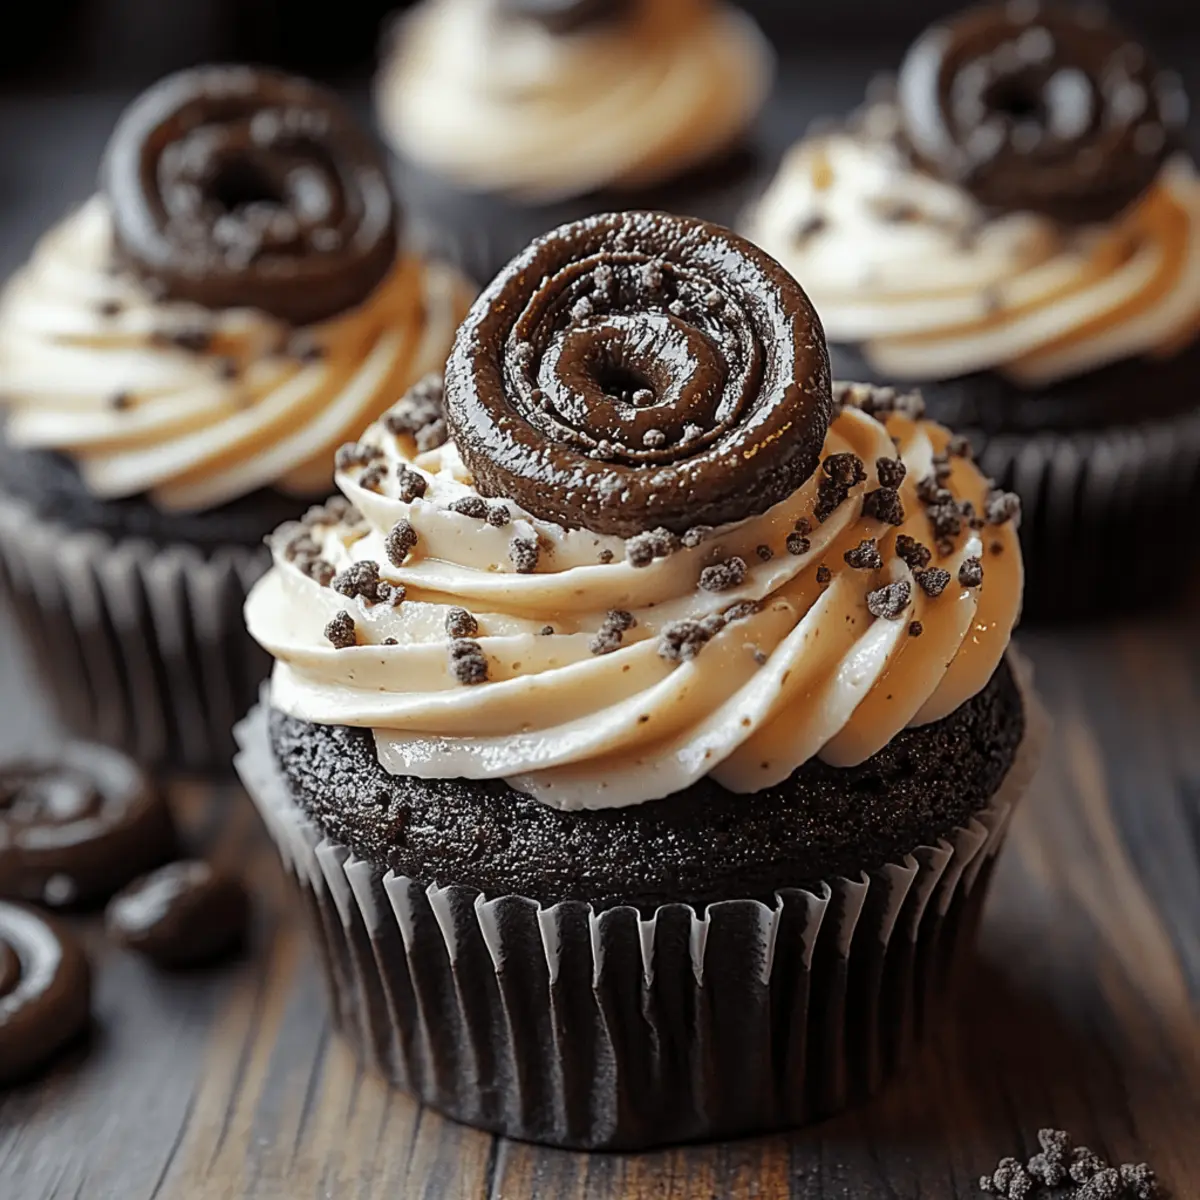
As I slid the pan of freshly baked treats out of the oven, the rich aroma of chocolate mingled with something uniquely nostalgic—it was the unmistakable scent of Oreos. These Oreo Cupcakes have become my go-to whenever I'm craving a quick and delightful dessert, perfect for sharing or enjoying on my own. With just a bit of preparation, they transform from simple ingredients into heavenly morsels, topped with luscious Oreo buttercream frosting that captures the joy of indulgence. These cupcakes are not only a crowd-pleaser but also a fantastic way to swap out fast food for something homemade and heartwarming. Curious about how this sweet magic happens? Let’s dive into the recipe and make some delicious memories together!
Why Are Oreo Cupcakes So Irresistible?
Decadent flavors: The rich chocolate cupcakes, loaded with chunks of Oreos, create a dessert that's incredibly satisfying.
Easily customizable: Feel free to play with the frosting or add toppings, making each batch uniquely yours!
Perfect for any occasion: Whether it's a birthday party, a cozy night in, or just a treat for yourself, these cupcakes shine.
Quick and simple: With just 35 minutes from start to finish, it’s never been easier to whip up a delightful homemade dessert.
Nostalgic appeal: Every bite brings a wave of childhood memories, making these cupcakes a delightful throwback!
Oreo Cupcake Ingredients
For the Cupcakes
- All-purpose flour – a foundational ingredient for that perfect light and fluffy texture.
- Granulated sugar – adds sweetness and helps create a tender crumb.
- Cocoa powder – brings rich chocolate flavor that pairs beautifully with Oreos.
- Baking powder – ensures these cupcakes rise perfectly for a delightful bite.
- Baking soda – balances acidity for a well-leavened cupcake.
- Salt – enhances all the flavors by adding depth to the sweetness.
- Milk – keeps the batter moist and gives a lovely creamy consistency.
- Vegetable oil – adds moisture to the cupcakes, making them soft and tender.
- Large egg – binds the ingredients together while providing richness.
- Vanilla extract – adds a warm, sweet note that elevates the overall flavor.
- Hot water or hot coffee – intensifies the cocoa flavor for an extra chocolatey experience.
- Roughly chopped Oreo cookies – these delightful pieces add texture and that signature Oreo flavor.
For the Oreo Buttercream Frosting
- Unsalted butter – provides a creamy base for the frosting, ensuring a smooth texture.
- Powdered sugar – sweetens the frosting while giving it that silky smooth finish.
- Vanilla extract – gives the frosting a hint of warmth and complements the Oreos.
- Cream or milk – thins out the frosting to the perfect spreading consistency.
- Finely crushed Oreo cookies – these will take your frosting to the next level with flavor and texture, making every bite of your Oreo Cupcakes extra special!
Step‑by‑Step Instructions for Oreo Cupcakes
Step 1: Preheat the Oven
Begin by preheating your oven to 350°F (175°C). While the oven heats, line a cupcake tin with 12 paper liners, ensuring they are evenly spaced. This step sets the stage for baking your delightful Oreo Cupcakes to perfection, so make sure you allow the oven to reach the right temperature before moving on.
Step 2: Mix Dry Ingredients
In a large mixing bowl, whisk together 1 cup of all-purpose flour, 1 cup of granulated sugar, 6 tablespoons of cocoa powder, 1 teaspoon of baking powder, ½ teaspoon of baking soda, and ½ teaspoon of salt. As you combine these ingredients, take in the rich aroma of cocoa and sugar blending together, which will be the base of your delicious Oreo Cupcakes.
Step 3: Add Wet Ingredients
To the dry ingredients, add ½ cup of milk, ¼ cup of vegetable oil, 1 large egg, and 1 teaspoon of vanilla extract. Mix these ingredients together until the batter is smooth and creamy, about 2-3 minutes. The batter should have a silky consistency, signaling that you're ready to elevate the flavors with the next step.
Step 4: Incorporate Hot Liquid
Pour in ½ cup of hot water or hot coffee and stir gently until just combined. This step will enhance the chocolate flavor of your Oreo Cupcakes, making them even more indulgent. Be careful not to overmix; a few lumps are fine as you work towards a decadent batter.
Step 5: Fold in Oreos
Gently fold in the roughly chopped Oreo cookies, ensuring they are evenly distributed throughout the batter. This incorporation will add delightful chunks of Oreo in every bite of your cupcakes. The batter should look rich and studded with the unmistakable black-and-white of the cookies.
Step 6: Fill the Cupcake Liners
Using a spoon or a small ice cream scoop, fill each cupcake liner about three-quarters full with the batter. This prevents overflow while allowing room for rising during baking. Place the filled tin in the center of your preheated oven, ready to transform into delicious treats.
Step 7: Bake the Cupcakes
Bake the Oreo Cupcakes for 18–20 minutes, or until a toothpick inserted into the center comes out clean. Keep an eye on them; the tops should be slightly domed and set, indicating they are perfectly baked. Once done, remove them from the oven and allow to cool in the tin for a few minutes before transferring to a wire rack.
Step 8: Prepare the Buttercream Frosting
While the cupcakes are cooling, whip 1 cup of softened unsalted butter in a mixing bowl until it's light and fluffy, about 3 minutes. This will serve as the base for your rich Oreo buttercream frosting. The fluffiness of the butter will create a luscious texture that pairs beautifully with the cupcakes.
Step 9: Mix in the Sugar
Gradually add 3 cups of powdered sugar to the whipped butter, blending each addition until smooth and creamy. This step is crucial for achieving a buttery frosting that won’t be overly sweet, perfectly balancing the flavors of your Oreo Cupcakes. You may need to scrape down the sides of the bowl to ensure everything is combined.
Step 10: Add Vanilla and Cream
Stir in 1 teaspoon of vanilla extract and ½ cup of cream or milk, mixing until the frosting reaches a light, spreadable consistency. Adjust the cream or milk to the desired thickness, ensuring the frosting will pipe beautifully atop your delicious cupcakes.
Step 11: Fold in Crushed Oreos
Fold in 6 finely crushed Oreo cookies with the filling removed into the frosting until well incorporated. This will not only amplify the Oreo flavor but also add delightful texture to your buttercream. The sight of the crushed Oreos mingling with the frosting will have you eager to top those cupcakes.
Step 12: Frost the Cupcakes
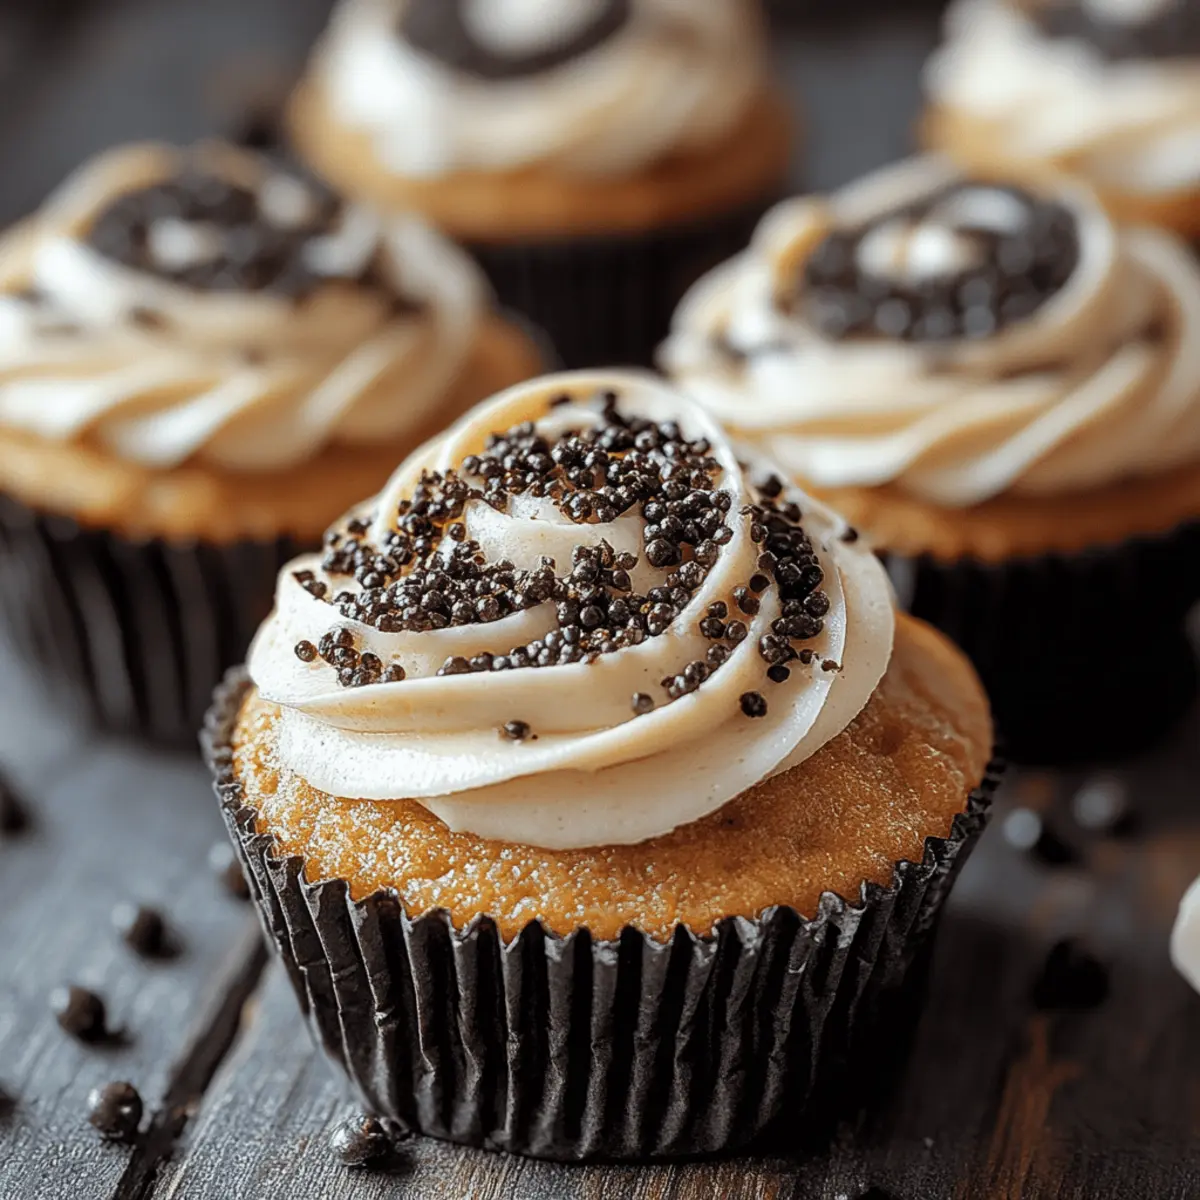
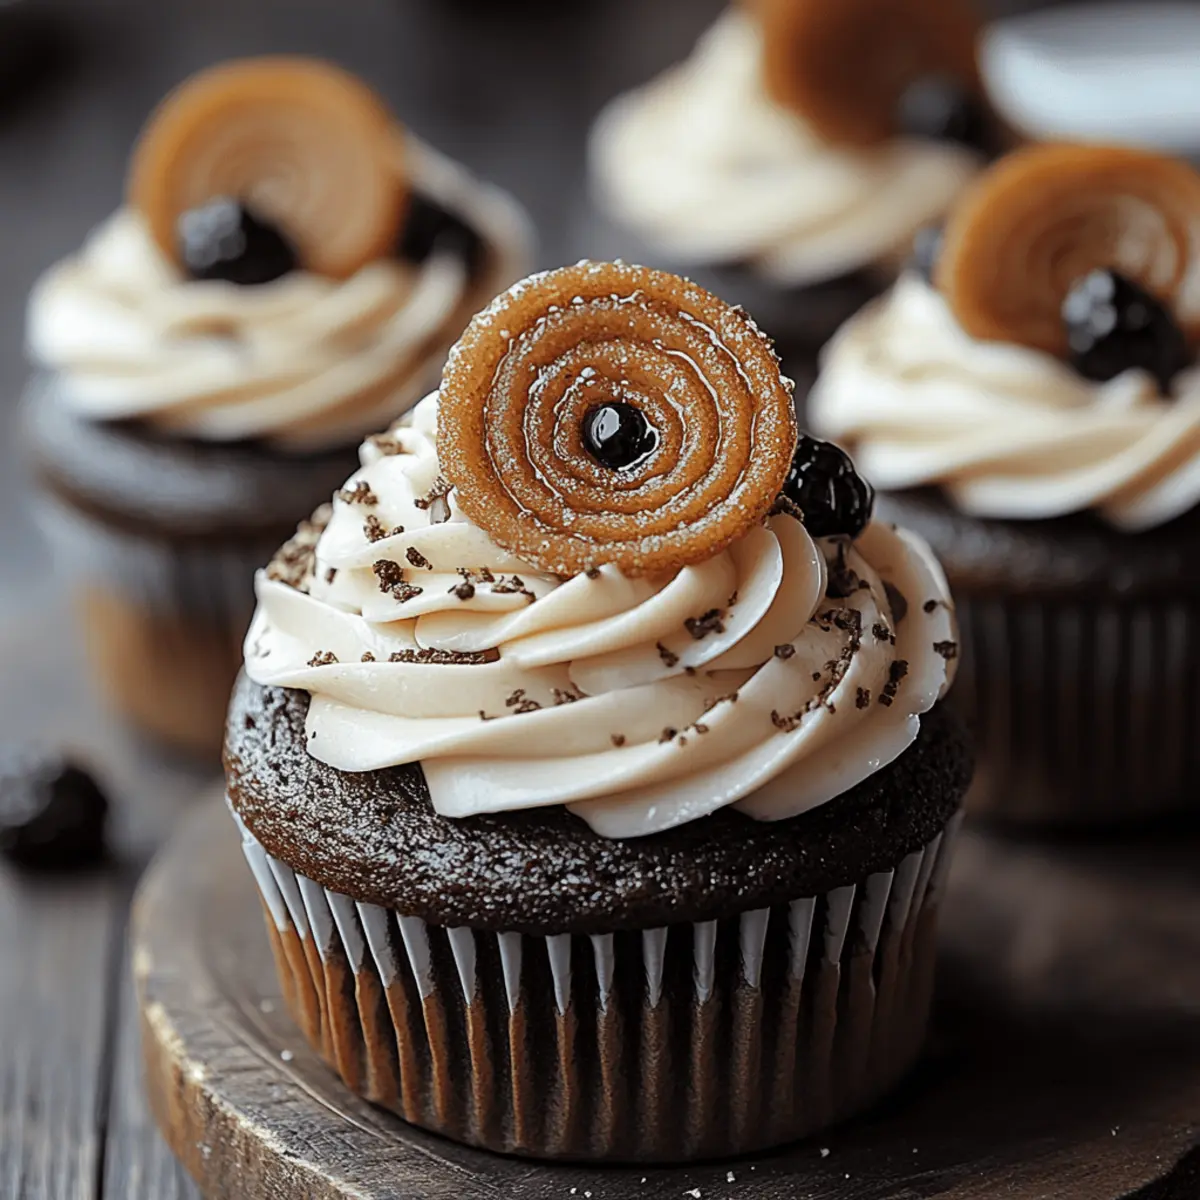
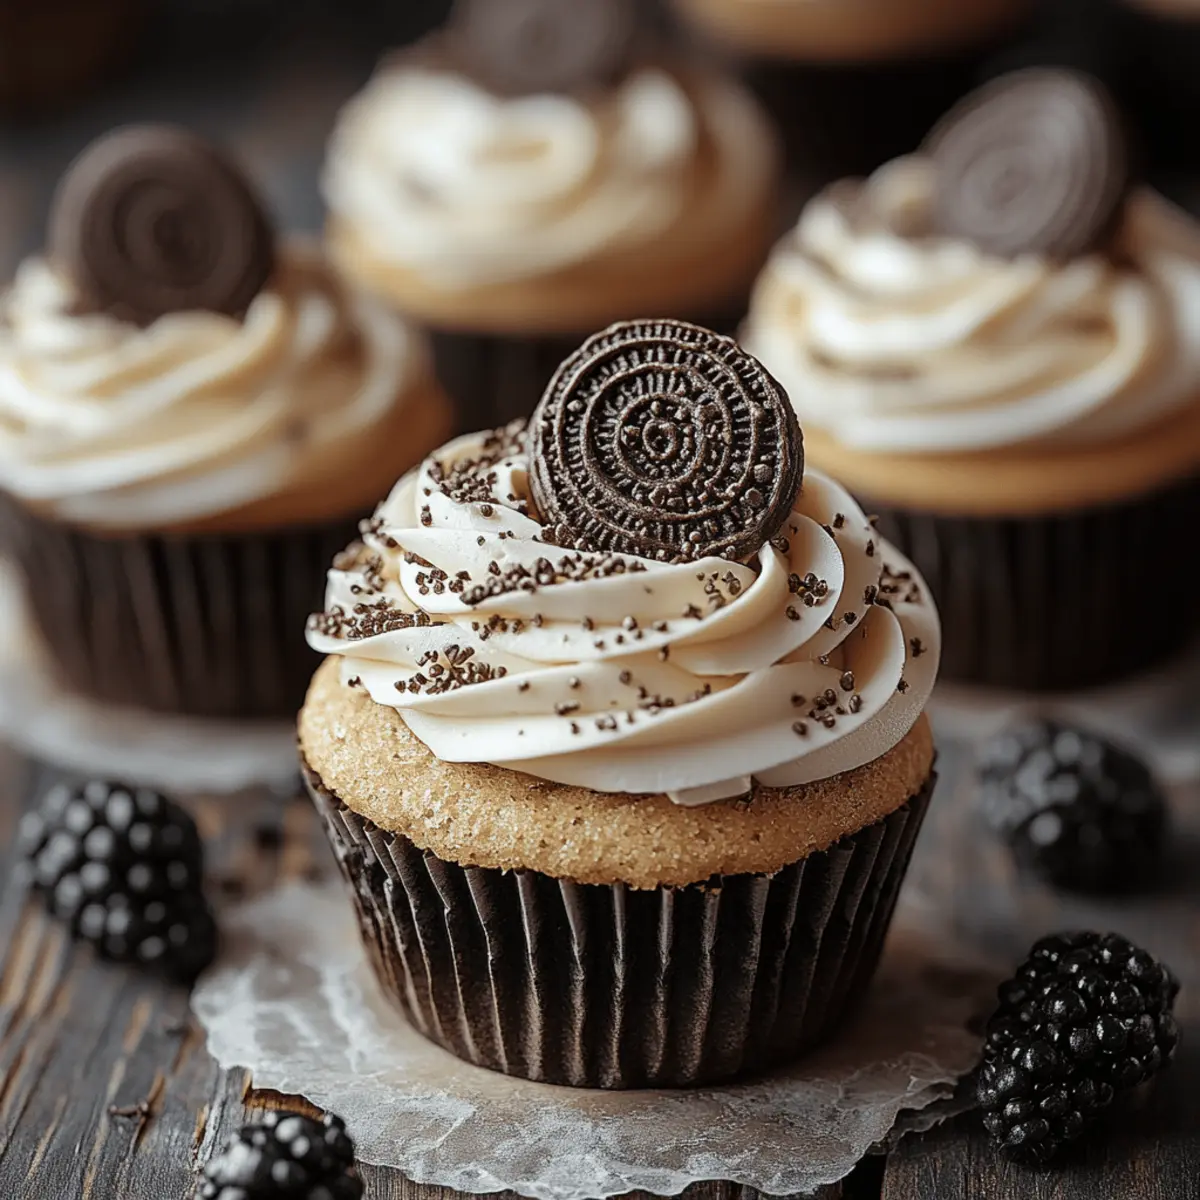
Once the Oreo Cupcakes have completely cooled, pipe or spread the Oreo buttercream generously over each one. Use a piping bag for a decorative touch or a simple spatula for a more rustic look. Either way, each cupcake should be luxuriously topped, ready for the final touch.
Step 13: Add the Finishing Touch
Finish off your delightful creations by topping each cupcake with a mini Oreo or a halved Oreo cookie. This not only adds an appealing decoration but also gives a hint of what’s inside. Your enchanting Oreo Cupcakes are now ready to be enjoyed, and they might just become a family favorite!
Expert Tips for Baking Oreo Cupcakes
Use Room Temperature Ingredients: Ensure your egg and butter are at room temperature for a smoother batter that incorporates air better, resulting in fluffier cupcakes.
Don't Overmix: Mix until just combined after adding hot water or coffee. Overmixing can lead to dense cupcakes, so a few lumps are perfectly fine.
Check Doneness: Insert a toothpick into the center of a cupcake; if it comes out clean or with a few moist crumbs, they're done. This ensures your Oreo Cupcakes are perfectly baked without being dry.
Let Cool Completely: Allow the cupcakes to cool completely before frosting. This prevents the buttercream from melting and ensures you achieve that beautiful finish.
Customize Your Frosting: Feel free to experiment with flavors or additional toppings in the buttercream—like using a hint of mint or even drizzling with chocolate for extra indulgence.
Oreo Cupcakes: Fun Variations & Substitutions
Feel free to unleash your culinary creativity by customizing these cupcakes to match your taste!
- Gluten-Free: Swap out all-purpose flour for a 1:1 gluten-free baking blend for delightful results.
- Vegan-Friendly: Use almond milk, coconut oil, and a flax egg to make these cupcakes completely plant-based.
- Different Cookies: Replace Oreos with any chocolate sandwich cookie for a unique twist on flavor.
- Minty Fresh: Add a few drops of peppermint extract to the buttercream for a refreshing mint chocolate experience.
- More Chocolate: Incorporate chocolate chips into the batter for extra melty goodness in every bite.
- Nutty Texture: Fold in chopped walnuts or pecans for added crunch and depth of flavor.
- Coconut Bliss: Mix in shredded coconut into the frosting for a delightful tropical touch to your cupcake experience.
- Heat Things Up: Try adding a pinch of cayenne pepper to the batter for a surprising kick that complements the chocolate!
Experimenting with these variations can turn your Oreo Cupcakes into a delightful canvas for new flavors and textures!
How to Store and Freeze Oreo Cupcakes
Room Temperature: Keep uneaten Oreo Cupcakes in a cool, dry place for up to 2 days in an airtight container to maintain freshness.
Fridge: For longer storage, place the cupcakes in the fridge in an airtight container for up to 5 days. Allow them to come to room temperature before serving for the best texture.
Freezer: To freeze, wrap each cupcake individually in plastic wrap and place them in a freezer-safe container or bag. They’ll stay fresh for up to 3 months. Thaw overnight in the fridge before enjoying.
Reheating: If desired, microwave a frozen cupcake for about 15-20 seconds to enjoy a warm, melty treat, retaining the joy of these indulgent Oreo Cupcakes.
What to Serve with Oreo Cupcakes?
Imagine the joyous chatter of friends gathered around, each bite of a fluffy cupcake paired with delightful accompaniments that enhance the moment.
- Creamy Milkshake: The rich and thick texture offers a nostalgic pairing with the chocolatey sweetness of the cupcakes.
- Ice Cream: A scoop of vanilla or cookies and cream ice cream adds a refreshing contrast to the warm cupcake. It's like a dream come true for those who love sweet treats.
- Chocolate Dipped Strawberries: These juicy, sweet fruits provide a fresh tartness that beautifully balances the indulgence of the Oreo cupcakes.
- Fresh Fruit Salad: A medley of seasonal fruits introduces refreshing flavors that lighten the overall meal while bringing vibrant color to the table.
- Whipped Cream: A dollop of lightly sweetened whipped cream on the side harmonizes beautifully with both the cupcakes and the rich frosting.
- Coffee or Espresso: A warm cup of coffee perfectly complements the chocolate flavor, enhancing the cupcake experience and drawing out its rich undertones.
- Chocolate Mousse: This silky dessert echoes the flavors of the cupcakes while providing a luxurious touch that’s sure to impress your guests.
- Mini Oreo Cookies: These can be a fun, bite-sized addition, allowing guests to indulge even more and providing a playful nod to the main treat.
- Sparkling Water or Lemonade: Effervescent drinks offer a refreshing palate cleanser, making them perfect companions to the sweet decadence of Oreo cupcakes.
- Dark Chocolate Ganache: Drizzling some over the cupcakes takes them up a notch, intensifying the chocolate flavor for true chocoholics.
Make Ahead Options
These Oreo Cupcakes are a fantastic choice for meal prep! You can make the cupcake batter and store it in the refrigerator for up to 24 hours before baking to enhance the flavors. Simply mix the dry ingredients and wet ingredients separately, then combine right before baking. Additionally, the frosting can be whipped up and stored in an airtight container in the fridge for up to 3 days. To maintain the quality, ensure you let the frosting sit at room temperature for a bit before piping, so it becomes spreadable. When you're ready to enjoy, bake the cupcakes and frost them right after they cool to indulge in delicious, freshly made Oreo Cupcakes with minimal effort!
Oreo Cupcakes Recipe FAQs
How do I choose the right Oreos for my cupcakes?
Absolutely! For the best flavor, opt for classic Oreos as they provide the perfect balance of cream and crunch. You can also experiment with other flavors like Birthday Cake or Peppermint, but keep in mind that they might alter the overall taste of your cupcakes.
How should I store leftover Oreo Cupcakes?
Very! Keep uneaten Oreo Cupcakes in a cool, dry place, stored in an airtight container for up to 2 days. If you want to prolong their life, move them to the fridge in an airtight container where they can last for up to 5 days. Just allow them to come to room temperature before you dig in for the best texture.
Can I freeze Oreo Cupcakes for later?
Yes, you can! To freeze your Oreo Cupcakes, first, allow them to cool completely. Then, wrap each cupcake individually in plastic wrap and place them in a freezer-safe zip-top bag or container. They’ll stay fresh for up to 3 months! When you're ready to enjoy them, just thaw them overnight in the fridge and bring to room temperature before serving.
What should I do if my cupcakes are too dense?
If your cupcakes turn out a bit dense, don't worry—this can happen if the batter is overmixed or if ingredients are cold. Ensure to mix just until combined after adding liquid ingredients. Using room temperature ingredients can help create a fluffier texture. If you still find yourself with a dense cupcake, consider trying a baking powder check to make sure it's fresh, as old leavening agents can affect the rise.
Can pets eat Oreo Cupcakes?
Not at all! While we adore these indulgent treats, they are not safe for pets. Chocolate is toxic to dogs and can lead to serious health issues. Make sure to keep these delightful Oreo Cupcakes out of reach of your furry friends, and instead consider making them some pet-friendly treats tailored just for them.
How long does it take to make these cupcakes?
You’ll be pleased to know that these Oreo Cupcakes can be whipped up in just about 35 minutes! This includes 15 minutes of prep time and 20 minutes of baking time. It’s a quick and simple way to satisfy your sweet tooth without the fuss.
Indulgent Oreo Cupcakes That Will Melt Your Heart
Ingredients
Equipment
Method
- Preheat your oven to 350°F (175°C) and line a cupcake tin with 12 paper liners.
- In a large mixing bowl, whisk together all-purpose flour, granulated sugar, cocoa powder, baking powder, baking soda, and salt.
- Add milk, vegetable oil, egg, and vanilla extract to the dry ingredients and mix until smooth.
- Stir in the hot water or coffee until combined, being careful not to overmix.
- Gently fold in the chopped Oreo cookies.
- Fill each cupcake liner about three-quarters full with the batter.
- Bake for 18-20 minutes, or until a toothpick comes out clean. Cool in the tin for a few minutes before transferring to a wire rack.
- Whip the softened butter until light and fluffy, about 3 minutes.
- Gradually add powdered sugar, mixing until smooth.
- Stir in vanilla extract and cream until the frosting is spreadable.
- Fold in finely crushed Oreo cookies until incorporated.
- Once cooled, frost each cupcake generously with Oreo buttercream.
- Top each cupcake with a mini Oreo or halved Oreo cookie for decoration.

Leave a Reply