There’s something incredibly satisfying about pulling off a culinary masterpiece with just a couple of ingredients. This 2-Ingredient Chocolate Mousse is one such success story, turning mere chocolate and hot coffee or tea into a rich, airy dessert that seems too good to be true. Perfect for those nights when you want something indulgent without the fuss, this recipe not only whips up in just 10 minutes but also requires minimal cleanup—who doesn’t appreciate that? Plus, it’s a delightful way to impress guests, or simply indulge yourself after a long day. Are you ready to dive into the simplicity of this sweet treat? Let’s make some magic happen!
Why is this chocolate mousse amazing?
Simplicity at its finest: With only two ingredients, you can create a luxurious dessert that feels gourmet.
Quick preparation: In just 10 minutes, you’ll have a delightful treat ready to impress, no lengthy cooking required!
Rich, indulgent flavor: The combination of dark chocolate with coffee or tea elevates the taste to celestial levels, perfect for satisfying your sweet tooth.
Versatile delight: Enjoy it right away or chill it for later; this mousse is ideal for spontaneous cravings or planned gatherings!
Minimal cleanup: Less fuss means more time to enjoy your delicious creation, leaving you with only a few dishes to wash.
Chocolate Mousse Ingredients
• Get ready for a delightful treat!
For the Mousse
• Dark Chocolate – This rich ingredient is the star of your chocolate mousse, creating a decadent base.
• Hot Coffee or Tea – This not only melts the chocolate but also adds depth to the flavor of your chocolate mousse.
Whether you're whipping this up for a family dinner or treating yourself, you’ll love how these simple ingredients come together to create something extraordinary!
Step‑by‑Step Instructions for Chocolate Mousse
Step 1: Prepare the Ice Bath
Begin by creating an ice bath to cool your chocolate mixture. Fill a medium-sized bowl with ice cubes and cold water, ensuring it’s deep enough to submerge the base of another bowl. This will help achieve the perfect creamy texture for your chocolate mousse as it cools swiftly after mixing.
Step 2: Melt the Chocolate
In a separate medium bowl, break your dark chocolate into small pieces for faster melting. Carefully pour the hot coffee or tea over the chocolate, allowing it to sit for about a minute. Use a spatula to gently stir until the chocolate is completely melted, smooth, and shiny, ensuring no lumps remain.
Step 3: Combine with the Ice Bath
Once the chocolate is melted, set the bowl over the prepared ice bath. Be cautious not to get any water into the chocolate. This cooling process is vital for thickening the mousse. Stir the mixture gently while it cools for around 2-3 minutes, keeping an eye on the consistency as it begins to thicken.
Step 4: Whisk Vigorously
Next, grab a whisk or a hand mixer to start incorporating air into the chocolate mixture. Whisk vigorously for approximately 5 minutes until it doubles in volume and thickens. You’ll notice the color gets lighter as air is incorporated, resulting in a luscious and airy texture befitting of a rich chocolate mousse.
Step 5: Final Touch for Fluffiness
Remove the bowl from the ice bath and continue whisking the mixture for an additional 1-2 minutes. This step is crucial for achieving that light and fluffy consistency that defines your chocolate mousse. The final outcome should be both smooth and airy, perfect for serving.
Step 6: Serve or Chill
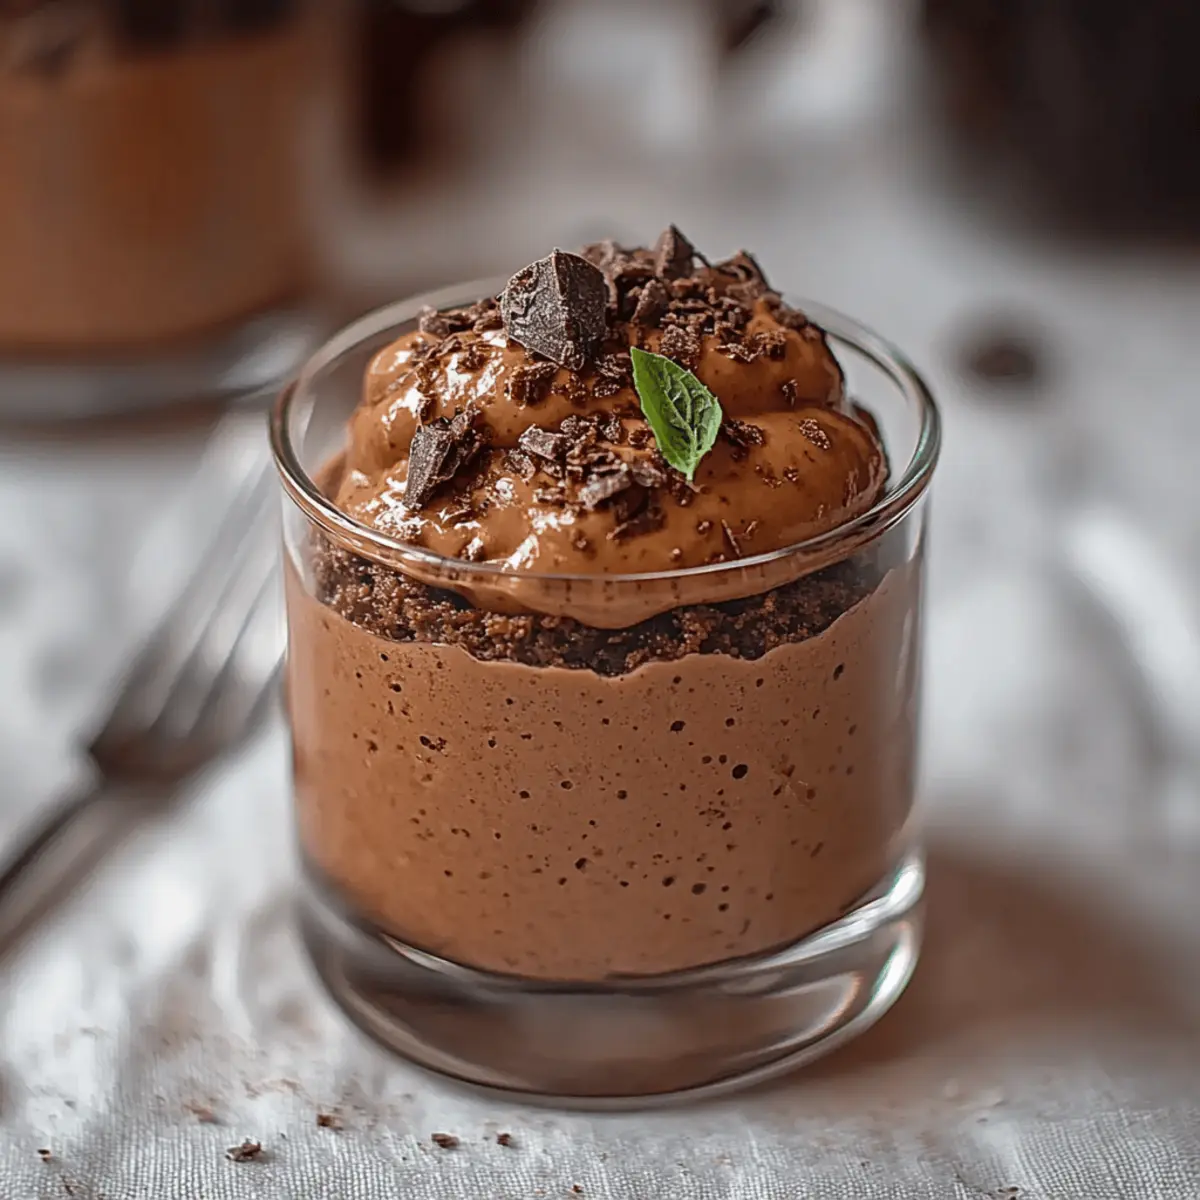
Spoon your airy chocolate mousse into pudding cups or delightful serving bowls. You can enjoy it immediately for a warm, rich taste, or if you prefer, cover and refrigerate it for up to 4 days. Allowing it to chill enhances the flavor, making it an indulgent treat you can savor later.
Expert Tips for Chocolate Mousse
Quality Chocolate: Use high-quality dark chocolate for the best flavor. Avoid chocolate chips, as they can contain stabilizers that prevent smooth melting.
Hot Liquid Trick: Ensure your coffee or tea is hot enough to melt the chocolate quickly. Using lukewarm liquids can result in a grainy texture in your chocolate mousse.
Whisk Technique: Whisking vigorously is key! This incorporates air into the chocolate mixture, giving your mousse that light and fluffy texture. Don't rush this step—it's where the magic happens!
Cool Carefully: Be cautious while setting your bowl over the ice bath; any water getting into the chocolate can affect the consistency. Always keep the bowls dry.
Serve Fresh or Chill: For the best experience, serve immediately or refrigerate for no more than 4 days. Longer refrigeration can affect the mousse's airy quality, essential for an indulgent chocolate mousse.
Chocolate Mousse Variations & Substitutions
Feel free to get creative and make this chocolate mousse your own! With just a few tweaks, you can elevate the flavors and textures to suit your taste.
- Milk Chocolate: Substitute dark chocolate for milk chocolate for a sweeter, creamier mousse that’s irresistible.
- Nutty Twist: Add a tablespoon of hazelnut or almond extract to infuse the mousse with delicious nutty notes that will surprise your taste buds.
- Vegan Delight: Replace the chocolate with dairy-free chocolate and the hot coffee with almond milk for a delicious dairy-free version.
- Spicy Kick: Stir in a pinch of cayenne pepper or a dash of cinnamon for a spicy twist that adds warmth and complexity to the dessert.
- Flavor Fusion: Mix in flavored coffee or herbal tea varieties, like vanilla or chai, for a unique spin that complements the chocolate beautifully.
- Savory Element: Fold in a pinch of sea salt before serving to enhance the sweetness of the chocolate and add a gourmet touch.
- Creamy Texture: If you desire a silkier mousse, fold in a tablespoon of whipped cream just before serving for an indulgent, airy treat.
- Fruit Infusion: Add fresh raspberries or strawberries on top or blend them into the mousse for a burst of fruity freshness that brightens each bite.
Make Ahead Options
These 2-Ingredient Chocolate Mousse cups are a fantastic choice for meal prep, allowing you to indulge in a delightful dessert anytime! You can prepare the mousse mixture up to 24 hours in advance. Simply follow the recipe until you reach the step of spooning the mousse into serving cups, then cover and refrigerate. This chilling time helps the flavors meld beautifully, ensuring each bite is just as delicious as if freshly made. When ready to serve, just give the mousse a gentle stir to lighten it up and enjoy! Keeping it well-covered will maintain its fluffy texture and rich taste, making it the perfect make-ahead treat for busy weeknights or gatherings.
How to Store and Freeze Chocolate Mousse
Fridge: Store your chocolate mousse in an airtight container in the refrigerator for up to 4 days. This helps retain its fluffy texture and rich flavor.
Freezer: While chocolate mousse is best enjoyed fresh, you can freeze it for up to 2 months. Make sure to use a freezer-safe container to avoid freezer burn.
Thawing: When ready to enjoy, transfer the frozen chocolate mousse to the fridge to thaw overnight. Avoid microwaving, as it may alter the texture.
Serving: For the best experience, whip the mousse again lightly with a fork before serving to revive its airy quality after thawing.
What to Serve with 2-Ingredient Chocolate Mousse
Nothing elevates that dreamy chocolate experience like delicious accompaniments!
-
Fresh Berries: The tartness of raspberries or strawberries cuts through the richness of the mousse, adding a refreshing contrast that enhances each bite. A handful of juicy, ripe berries will make your dessert feel sophisticated and vibrant.
-
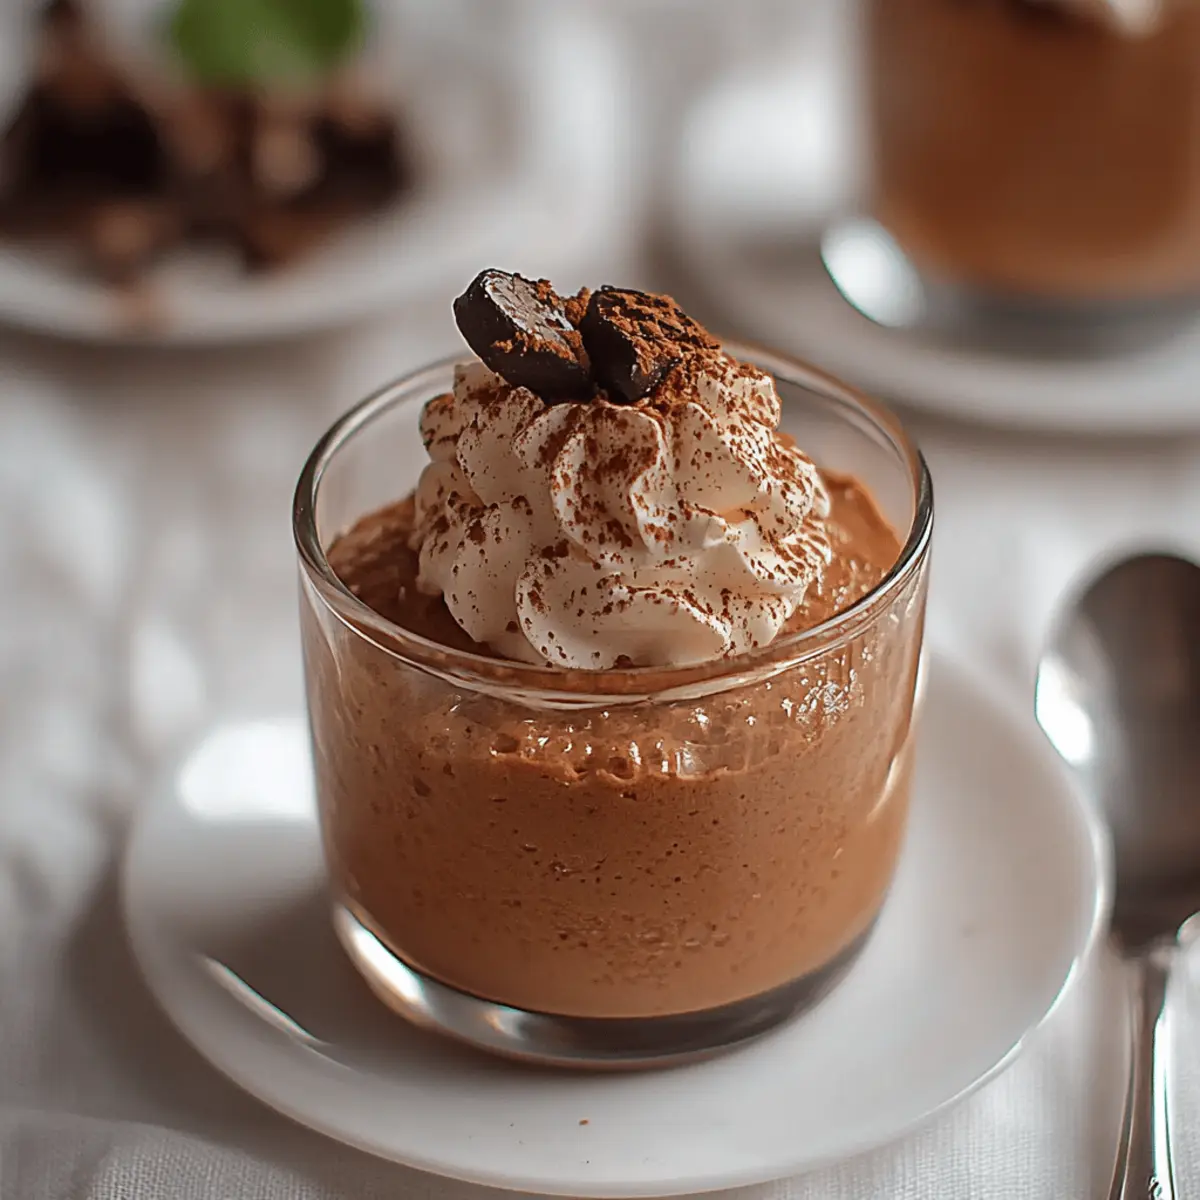
Whipped Cream: A dollop of freshly whipped cream adds a light, airy texture, complementing the mousse beautifully. This classic pairing brings creaminess that balances the chocolate's depth, creating a delightful harmony of flavors.
-
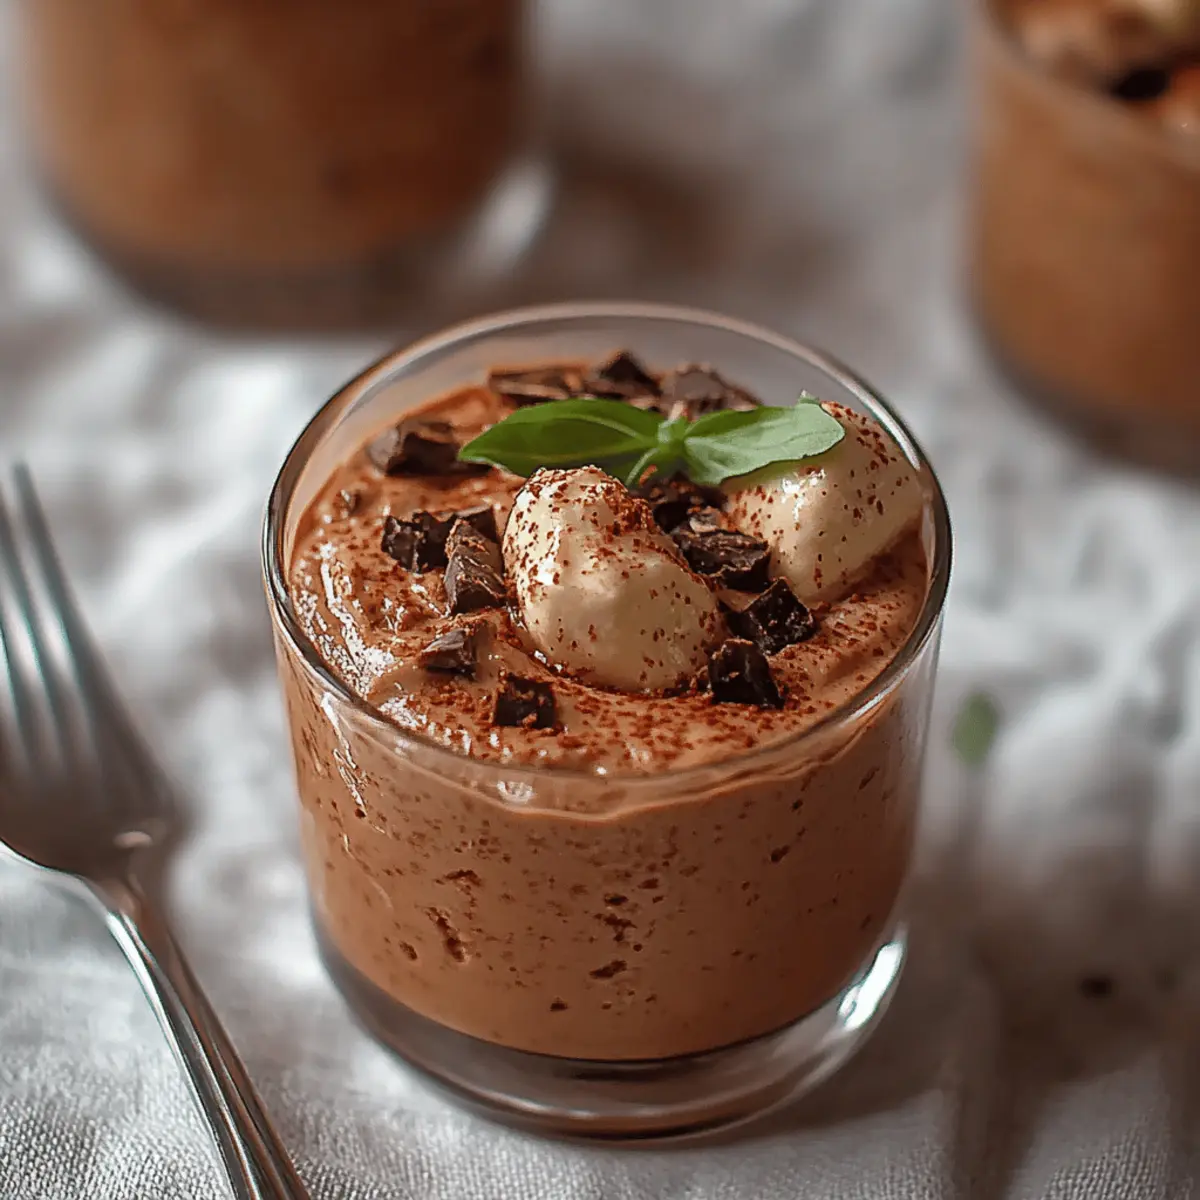
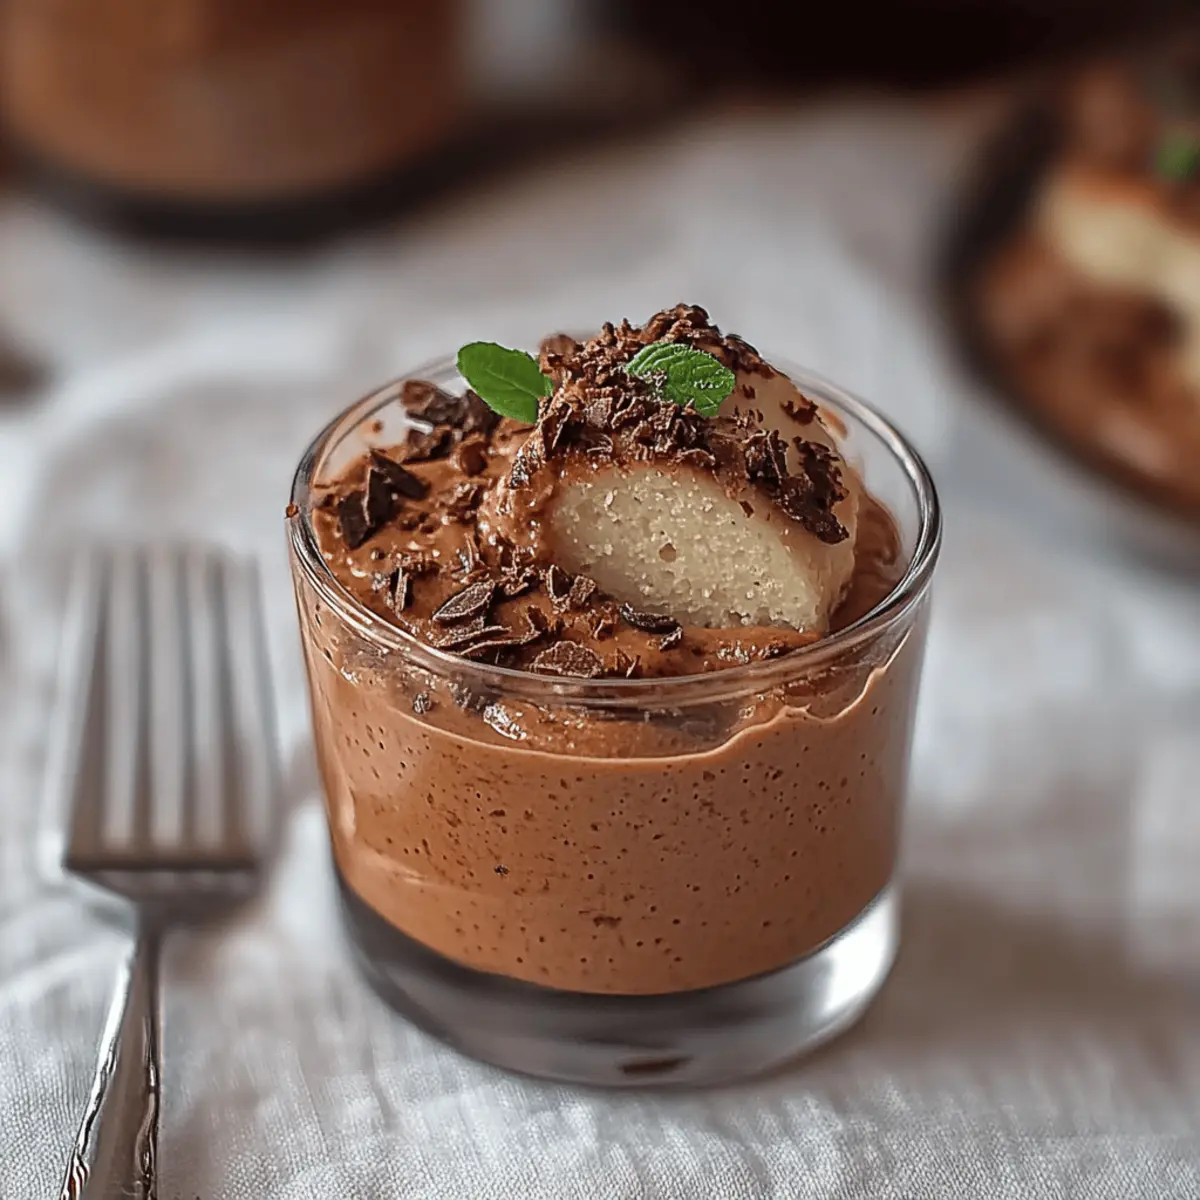
Chocolate Shavings: For chocolate aficionados, sprinkling chocolate shavings on top adds an extra layer of indulgence. These delicate shavings enhance the mousse's appeal while offering an added texture that enhances the overall experience.
-
Espresso Martini: Pairing this dessert with an espresso martini offers an indulgent treat for coffee lovers. The rich coffee flavors echo the mousse’s base, creating a luxurious finish to your meal.
-
Peanut Butter Drizzle: A light drizzle of peanut butter adds a nutty creaminess that perfectly complements the dark chocolate. This rich addition brings a whole new level to your dessert, making each bite even more satisfying.
-
Hazelnut Biscotti: Crunchy biscotti offers a delightful textural contrast that pairs wonderfully with the mousse. Dipping a piece into the mousse enhances the experience, inviting delightful flavors that combine perfectly.
-
Vanilla Ice Cream: A scoop of vanilla ice cream alongside your mousse provides a cold, creamy contrast that is simply irresistible. The smoothness of the ice cream makes for a heavenly match, delighting every sweet tooth.
-
Mint Leaves: For a refreshing touch, a sprig of mint adds a burst of freshness that brightens the rich flavors. This simple addition enhances the aesthetic and brings a delightful aroma, making your dessert even more appealing.
2-Ingredient Chocolate Mousse Recipe FAQs
How do I choose the best chocolate for my mousse?
Absolutely! For the richest flavor, opt for high-quality dark chocolate with a cocoa content of at least 60%. Avoid chocolate chips; they often contain stabilizers that prevent smooth melting. Look for bars that are labeled as “baking chocolate” for optimal results!
How should I store my chocolate mousse?
Very! Store your chocolate mousse in an airtight container in the refrigerator for up to 4 days. This helps maintain its light and fluffy texture while keeping the flavor rich. If you find it hard to close the container tightly, you could also cover it with plastic wrap to ensure no fridge odors seep in.
Can I freeze chocolate mousse for later?
Definitely! While the experience is best fresh, you can freeze chocolate mousse for up to 2 months. Make sure to use a freezer-safe container and remember to seal it tightly to prevent freezer burn.
How should I thaw frozen chocolate mousse?
To bring back the deliciousness of your mousse, thaw it slowly in the fridge overnight. Avoid microwaving, as this can negatively change its creamy texture. Once thawed, give it a light whisk with a fork to fluff it up again before serving.
What if my chocolate mousse is too runny?
No worries! If your mousse doesn't thicken, it could be due to insufficient whisking. Continue whisking for a few more minutes, and consider placing it back over the ice bath to cool further. The cold helps the mousse set properly, creating that perfect airy consistency.
Can my pets enjoy chocolate mousse?
Oh no! Chocolate is toxic to pets, so it’s essential to keep this treat far away from your furry friends. If you're looking to share a sweet moment with them, consider making a pet-safe dessert without chocolate—it's the thought that counts!
Indulgent Chocolate Mousse in Just 10 Minutes!
Ingredients
Equipment
Method
- Prepare the Ice Bath: Fill a medium-sized bowl with ice cubes and cold water, deep enough to submerge the base of another bowl.
- Melt the Chocolate: Break the dark chocolate into small pieces, pour hot coffee or tea over it, and stir until smooth.
- Combine with the Ice Bath: Set the melted chocolate bowl over the ice bath, stirring gently for 2-3 minutes.
- Whisk Vigorously: Whisk the mixture for about 5 minutes until it doubles in volume and thickens.
- Final Touch for Fluffiness: Continue whisking for an additional 1-2 minutes after removing from the ice bath.
- Serve or Chill: Spoon into cups and enjoy immediately or refrigerate for up to 4 days.

Leave a Reply