As I stood in my kitchen, the sweet scent of melting butter mingled with the excitement of a new creation, I found myself ready to tackle a delightful challenge: making French Crullers. These airy, golden pastries are not just a treat for the eyes; they're a game changer for anyone feeling fed up with fast food. With an effortless prep time of just 20 minutes and the ability to serve a crowd, these crullers will bring smiles to your table. Plus, they’re perfect for pairing with a cozy cup of coffee or a glass of cold milk, making them a wonderful addition to any gathering or quiet evening at home. The idea of sinking my teeth into those crispy, glazed delights was too tempting to resist! Are you ready to whip up a batch and savor the magic of homemade goodness?
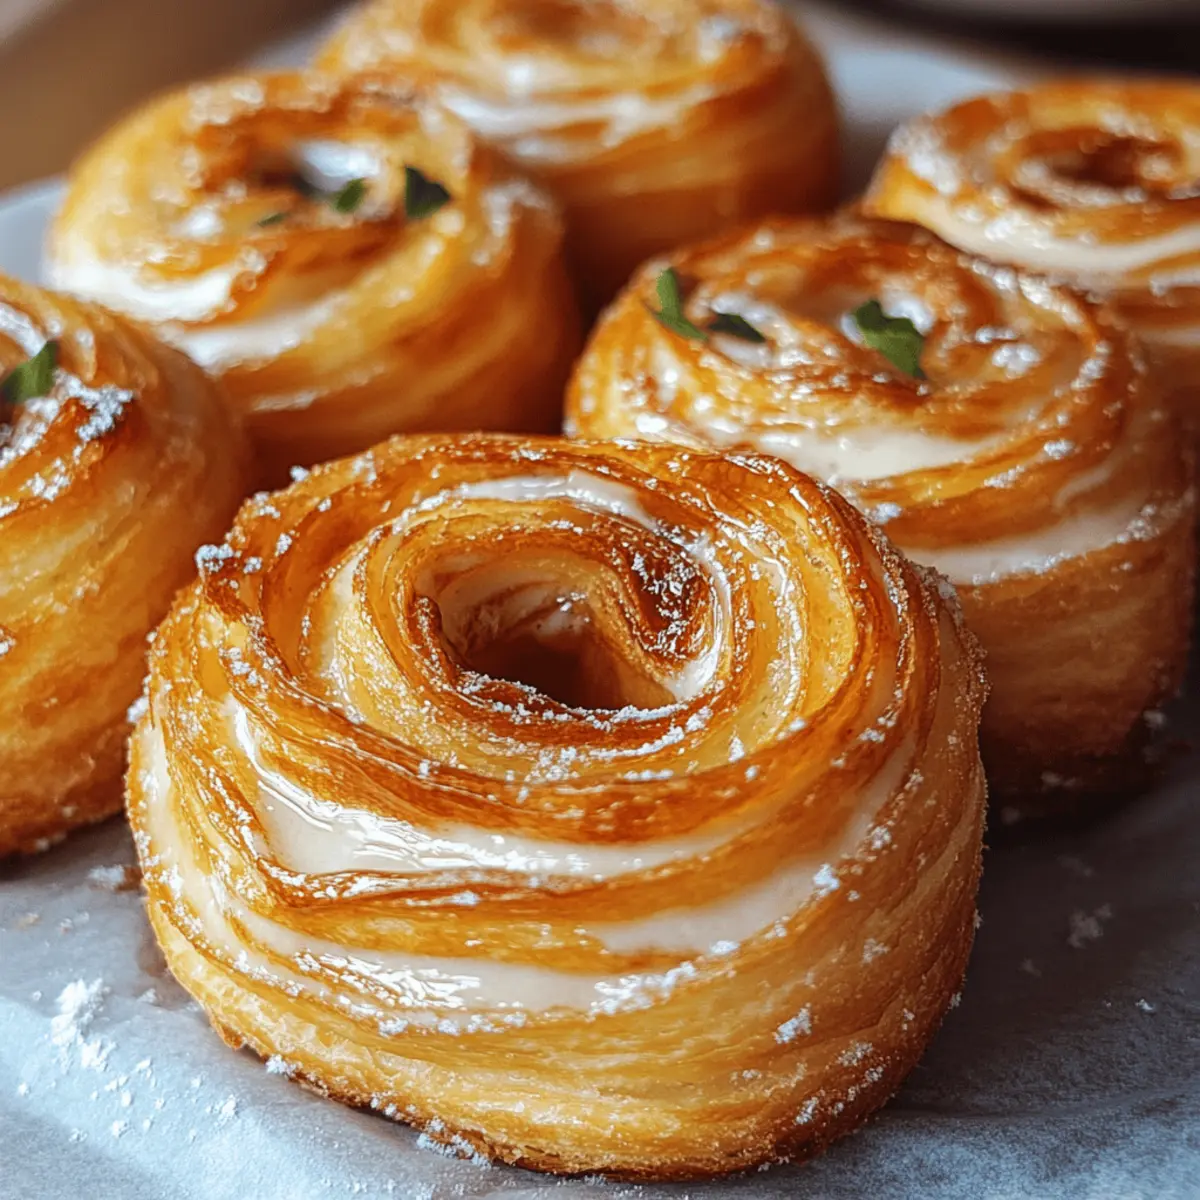
Why Are French Crullers So Irresistible?
Light, Airy Texture: The unique choux pastry technique creates a fluffy bite that melts in your mouth.
Quick and Easy: With just 20 minutes of prep, you can whip up these delights without any fuss.
Crowd-Pleasing Treat: Perfect for gatherings, these crullers are sure to impress family and friends alike.
Deliciously Versatile: Customize them with different glazes or toppings for endless flavor combinations, making each batch a new adventure!
Satisfy Your Sweet Tooth: Every bite promises a perfect balance of sweetness and richness that will keep you coming back for more.
Elevate your dessert game today with homemade French Crullers and experience the culinary joy of baking from scratch!
French Cruller Ingredients
Ready to create fluffy, golden wonders?
For the Dough
- Water – 1 cup, used to create steam for that incredibly light texture.
- Butter – ½ cup, adds richness and moisture to the dough.
- All-purpose flour – 1 cup, the foundation that holds the crullers together.
- Eggs – 4 large, for binding the dough and achieving a smooth consistency.
For Frying
- Vegetable oil – Enough for frying, ensures crullers become perfectly crispy without any unwanted flavors.
For the Glaze
- Powdered sugar – 1 cup, the essential sweet element that brings crullers to life.
- Vanilla extract – 1 teaspoon, adds a warm, comforting flavor to the glaze.
- Milk or water – 2 tablespoons, used to help achieve the perfect drizzling consistency for the glaze.
Now you’re all set to embark on this delightful cooking adventure with French Crullers!
Step‑by‑Step Instructions for French Crullers
Step 1: Melt and Combine
Begin by heating 1 cup of water and ½ cup of butter in a medium saucepan over medium heat. Stir the mixture until the butter is completely melted. Once melted, remove from heat and quickly add 1 cup of all-purpose flour, stirring vigorously until the dough forms a cohesive ball that pulls away from the sides of the pan. Allow it to cool slightly for about 5 minutes.
Step 2: Incorporate Eggs
Once the dough has cooled slightly, add 4 large eggs one at a time, beating well after each addition. Use a sturdy spoon or an electric mixer to ensure the dough turns smooth and glossy. This process should take around 3-5 minutes. The dough for your French Crullers should be thick but pipeable, indicating it’s ready for the next step.
Step 3: Prepare for Frying
Transfer the smooth dough into a piping bag fitted with a large star tip. On a parchment-lined baking sheet, pipe rings of dough, forming ridged shapes that resemble donuts. Each ring should be about 2 inches in diameter. Make sure to leave space between each cruller as they will puff up during frying. This should take about 10 minutes.
Step 4: Heat Oil for Frying
In a deep skillet or heavy pot, pour enough vegetable oil for frying—about 3 inches deep—and heat it to 350°F (175°C). Use a thermometer for accuracy, as this temperature is crucial for achieving perfectly crispy French Crullers. Once heated, it's time to fry those delicious rings!
Step 5: Fry the Crullers
Carefully drop a few piped dough rings into the hot oil, making sure not to overcrowd the pan. Fry them for about 2–3 minutes on each side, or until they puff up and turn a lovely golden brown. Use a slotted spoon to carefully flip them halfway through. Once done, transfer them to a wire rack to drain excess oil.
Step 6: Create the Glaze
While the crullers are cooling, whisk together 1 cup of powdered sugar, 1 teaspoon of vanilla extract, and 2 tablespoons of milk or water in a medium bowl. Mix until the consistency is smooth and pourable, perfect for dipping. This delightful glaze is what will make your French Crullers truly irresistible!
Step 7: Dip and Serve
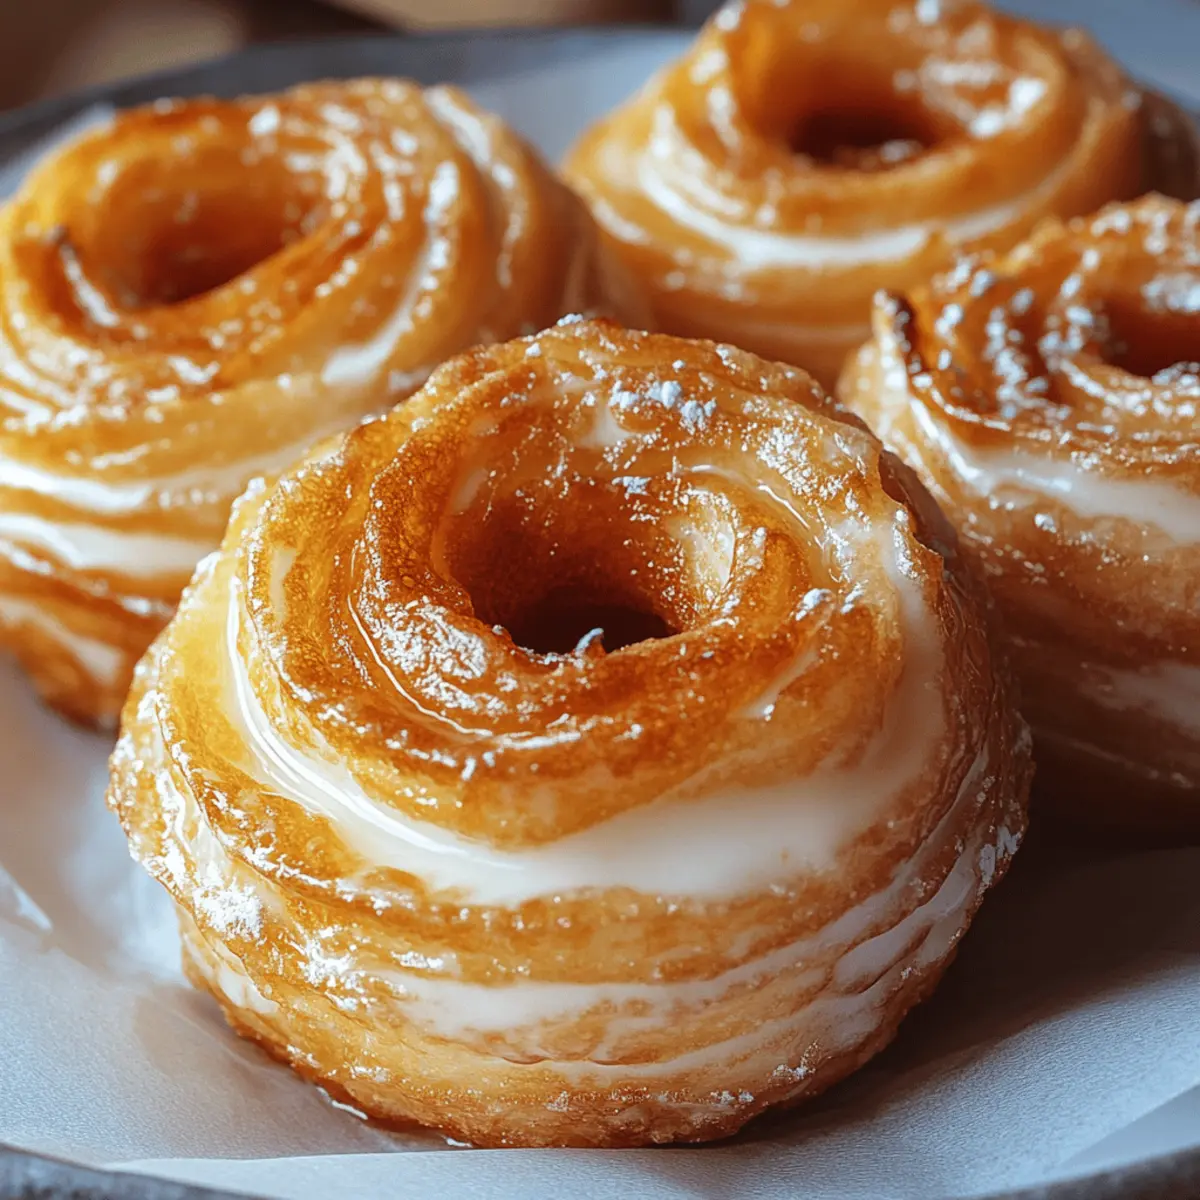
Once the fried crullers have cooled slightly, dip each one into the glaze, allowing excess to drip off. Place them back on the wire rack for the glaze to set just a bit. For an extra touch, feel free to sprinkle a light dusting of powdered sugar over the glazed crullers. They’re now beautifully decorated and ready to be enjoyed!
French Crullers Variations & Substitutions
Get ready to shake things up and explore delightful twists for your French crullers!
-
Maple Glaze: Swap the vanilla extract for maple syrup in the glaze for a cozy, autumn-inspired flavor that’s utterly scrumptious.
-
Citrus Zest: Add a tablespoon of lemon or orange zest to the dough for a refreshing citrusy zing that brightens every bite. Your taste buds will thank you!
-
Chocolate Dip: Melt dark or milk chocolate instead of glaze. Dip each cruller for a rich, indulgent treat that chocolate lovers will absolutely adore.
-
Gluten-Free: Use a gluten-free all-purpose flour blend to make these crullers suitable for gluten-sensitive friends, allowing everyone to enjoy their light, fluffy goodness!
-
Spicy Kick: Incorporate a dash of cayenne pepper into the dough to surprise your palate with a subtle heat that pairs beautifully with the sweetness.
-
Nutty Flavor: Fold in finely chopped nuts, like almonds or hazelnuts, into the dough for a delightful crunch that elevates the texture and taste.
-
Dairy-Free: Replace butter with a dairy-free alternative, like coconut oil, to make these crullers vegan-friendly while preserving that delicious buttery flavor.
-
Herbed Crullers: For a savory twist, add minced fresh herbs like rosemary or thyme into the dough. These unique crullers are perfect for serving alongside soups.
With these creative variations, your French crullers can be personalized to suit any occasion or flavor preference! Enjoy the journey of baking!
Expert Tips for French Crullers
Perfect Temperature: Ensure your oil is at 350°F (175°C) before adding the crullers. This helps them puff up beautifully without becoming oily.
Smooth Dough: Beat each egg into the dough thoroughly; a glossy finish indicates it’s ready to pipe. Avoid adding eggs too quickly to prevent a chunky texture.
Space It Out: Pipe crullers with enough space on the baking sheet. They expand during frying, so crowding can lead to misshapen pastries.
Glaze Consistency: The glaze should be smoothly pourable. If it's too thick, add a splash more milk or water for that perfect coating.
Store Right: Keep unglazed crullers in an airtight container at room temperature for up to 2 days. This keeps them fresh and delicious, ready for you to enjoy!
How to Store and Freeze French Crullers
Room Temperature: Keep glazed French Crullers in an airtight container at room temperature for up to 2 days. This helps maintain their delightful texture.
Freezer: Cooled, unglazed crullers can be frozen for up to one month. For best results, freeze the glaze separately to ensure optimal taste when you’re ready to serve.
Reheating: To restore crispness, reheat frozen crullers in a preheated 300°F (150°C) oven for about 5 to 7 minutes before glazing. This method will keep them deliciously airy!
Make Ahead Options
These French Crullers are perfect for busy home cooks looking to save time without sacrificing flavor! You can prepare the cruller dough up to 24 hours in advance. Simply complete steps one and two, then refrigerate the dough in an airtight container to maintain its freshness. When you’re ready to fry, let the dough sit at room temperature for about 10-15 minutes before piping to make the process easier. You can also glaze the crullers in advance; just store them in an airtight container at room temperature for up to 2 days to preserve their delightful crunch. Enjoy the convenience and have irresistible homemade pastries ready when you need them!
What to Serve with French Crullers
As you prepare these delightful golden pastries, consider the perfect companions to elevate your dining experience.
- Rich Coffee: The bitter notes of a strong brew beautifully balance the sweetness of crullers, creating a harmonious morning treat.
- Creamy Hot Chocolate: An indulgent, velvety cup of hot chocolate enhances the luxurious experience with each cruller bite.
- Fresh Berries: A burst of tartness from mixed berries adds a refreshing contrast to the buttery sweetness of the crullers.
- Vanilla Ice Cream: Picture this: warm, glazed crullers paired with a scoop of creamy vanilla ice cream—a match made in dessert heaven!
- Classic Milk: The simplicity of cold milk complements the cruller’s rich flavors, perfect for both kids and adults alike.
- Fresh Whipped Cream: Lighter than you might expect, a dollop of freshly whipped cream enhances the light texture while adding an inviting touch.
- Dessert Wine: Try a light dessert wine, like a Moscato, which can add a delightful sweetness to your crullers, perfect for afternoon tea.
- Cinnamon Sugar Dusting: Garlic knots aren’t the only thing deliciously dusted; light sprinkling of cinnamon sugar takes your crullers to the next level!
- Caramel Sauce: Drizzling caramel over crullers adds a rich, decadent layer that’s sure to impress.
Serve your French crullers alongside these delightful options for a culinary experience that transcends the ordinary!
French Crullers Recipe FAQs
What type of flour is best for French Crullers?
I recommend using all-purpose flour for French Crullers. It provides the right balance of structure and tenderness needed for that fluffy, airy texture. Avoid cake flour as it doesn't have enough protein to support the dough.
How should I store leftover French Crullers?
Keep your glazed French Crullers in an airtight container at room temperature for up to 2 days. This helps them stay deliciously fresh, maintaining that crispy exterior. If you have any unglazed crullers, they can last the same duration, but be sure to store them separately.
Can I freeze French Crullers, and how do I do it properly?
Absolutely! You can freeze cooled, unglazed French Crullers for up to one month. Wrap them tightly in plastic wrap or place them in a freezer-safe container. For best results, freeze the glaze separately. When you're ready to enjoy them, reheat the crullers in a preheated 300°F (150°C) oven for about 5 to 7 minutes for that wonderful, crispy texture again.
What can I do if my crullers don’t puff up while frying?
If your crullers aren't puffing up, it might be due to the oil temperature being too low or the dough not being adequately combined. Ensure the oil is at 350°F (175°C) before you start frying. Check that you’ve mixed the dough thoroughly after adding each egg, as a smooth, well-beaten dough is key to achieving that perfect puff.
Are French Crullers suitable for those with egg allergies?
Unfortunately, French Crullers are not suitable for those with egg allergies, as the eggs are essential for the dough’s structure and texture. However, if you're looking for an alternative, you might try using an egg replacer designed for baking, though I haven't personally tested this.
Can pets enjoy French Crullers?
It's best to keep French Crullers away from your furry friends. The sugar and fat content, not to mention the potential for added ingredients like chocolate if you experiment with flavors, can be harmful to pets. Enjoy these delightful treats yourself, and share a small piece of plain dough with them if you're ever tempted to include them!
French Crullers Recipe FAQs
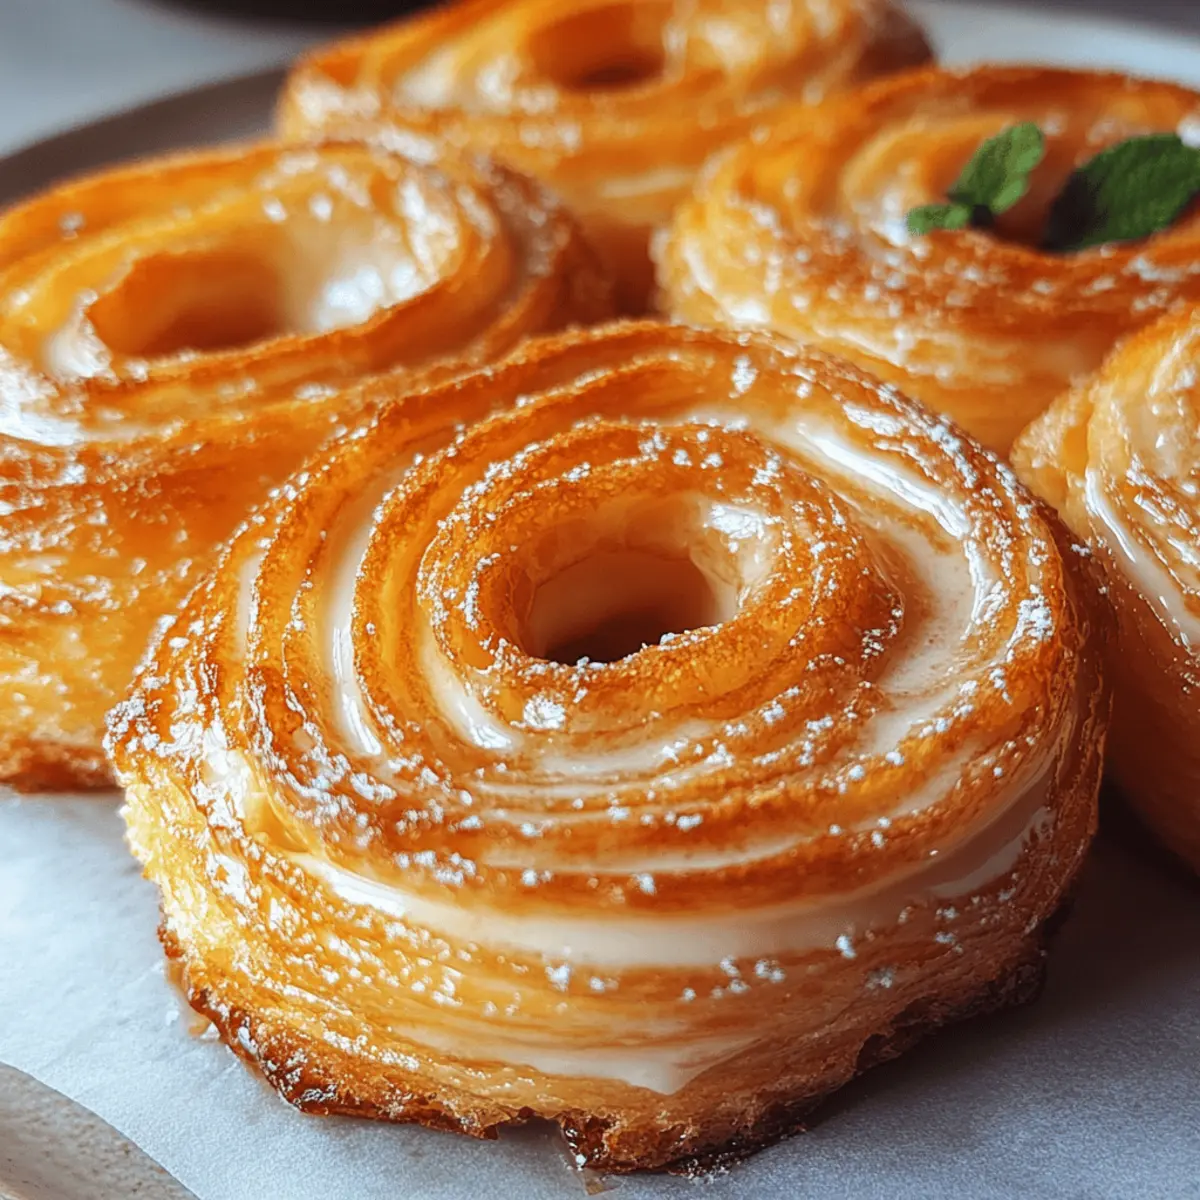
Irresistibly Light French Crullers You'll Adore
Ingredients
Equipment
Method
- Begin by heating 1 cup of water and ½ cup of butter in a medium saucepan over medium heat. Stir until the butter is completely melted. Remove from heat and quickly add 1 cup of all-purpose flour, stirring vigorously until a cohesive ball forms. Allow to cool slightly for about 5 minutes.
- Once the dough has cooled slightly, add 4 large eggs one at a time, beating well after each addition. Use a sturdy spoon or an electric mixer to ensure the dough turns smooth and glossy. This should take around 3-5 minutes.
- Transfer the smooth dough into a piping bag fitted with a large star tip. On a parchment-lined baking sheet, pipe rings of dough about 2 inches in diameter, leaving space between each cruller.
- In a deep skillet or heavy pot, pour enough vegetable oil for frying—about 3 inches deep—and heat to 350°F (175°C). Use a thermometer for accuracy.
- Carefully drop piped dough rings into the hot oil, fry for about 2-3 minutes on each side, or until golden brown. Use a slotted spoon to flip them halfway through and transfer to a wire rack to drain excess oil.
- While the crullers are cooling, whisk together 1 cup of powdered sugar, 1 teaspoon of vanilla extract, and 2 tablespoons of milk or water until smooth and pourable.
- Once cooled, dip each cruller into the glaze, allowing excess to drip off. Place back on the wire rack to set. Optionally, sprinkle a light dusting of powdered sugar over the glazed crullers.

Leave a Reply