I recently discovered a vibrant dish that brightens up my dinner table in mere minutes—Calabacitas. This delightful mix of zucchini, corn, and tomatoes doesn’t just taste like summer; it’s also a colorful celebration of fresh, wholesome ingredients. Making Calabacitas is a breeze, with only 10 minutes of prep and just 15 minutes of cooking time, making it perfect for busy weeknights or when unexpected guests arrive. Not only is it a versatile side that pairs beautifully with grilled meats or wrapped in tortillas, but it’s also a fantastic way to sneak some veggies into your meals without anyone noticing. Have you ever tried transforming simple staples into a nourishing feast? Let’s dive into this easy recipe!
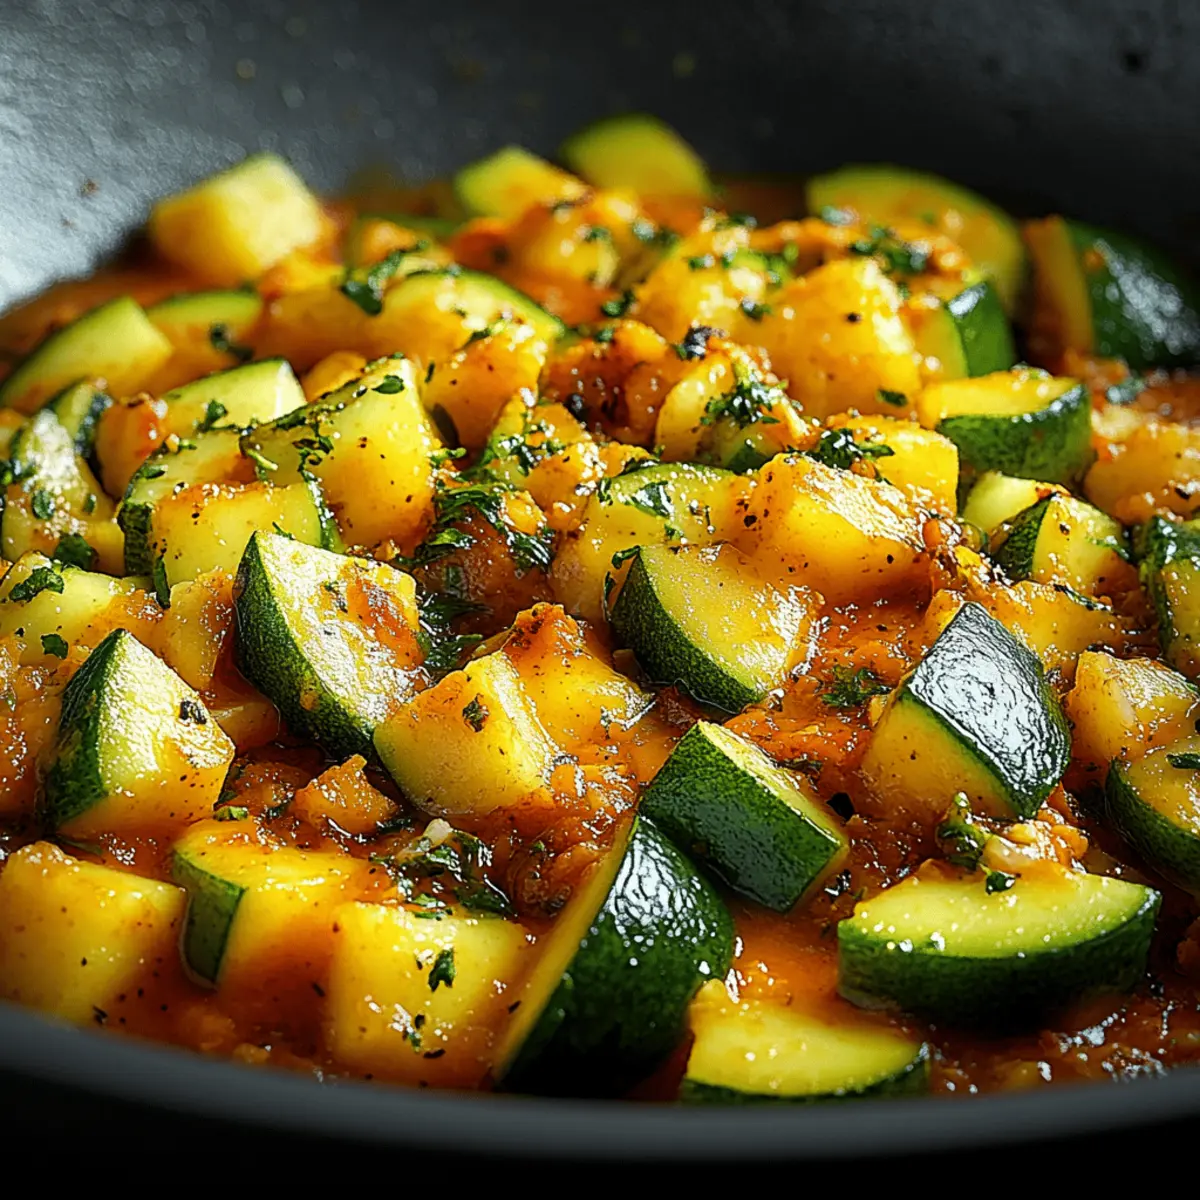
Why is Calabacitas a Must-Try?
Simplicity makes this dish a winner! With minimal ingredients and an effortless cooking method, you’ll whip up Calabacitas in just 25 minutes. Flavor-packed and vibrant, it bursts with fresh zucchini, sweet corn, and juicy tomatoes, offering a delightful taste of summer. Versatile enough to accompany any meal, serve it as a side or fill your tacos with this veggie goodness. Crowd-pleasing and healthy, it’s naturally gluten-free and easily adaptable for vegan diets. Want a quick, nourishing dish that everyone will love? Look no further than Calabacitas!
Calabacitas Ingredients
For the Vegetable Medley
• Zucchini – 2 cups, chopped; the star ingredient, bringing freshness and texture.
• Corn kernels – 1 cup; sweet and crunchy, adding a delightful burst of flavor.
• Tomatoes – 1 cup, diced; juicy and vibrant, they enhance the dish and create a beautiful color contrast.
• Onion – 1 medium, chopped; for that aromatic foundation that builds flavor.
• Garlic – 2 cloves, minced; a must-have for that fragrant kick in Calabacitas.
For the Cooking Base
• Olive oil or butter – 2 tablespoons; use olive oil for a lighter option or butter for a richer flavor.
• Salt – to taste; enhances all the natural flavors of the vegetables.
• Pepper – to taste; for a touch of warmth and seasoning.
Optional
• Green chilies – 1-2, chopped; if you like a little heat, they’re a delightful addition.
• Fresh cilantro or parsley – for garnish; adds a pop of freshness to brighten up the dish.
• Lime juice – for serving; a squeeze of lime elevates the flavors beautifully.
• Shredded cheese – for topping; adds creamy richness, perfect for cheesy lovers.
• Avocado slices – for serving; creamy texture that complements the other ingredients wonderfully.
Embrace the beauty of home cooking with this vibrant Calabacitas recipe, a simple way to enjoy a medley of fresh tastes!
Step‑by‑Step Instructions for Calabacitas
Step 1: Prepare the Vegetables
Begin by washing and chopping 2 cups of zucchini into bite-sized pieces. Dice 1 cup of tomatoes and finely chop 1 medium onion and 2 cloves of garlic. If you're using fresh corn, carefully slice the kernels off the cob. This fresh preparation sets the foundation for your vibrant Calabacitas.
Step 2: Sauté the Aromatics
Heat 2 tablespoons of olive oil or butter in a large skillet over medium heat. Add the chopped onions and sauté for about 3-4 minutes, or until they become translucent. Toss in the minced garlic and continue to cook for another minute, stirring frequently until fragrant but not browned, to develop rich flavors.
Step 3: Add the Zucchini and Corn
Stir in the chopped zucchini and sweet corn kernels into the skillet. Allow the mixture to cook for 5 to 7 minutes, stirring occasionally. You want the zucchini to soften slightly while still retaining some bite, ensuring the colorful medley in your Calabacitas is vibrant and fresh.
Step 4: Incorporate the Tomatoes and Seasoning
Once the zucchini is ready, add the diced tomatoes along with salt and pepper to taste. If you enjoy a bit of heat, add 1-2 chopped green chilies at this stage. Cook everything together for an additional 3-4 minutes, stirring until the tomatoes begin to soften and meld with the other ingredients.
Step 5: Finish with Fresh Herbs and Lime
Remove the skillet from heat and stir in freshly chopped cilantro or parsley. Squeeze in some lime juice for a bright accent. If desired, sprinkle on shredded cheese or add avocado slices for extra creaminess. This step enhances the flavors and presentation of your delicious Calabacitas.
Step 6: Serve Your Calabacitas
Presentation matters! Serve Calabacitas warm alongside Mexican rice, grilled meats, or wrapped in tortillas. Its vibrant colors and fresh flavors will make it a centerpiece on your dinner table, bringing joy to your homemade feast. Enjoy this delightful dish as part of a comforting meal with family and friends.
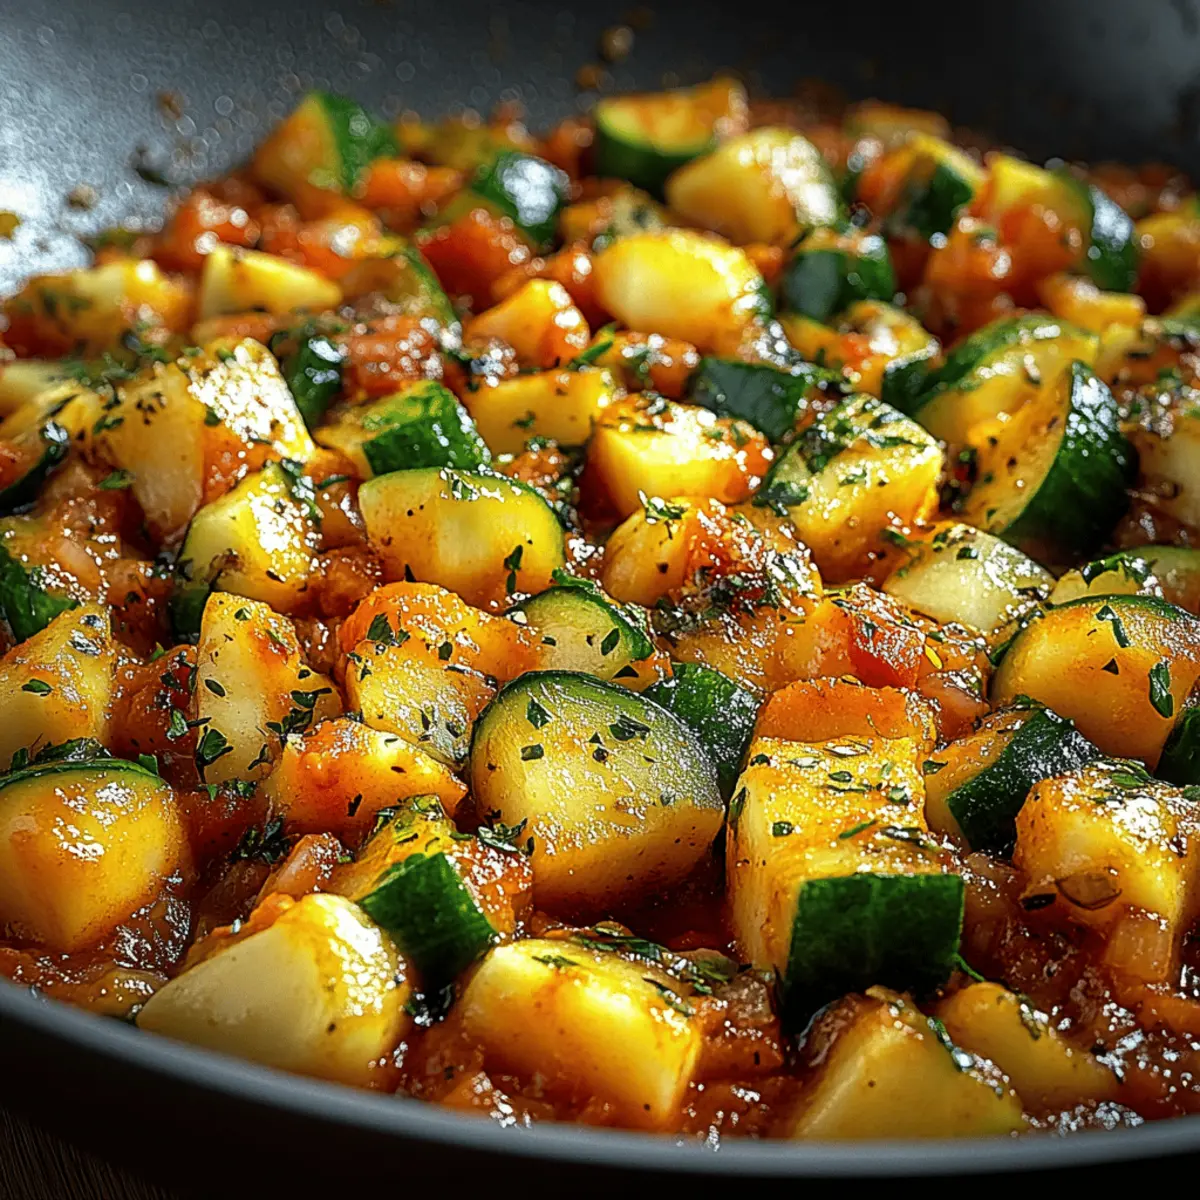
What to Serve with Calabacitas?
Transform your Calabacitas into a full, delightful meal with these perfect pairings.
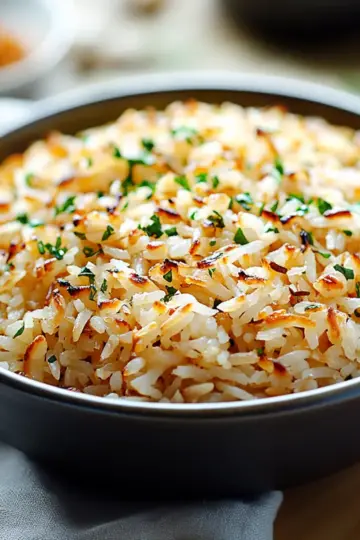
- Mexican Rice: A fluffy side that anchors the dish, absorbing the vibrant flavors of the Calabacitas.
- Warm Tortillas: Soft and buttery, perfect for wrapping around the colorful veggie medley, creating a fresh taco experience.
- Grilled Chicken: Juicy and smoky, this protein adds heartiness, balancing beautifully with the light, fresh flavors of the dish.
- Black Beans: Creamy and rich, they provide a satisfying texture that pairs wonderfully with the crisp vegetables in Calabacitas.
- Avocado Salad: Cool and creamy, the avocado adds a touch of elegance, while the fresh greens lighten up the meal overall.
- Pico de Gallo: Fresh and zesty, this salsa enlivens every bite, offering a tangy contrast that complements the sweetness of the corn.
- Limeade: Refreshing and slightly tart, this drink is a lovely accompaniment, complementing the lime in the dish while cleansing the palate.
- Churros: For dessert, indulge in these crispy, cinnamon-sugar treats that add a sweet finish to your flavorful meal.
How to Store and Freeze Calabacitas
Fridge: Store leftover Calabacitas in an airtight container and refrigerate for up to 3 days to maintain freshness and flavor.
Freezer: For longer storage, freeze Calabacitas in a freezer-safe container or bag for up to 2 months. Ensure it’s well-sealed to prevent freezer burn.
Reheating: When ready to enjoy, thaw in the refrigerator overnight, then reheat gently on the stovetop or in the microwave until warmed through.
Tip: Adding a splash of lime juice before serving can breathe fresh life into your delicious Calabacitas!
Calabacitas Variations & Substitutions
Feel free to mix and match flavors to create your perfect version of Calabacitas!
-
Dairy-Free: Swap shredded cheese for nutritional yeast to keep it creamy and vegan-friendly.
-
Extra Veggies: Add bell peppers or diced carrots for a colorful crunch that enhances nutrition and flavor.
-
Spicy Kick: Toss in jalapeños or serrano peppers for a fiery twist that takes your Calabacitas heat level up a notch. Slowly add spices for a little dancing heat.
-
Creamy Texture: Incorporate a splash of coconut milk or a dollop of Greek yogurt for a luscious, rich finish that complements the veggies beautifully.
-
Protein Boost: Include black beans or cooked quinoa to make your dish heartier, creating a fulfilling and nutritious meal.
-
Different Grains: Serve Calabacitas over couscous or quinoa instead of rice for a delightful change of texture and taste.
-
Herb Variation: Experiment with basil or dill instead of cilantro for a different flavor profile that brings a unique twist to your dish.
-
Sweet Addition: Throw in some roasted sweet potatoes for a sweet yet savory contrast that adds warmth and depth to your Calabacitas.
Make Ahead Options
These Calabacitas are perfect for meal prep enthusiasts looking to save time during busy weeknights! You can chop vegetables—such as the zucchini, tomatoes, onions, and garlic—up to 24 hours in advance and store them in an airtight container in the refrigerator. You could also sauté the onion and garlic, then refrigerate this mixture, saving 5-7 minutes of cooking time. When you're ready to finish the dish, simply heat the skillet, toss in the prepared veggies, and cook until everything is warmed through and vibrant. This way, you’ll enjoy delightful Calabacitas with minimal effort and just as delicious flavors!
Expert Tips for Calabacitas
-
Choose Fresh Veggies: Always opt for fresh, in-season zucchini, corn, and tomatoes for the best flavor and texture in your Calabacitas.
-
Avoid Overcooking: Keep an eye on your zucchini and corn; they should remain slightly crisp for a delicious contrast in texture, not mushy.
-
Balance Seasoning: Taste as you go! Adjust salt and pepper to enhance the natural flavors, but be careful not to over-season.
-
Experiment with Heat: If you're unsure about adding green chilies, start with a small amount and increase gradually to find your ideal spicy level in your Calabacitas.
-
Garnish Creatively: Fresh herbs like cilantro or parsley add not only flavor but also color, making your dish visually appealing to family and guests.
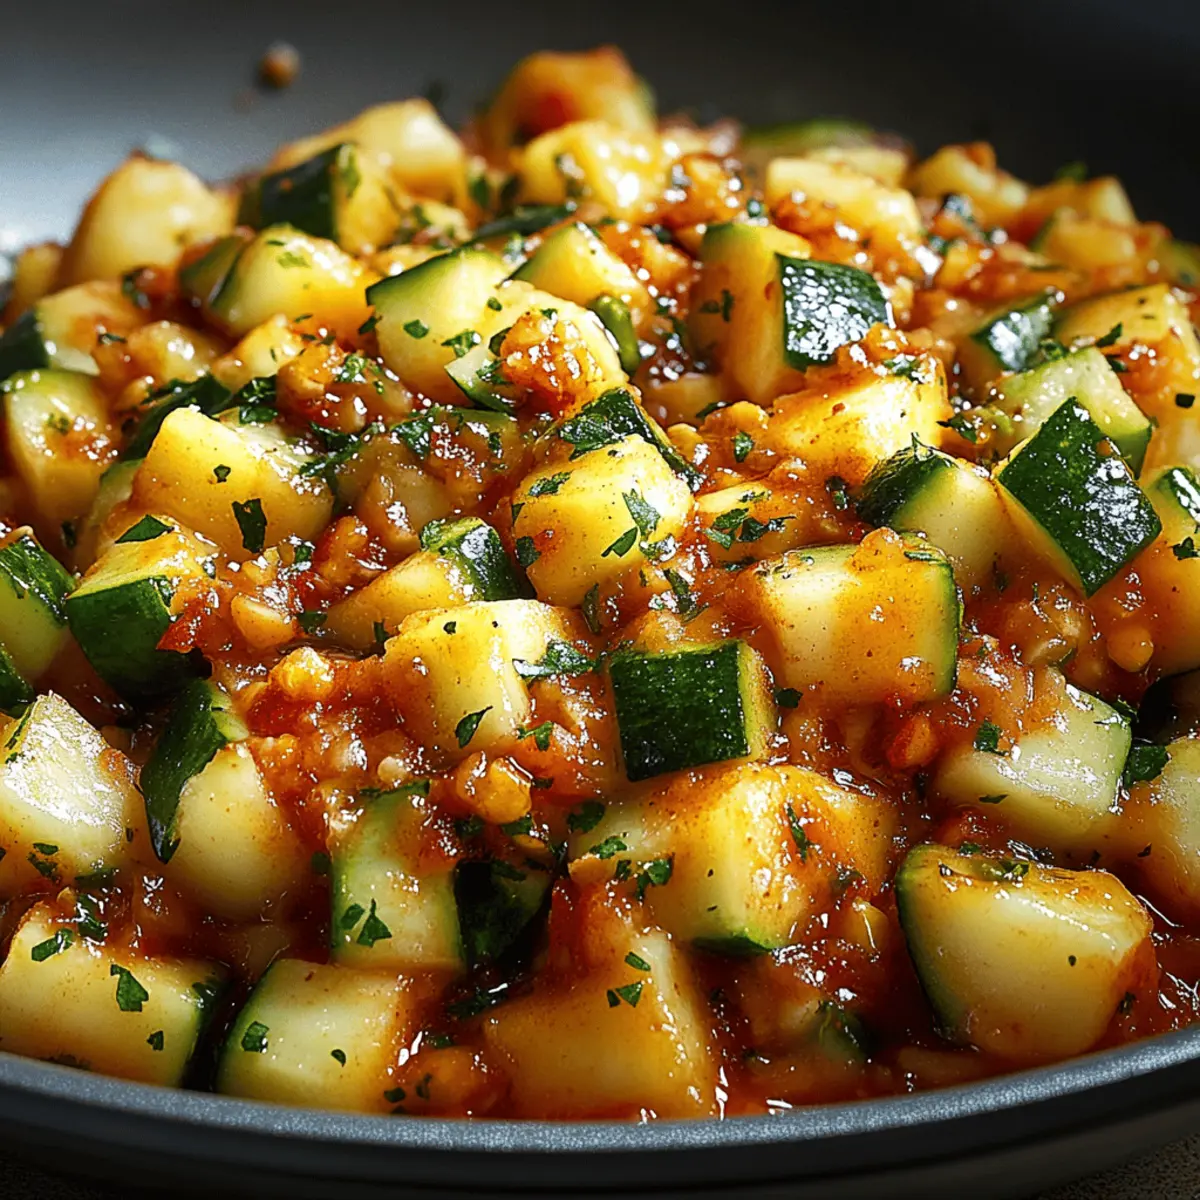
Calabacitas Recipe FAQs
How do I choose the best zucchini for Calabacitas?
Absolutely! Look for zucchini that is firm, with shiny skin free from blemishes. Ideally, they should be small to medium-sized, about 6 to 8 inches long. Avoid any that have dark spots all over, as this may indicate overripeness.
How should I store leftover Calabacitas?
After enjoying your delicious Calabacitas, store any leftovers in an airtight container in the refrigerator. They will stay fresh for up to 3 days. To keep the flavors intact, be sure to let it cool to room temperature before sealing it.
Can I freeze Calabacitas for later? What’s the best way?
Yes! You can freeze Calabacitas for up to 2 months. To do so, allow the dish to cool completely, then portion it into freezer-safe containers or bags. Make sure to push out as much air as possible and seal tightly. When you're ready to enjoy, simply thaw in the refrigerator overnight before reheating on the stovetop or in the microwave.
What can I do if my Calabacitas turned out too watery?
If your Calabacitas is too watery, it's likely due to overcooking the tomatoes or zucchini. To fix this, simmer the dish on low heat, uncovered, for a few minutes to allow the excess moisture to evaporate. You can also add a pinch of cornstarch mixed with water to thicken it up. Remember to stir continuously to avoid clumping!
Is Calabacitas a good option for someone with dietary restrictions?
Very! Calabacitas is naturally gluten-free and can easily be made vegan by substituting butter with olive oil and omitting cheese. If allergies are a concern, also ensure that the green chilies don't trigger any sensitivities. Always check the labels of any packaged ingredients you're using to be safe.
Can I use frozen vegetables to make Calabacitas?
Certainly! If you’re short on fresh produce, frozen vegetables can work perfectly in your Calabacitas. Just remember to thaw and drain any excess moisture before cooking to prevent a soggy texture. This will also save you time in prepping, making weeknight meals even easier.
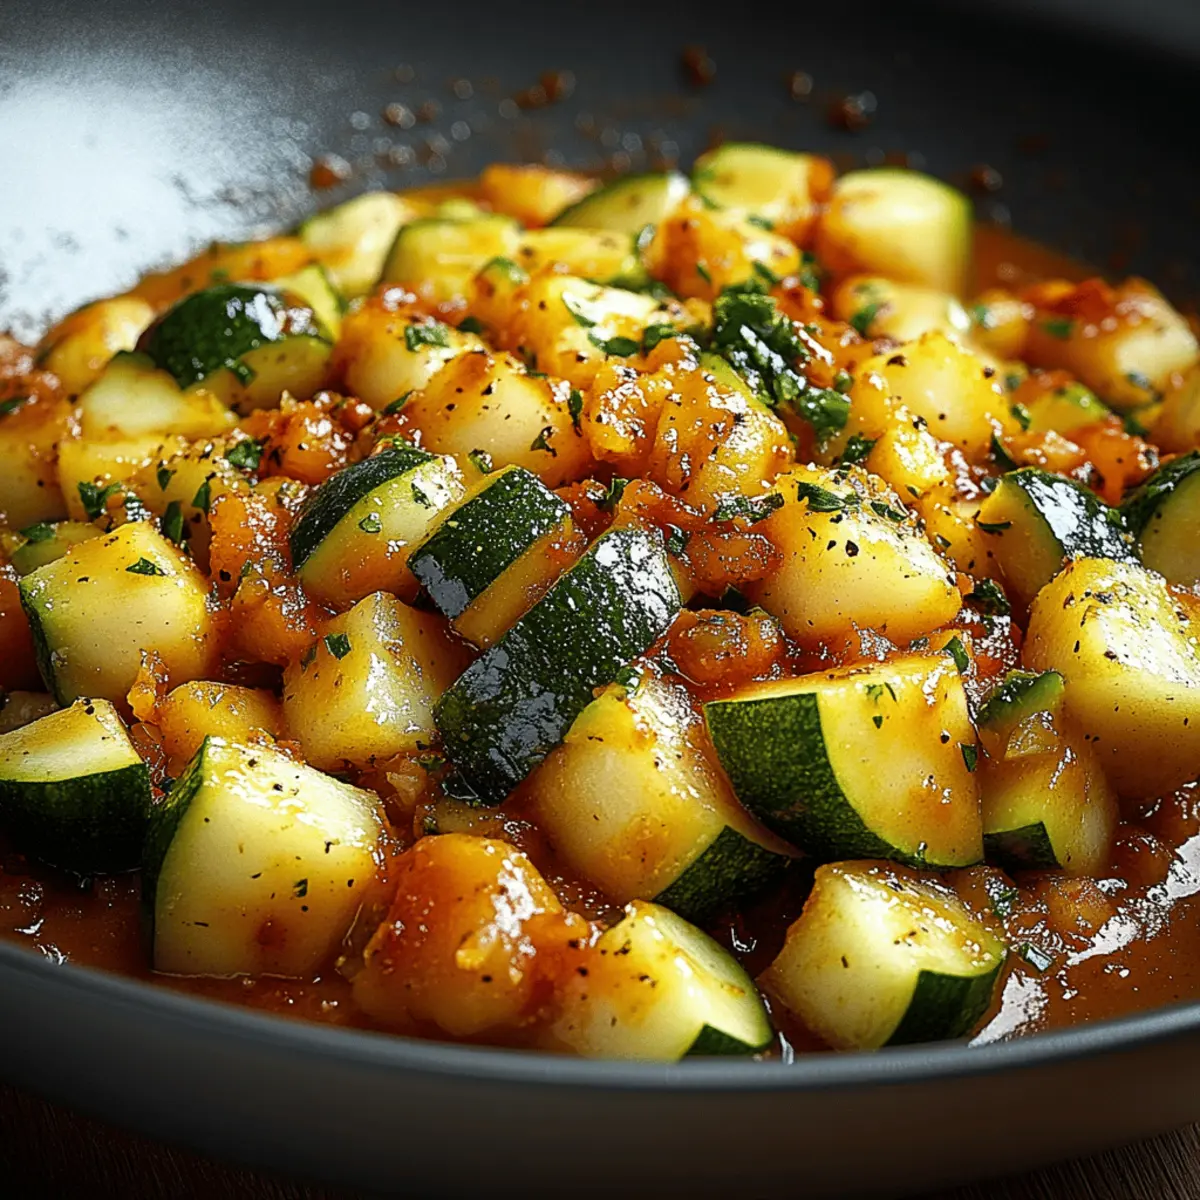
Irresistibly Fresh Calabacitas for Your Homemade Feast
Ingredients
Equipment
Method
- Prepare the Vegetables: Begin by washing and chopping 2 cups of zucchini into bite-sized pieces. Dice 1 cup of tomatoes and finely chop 1 medium onion and 2 cloves of garlic. If you're using fresh corn, carefully slice the kernels off the cob.
- Sauté the Aromatics: Heat 2 tablespoons of olive oil or butter in a large skillet over medium heat. Add the chopped onions and sauté for about 3-4 minutes, or until they become translucent. Toss in the minced garlic and continue to cook for another minute, stirring frequently until fragrant but not browned.
- Add the Zucchini and Corn: Stir in the chopped zucchini and sweet corn kernels into the skillet. Allow the mixture to cook for 5 to 7 minutes, stirring occasionally, until the zucchini softens slightly while still retaining some bite.
- Incorporate the Tomatoes and Seasoning: Add the diced tomatoes along with salt and pepper to taste. If you enjoy a bit of heat, add 1-2 chopped green chilies. Cook together for an additional 3-4 minutes.
- Finish with Fresh Herbs and Lime: Remove the skillet from heat and stir in freshly chopped cilantro or parsley. Squeeze lime juice for a bright accent. Optionally, add shredded cheese or avocado slices.
- Serve Your Calabacitas: Serve warm alongside Mexican rice, grilled meats, or in tortillas, showcasing its vibrant colors and fresh flavors.



Leave a Reply