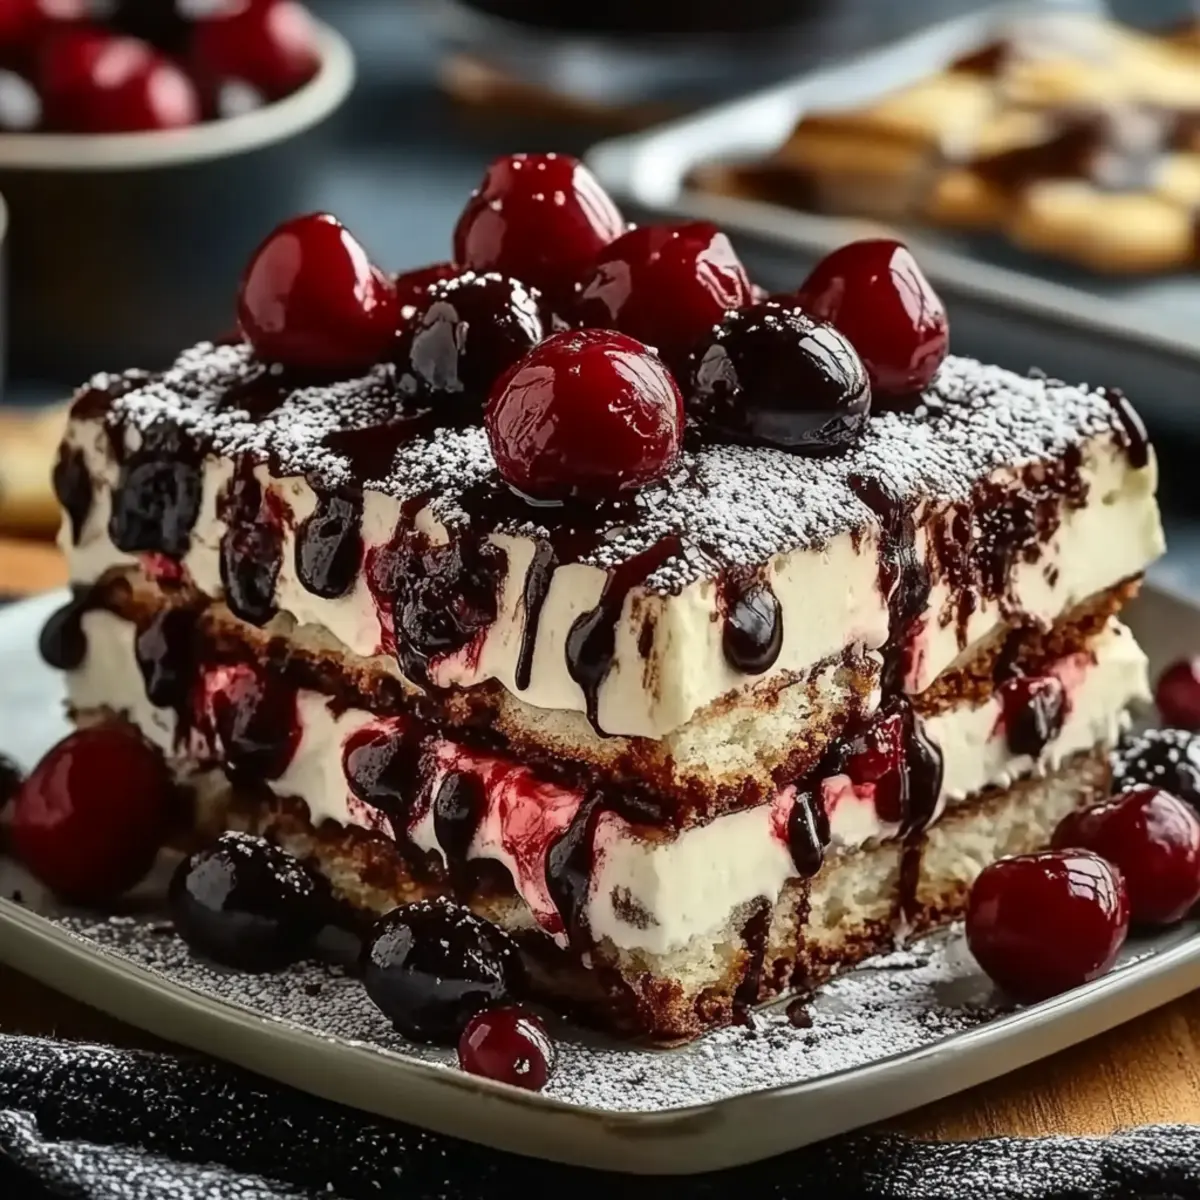
Stepping into my kitchen, the rich aroma of coffee and luscious cherries mingling in the air instantly transports me to a cozy café in the heart of the Black Forest. Today, I’m excited to share a delightful twist on a classic favorite: Black Forest Tiramisu! This splendid dessert perfectly marries creamy mascarpone with the bold flavors of coffee and the vibrant sweetness of cherries. One of the best perks? It takes just 30 minutes to prepare, and then all you have to do is let it chill while you dream of its indulgent layers come to life. Trust me, your loved ones will be in absolute awe as they savor each velvety bite! So, are you ready to make this crowd-pleaser that will put any takeout dessert to shame? Let’s dive in!
Why is Black Forest Tiramisu a Must-Try?
Indulgent flavors merge beautifully in this dessert, combining rich mascarpone and robust coffee with vibrant cherries for a delightful experience. Quick prep time—just 30 minutes upfront—means you can whip this up without sacrificing your day. Chill time allows delightful flavors to meld together, making it a fantastic make-ahead option. Plus, with its stunning layers, it’s a showstopper that’s sure to impress friends and family alike. Whether it’s a special occasion or a casual gathering, this Black Forest Tiramisu will elevate any moment!
Black Forest Tiramisu Ingredients
• Get ready to create a delectable masterpiece!
For the Cream Mixture
- Mascarpone cheese – a rich base that brings creamy decadence to your dessert.
- Heavy cream – whips into fluffy peaks, adding lightness and volume.
- Powdered sugar – sweetens the cream while allowing it to maintain its silky texture.
For the Coffee Dip
- Brewed coffee – cools down to soak ladyfingers, imparting a bold, aromatic flavor.
- Vanilla extract – enhances the coffee flavor, adding a warm, inviting sweetness.
For the Layers
- Ladyfingers – absorb the coffee dip beautifully, creating a soft, cake-like texture.
- Chocolate cocoa powder – provides a rich, chocolatey dusting that contrasts with the creamy layers.
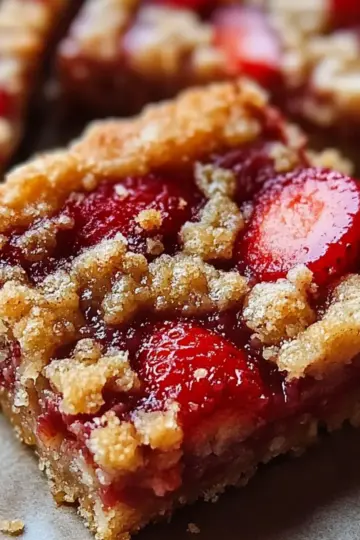
- Cherries – add freshness and a pop of flavor, making each bite a delightful surprise.
Now that you have all the ingredients, let the journey to a homemade Black Forest Tiramisu begin!
Step‑by‑Step Instructions for Black Forest Tiramisu
Step 1: Prepare the Cream Mixture
In a mixing bowl, combine 1 cup of mascarpone cheese, 1 cup of heavy cream, and ¼ cup of powdered sugar. Using a hand mixer, whip the mixture on medium speed for about 3-5 minutes until fluffy and soft peaks form. You’ll know it’s done when it’s light, creamy, and holds its shape.
Step 2: Mix the Coffee Dip
In a separate shallow bowl, pour 1 cup of cooled brewed coffee and mix in 1 teaspoon of vanilla extract. Stir gently to combine the flavors. This coffee dip will provide a rich base for the ladyfingers, so ensure it’s well-blended. Set aside for a moment while you prepare to layer.
Step 3: Dip the Ladyfingers
Grab your package of ladyfingers and quickly dip each one into the coffee mixture, ensuring just a brief soak—around 1-2 seconds—so they absorb some flavor without becoming overly soggy. Transfer the dipped ladyfingers to a serving dish in a single layer, creating a solid foundation for your Black Forest Tiramisu.
Step 4: Layer the Mascarpone Mixture
Spread half of the whipped mascarpone mixture evenly over the layer of dipped ladyfingers in the serving dish. Use a spatula to create a smooth, even layer, approximately ½ inch thick. This creamy layer will provide a delightful contrast to the soft ladyfingers, making it a key component of your Black Forest Tiramisu.
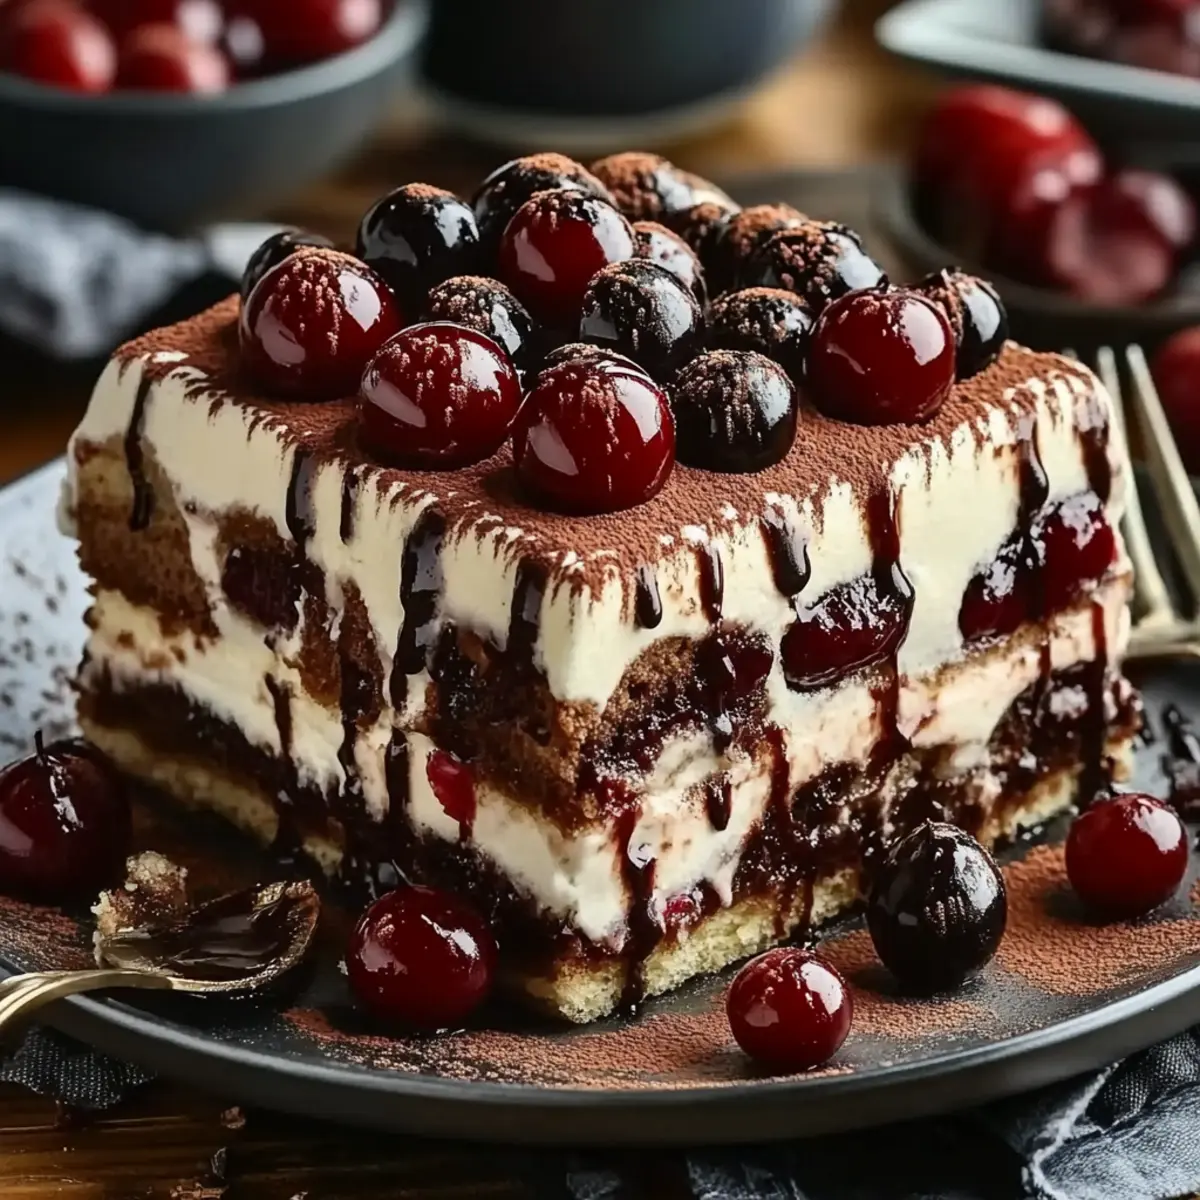
Step 5: Sprinkle Cocoa and Cherries
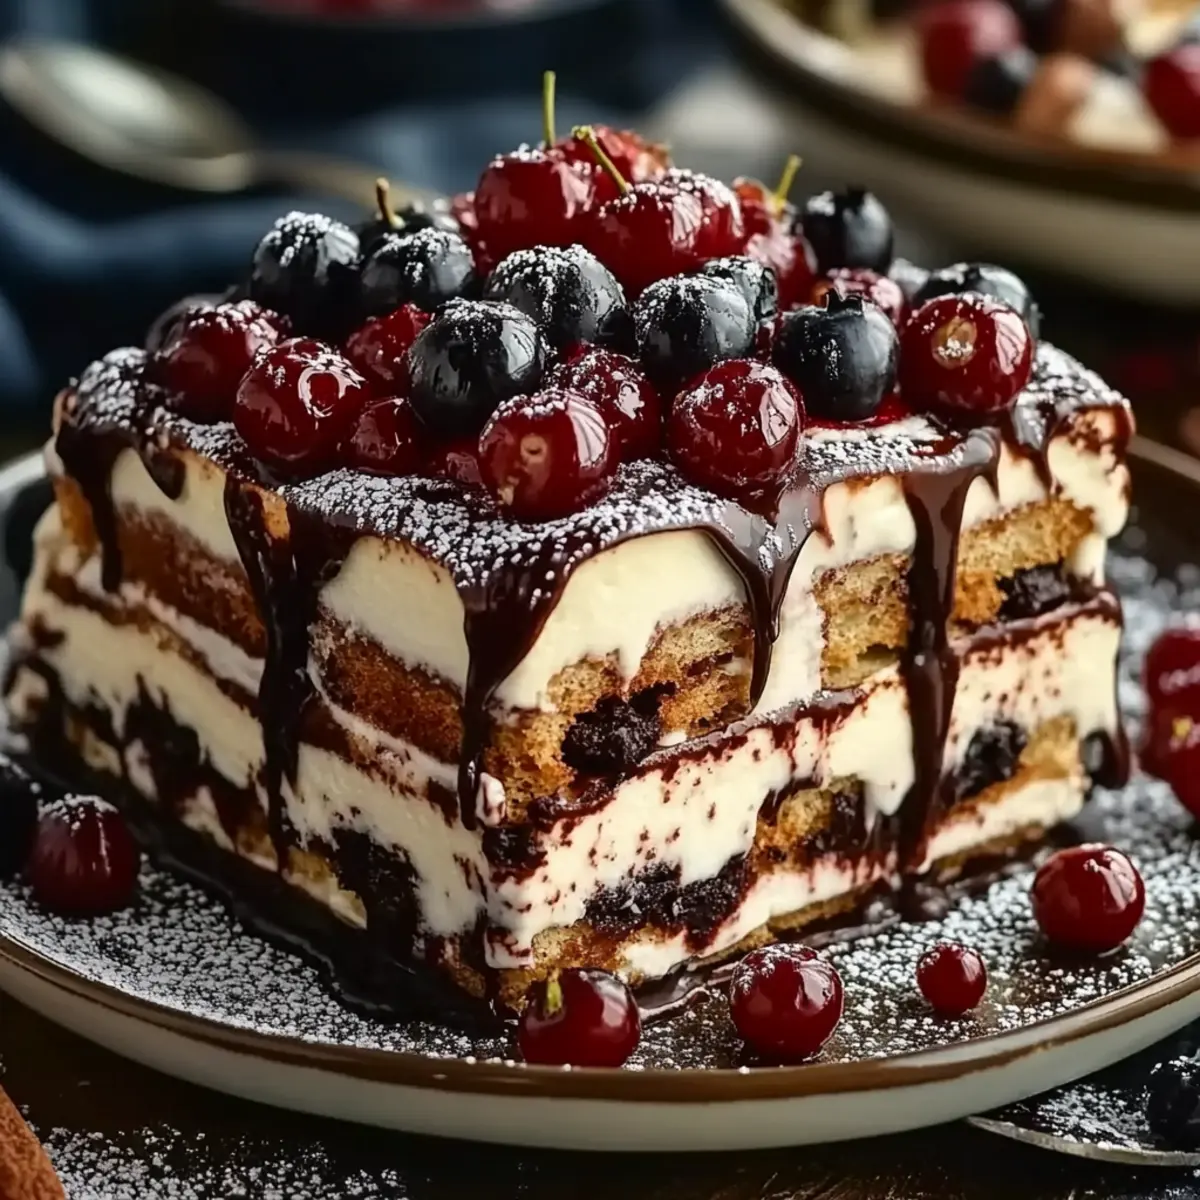
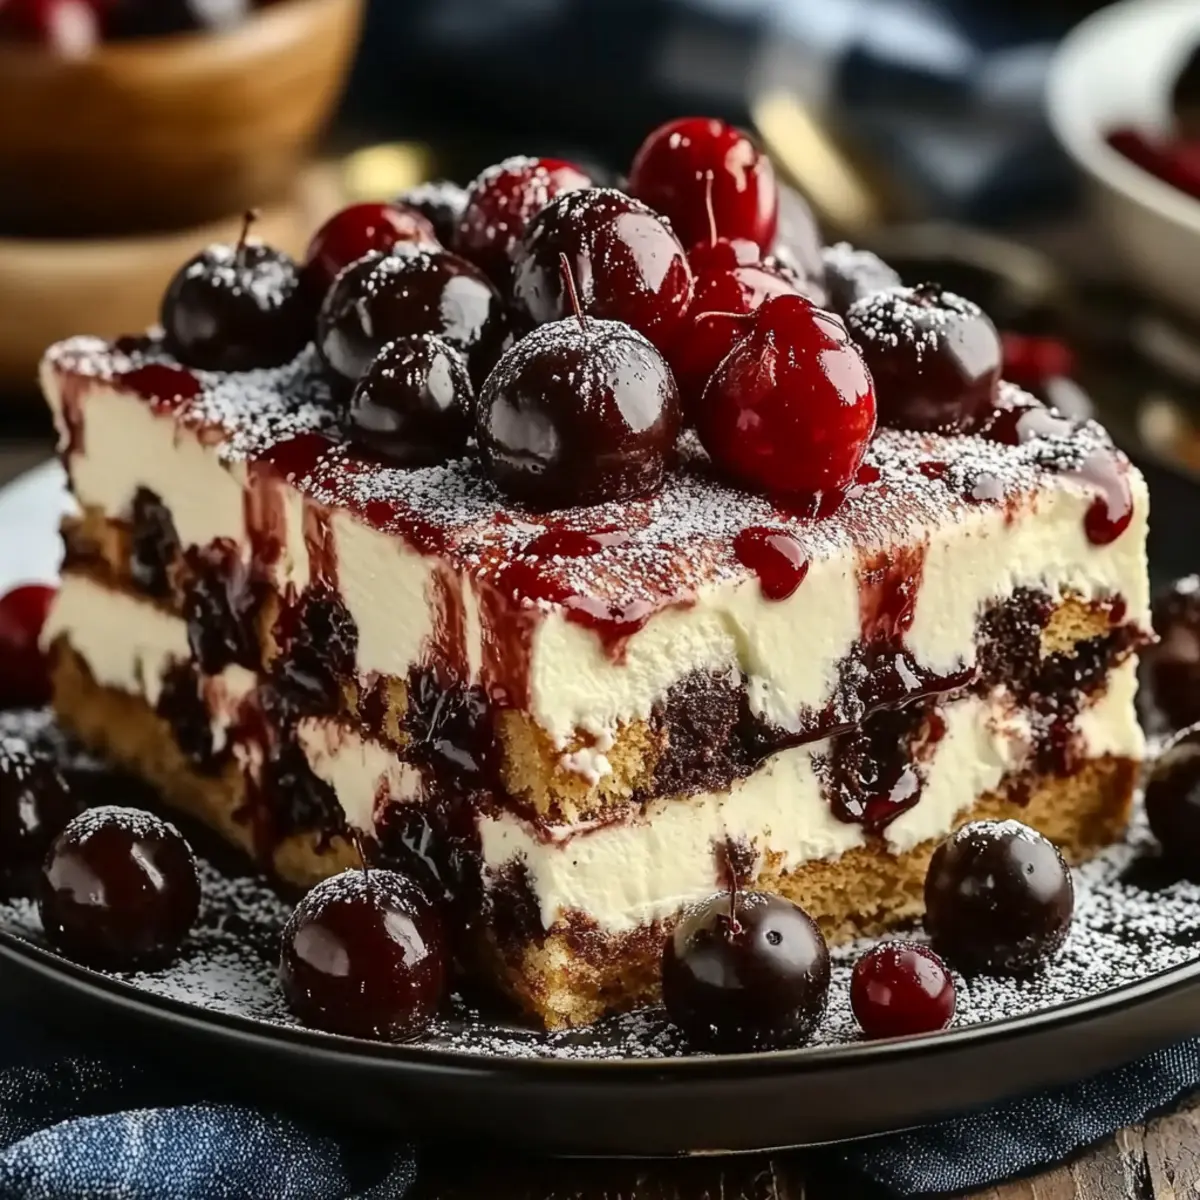
Dust half of the chocolate cocoa powder over the mascarpone layer, allowing it to settle gently. Next, scatter half of the chopped cherries on top of the cocoa. This will add a burst of color and flavor, creating visual appeal and an enticing taste with each layer.
Step 6: Repeat the Layers
Now, repeat the process by dipping the remaining ladyfingers into the coffee dip and layering them atop the cherries. Follow this with the remaining mascarpone mixture, smoothing it out evenly as before. Sprinkle the last of the cocoa powder and top with the rest of the chopped cherries for a beautiful finish.
Step 7: Chill the Tiramisu
Cover the assembled Black Forest Tiramisu with plastic wrap, ensuring it fits snugly to prevent air from getting in. Place it in the refrigerator to chill for 4-6 hours, or preferably overnight. This resting time allows all the flavors to meld together, ensuring each bite is a harmonious blend of deliciousness.
Step 8: Serve and Garnish
Once chilled, remove the Tiramisu from the fridge and slice it into squares for serving. Optionally, garnish each slice with extra cherries or a light dusting of cocoa powder to enhance its presentation. This indulgent treat will surely delight your guests and leave them wanting more!
How to Store and Freeze Black Forest Tiramisu
Fridge: Store the Black Forest Tiramisu in an airtight container in the refrigerator for up to 3 days to maintain its creamy texture and flavors.
Freezer: If you want to prepare it ahead, you can freeze individual portions for up to 1 month. Make sure to wrap well in plastic wrap and then foil to protect from freezer burn.
Thawing: When ready to enjoy, transfer the frozen tiramisu to the refrigerator overnight to thaw slowly and regain its velvety consistency.
Reheating: This dessert is best enjoyed cold, so skip the reheating! Just slice and serve straight from the fridge, garnishing with extra cherries or cocoa as desired.
Black Forest Tiramisu Variations
Feel free to get creative with your Black Forest Tiramisu by trying out these delicious variations!
-
Gluten-Free: Use gluten-free ladyfingers to enjoy this classic dessert without gluten. Make sure to check the other ingredients for traces of gluten too!
-
Dairy-Free: Swap out the mascarpone and heavy cream for coconut cream and a dairy-free cream cheese. This will give you a luxurious experience without the dairy!
-
Chocolate Lovers: Add a layer of chocolate ganache between the layers for an extra chocolaty treat. This rich addition brings another dimension to the flavors.
-
Berries Galore: Replace the cherries with mixed berries for a refreshing twist. The combination of strawberries, blueberries, and raspberries can brighten up each bite!
-
Extra Crunch: Incorporate crushed nuts like hazelnuts or almonds between the layers for added texture. This little crunch will elevate your dessert with delightful contrasts.
-
Boozy Delight: Add a splash of cherry liqueur or amaretto to your coffee dip for an adult version with an indulgent kick. Just be sure to adjust the coffee quantity if needed!
-
Decadent Caramel: Drizzle a bit of caramel sauce between the layers for a sweet surprise. The gooey sweetness can balance out the rich bitterness of the cocoa perfectly!
-
Let It Chill: For a more intense flavor, let the assembled tiramisu sit in the fridge for over 12 hours. The longer it chills, the better the flavors meld together.
Now you're all set to customize and make this Black Forest Tiramisu your own! Enjoy the journey!
What to Serve with Black Forest Tiramisu?
Creating the perfect meal is like composing a beautiful symphony, where each dish harmonizes with the others to create a wonderful dining experience.
-
Silky Vanilla Ice Cream: Offers a creamy contrast that melts luxuriously against each bite of your tiramisu, making every spoonful an indulgence.
-
Espresso Martini: The bold coffee flavors elevate the dessert, while the hint of spirits adds an adult twist—and who could resist such a chic pairing?
-
Fresh Berries: Bright and juicy, a medley of raspberries and blueberries cuts through the richness, adding a refreshing burst that awakens the palate.
-
Chocolate-Dipped Strawberries: Delight in the sweet chocolate coating that echoes the cocoa notes from the tiramisu, creating a perfect romantic presentation.
-
Whipped Cream: Light and fluffy, a dollop of fresh whipped cream adds an airy touch, enhancing the creaminess of the dessert without overpowering it.
-
Chocolate Liqueur: Drizzle this over the top for an extra kick of chocolatey goodness that brings out the richness in the mascarpone layer.
-
Mint Infusion: A garnish of fresh mint leaves not only adds a pop of color but offers a refreshing balance that cuts through the sweetness beautifully.
-
Coffee Granita: A frozen coffee concoction perfectly complements the tiramisu’s layers, making for a refreshing palate cleanser between bites.
Each of these selections will elevate your Black Forest Tiramisu into a feast for the senses, ensuring a memorable gathering with loved ones.
Expert Tips for the Best Black Forest Tiramisu
-
Sweet Balance: Choose the right cherries: Opt for ripe, sweet cherries to complement the rich flavors of the Black Forest Tiramisu and avoid any overly tart varieties.
-
Coffee Dip Timing: Don’t soak too long: Dip ladyfingers quickly (1-2 seconds) to prevent them from becoming mushy while still allowing the coffee flavor to infuse.
-
Chilling is Key: Let it rest: Adequately chilling the Tiramisu for at least 4-6 hours—preferably overnight—ensures the flavors meld beautifully, enhancing the overall experience.
-
Layering Technique: Maintain even layers: Use a spatula to spread the mascarpone mixture evenly, creating distinct layers for visual appeal and balanced flavors in every bite.
-
Presentation Matters: Garnish thoughtfully: Just before serving, add a touch of extra cherries and dusting of cocoa powder for a stunning finish that'll make your Black Forest Tiramisu irresistible.
Make Ahead Options
These Black Forest Tiramisu layers are perfect for meal prep enthusiasts! You can prepare the mascarpone mixture and coffee dip up to 24 hours in advance, storing them in the refrigerator to preserve freshness. Additionally, the assembled tiramisu can be made up to 3 days ahead; simply cover it tightly with plastic wrap to prevent drying out. The chilling time is vital, so let it rest in the fridge for at least 4-6 hours or overnight to allow the flavors to meld beautifully. When ready to serve, garnish with extra cherries or cocoa powder for that visual appeal, and you’ll have a show-stopping dessert that’s just as delicious and ready for enjoyment!
Black Forest Tiramisu Recipe FAQs
What kind of cherries should I use for my Black Forest Tiramisu?
Absolutely! I recommend using ripe, sweet cherries for the best flavor. Look for cherries that are firm and dark, avoiding any that have dark spots or appear overly soft. Fresh or frozen cherries work equally well, but if using frozen, ensure they are thawed and well-drained before adding them to your dessert.
How should I store leftover Black Forest Tiramisu?
To maintain its creamy texture and delicious flavors, store any leftover Tiramisu in an airtight container in the refrigerator for up to 3 days. Simply cover it tightly to keep out any air, which can dry out the layers and diminish the taste.
Can I freeze Black Forest Tiramisu? What’s the best way?
Yes, you can freeze portions of Black Forest Tiramisu! Wrap individual squares tightly in plastic wrap, then encase them in aluminum foil to protect against freezer burn. It can be frozen for up to 1 month. When you're ready to enjoy, place the frozen portions in the refrigerator overnight to thaw gradually for the best texture.
What if my ladyfingers get too soggy during dipping?
Very! If your ladyfingers absorb too much coffee, they may become overly soggy. To prevent this, ensure to dip each ladyfinger quickly—1-2 seconds should be all it takes. It's a quick plunge that keeps them soft yet firm enough to hold their shape in the layers.
Is Black Forest Tiramisu safe for people with allergies?
Definitely! However, be mindful, as this dessert contains dairy products (mascarpone, heavy cream) and gluten (ladyfingers). For those with lactose intolerance, consider using lactose-free alternatives for the dairy ingredients. If gluten is a concern, look for gluten-free ladyfingers, and ensure all other ingredients are gluten-free-certified. Always check labels to ensure safety for everyone!
Indulgent Black Forest Tiramisu to Delight Your Taste Buds
Ingredients
Equipment
Method
- In a mixing bowl, combine mascarpone cheese, heavy cream, and powdered sugar. Whip until fluffy.
- In a shallow bowl, mix brewed coffee and vanilla extract.
- Dip ladyfingers briefly into the coffee mixture and layer in a serving dish.
- Spread half of the mascarpone mixture over the ladyfingers.
- Dust with half of the cocoa powder and scatter half of the chopped cherries.
- Repeat by layering remaining ladyfingers, mascarpone mixture, cocoa powder, and cherries.
- Cover and chill in the refrigerator for 4-6 hours or overnight.
- Slice and serve, garnishing with extra cherries or cocoa powder if desired.


Leave a Reply