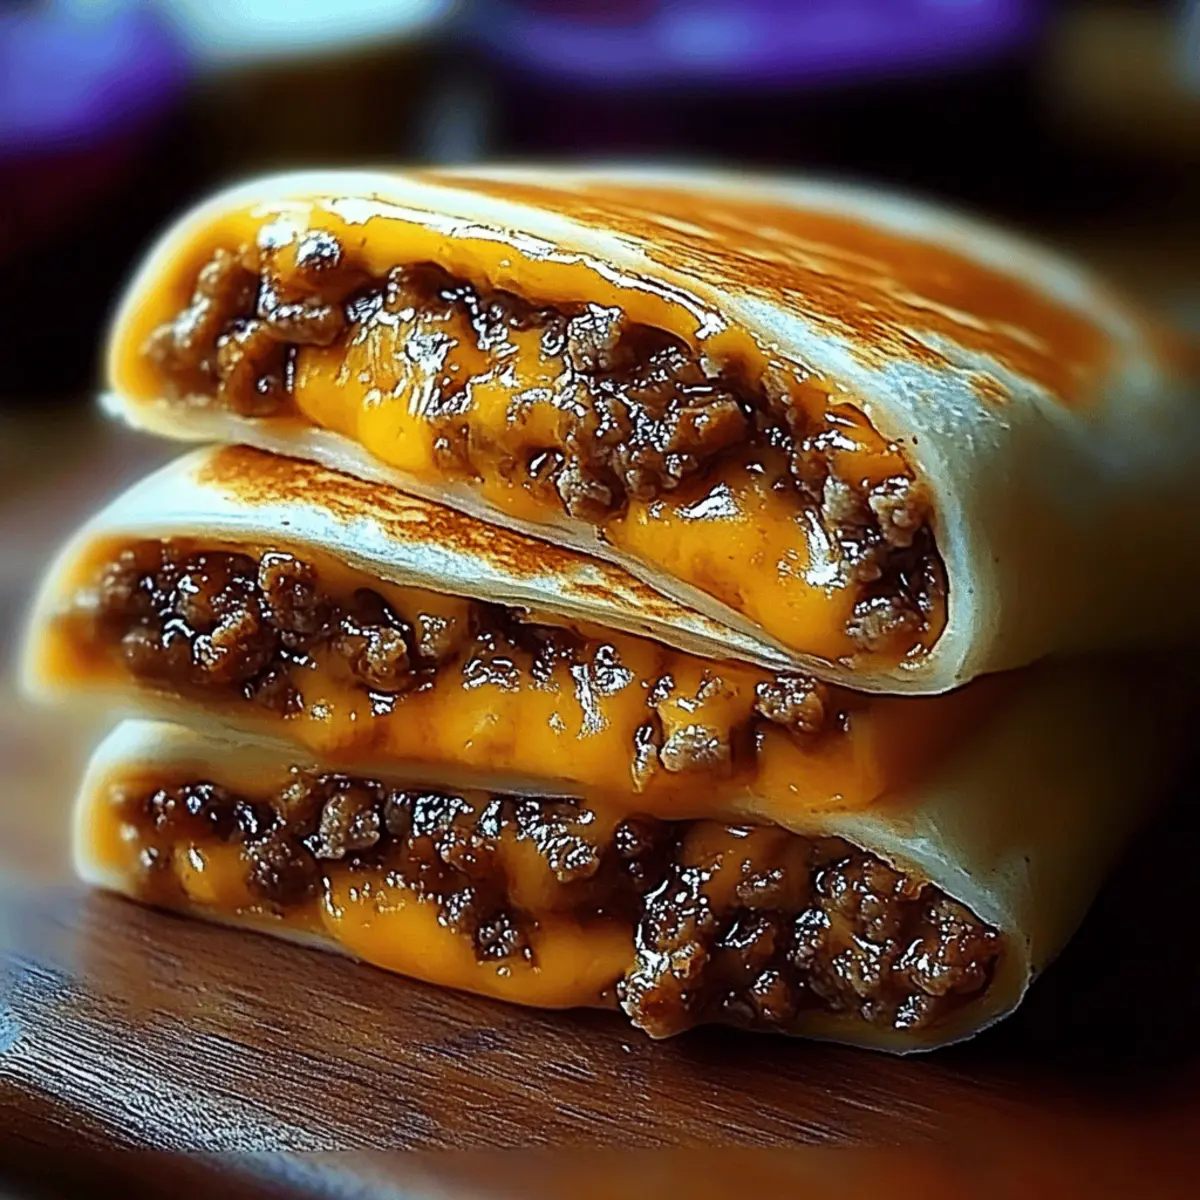
The aroma of seasoned beef sizzling in a skillet always ignites memories of cozy family dinners. As I unveiled the recipe for Cheesy Beef Wraps, I couldn’t help but smile at how effortlessly delicious they are. This dish is not just about fantastic flavor; it offers a quick, satisfying solution to those busy weeknights when takeout just won’t cut it. With only 20 minutes of preparation, these wraps pack a protein punch and can easily be personalized with your favorite toppings, making them a guaranteed hit with both kids and adults alike. Whether nestled alongside a vibrant salad or dipping sauce, these wraps promise a delightful twist to your dinner routine. Ready to transform your evening meal into something comforting and fun? Let’s dive in!
Why are Cheesy Beef Wraps a Must-Try?
Quick Preparation: Whip these wraps up in just 20 minutes, making them perfect for busy weeknights.
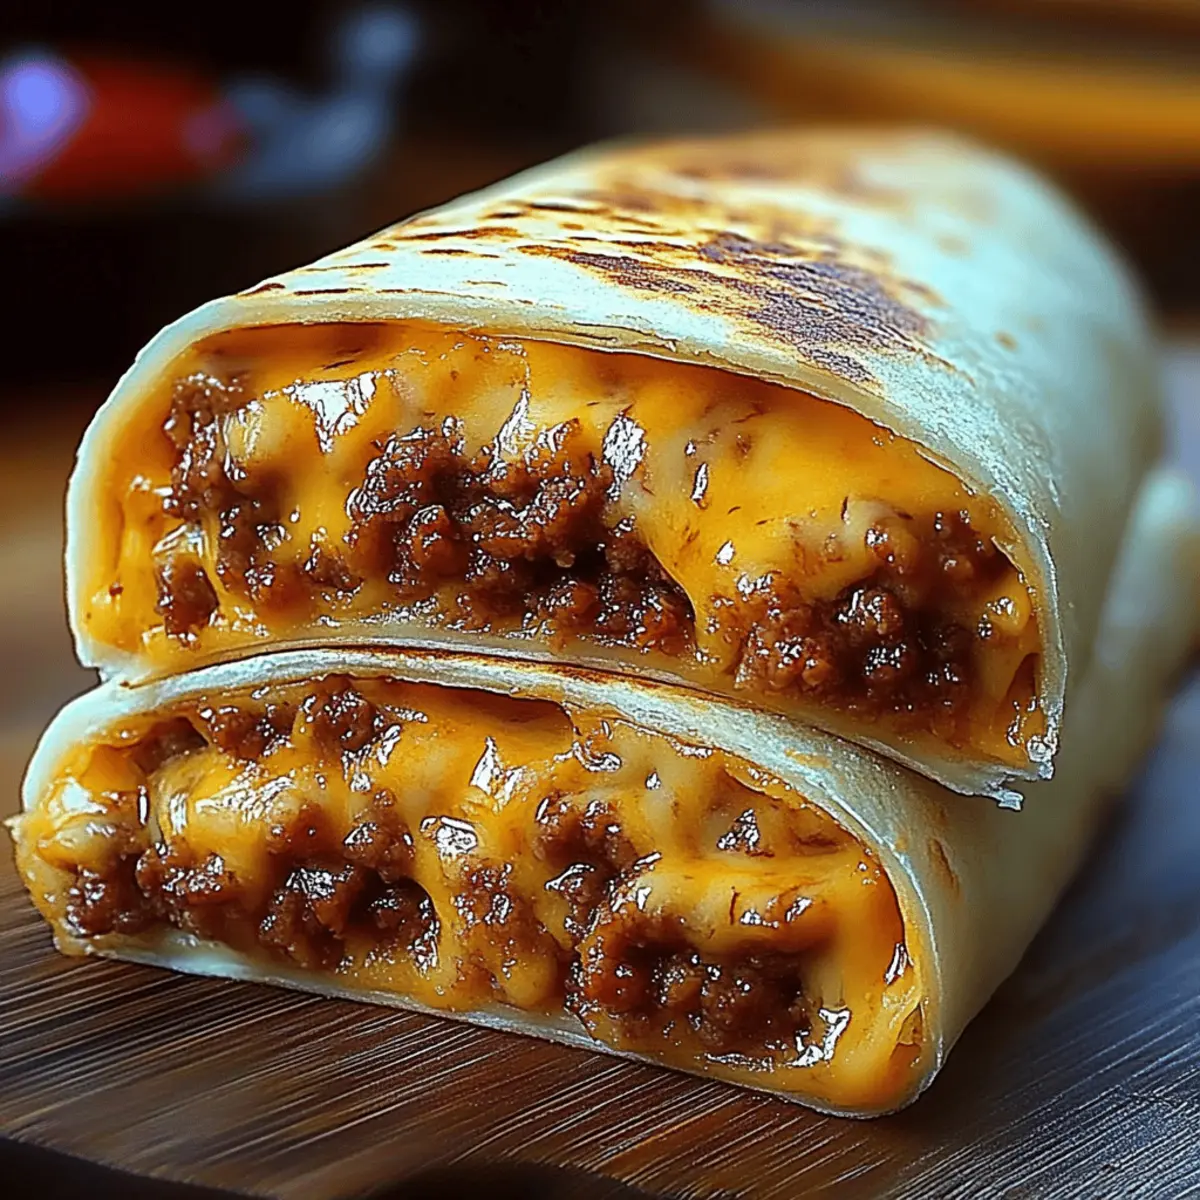
Flavor Explosion: With seasoned beef and melted cheese, each bite is packed with a savory goodness that’s hard to resist.
Customizable Options: Add your favorites like jalapeños, sautéed onions, or colorful bell peppers for a personal touch.
Crowd-Pleaser: Ideal for family dinners or gatherings; these wraps are sure to be a hit with everyone, big or small.
Comfort Food at Its Best: Satisfy your cravings with this cozy meal that brings everyone together.
Cheesy Beef Wrap Ingredients
For the Filling
• Ground beef – 1 pound of juicy beef brings great flavor and protein to each wrap.
• Taco seasoning – 1 packet elevates the taste with bold spices that make these cheesy beef wraps irresistible.
• Water – ¼ cup helps to blend the seasoning and beef for a smooth, flavorful mixture.
• Shredded cheddar cheese – 1 ½ cups ensure that each bite is melty and indulgent.
For the Wrap
• Flour tortillas – 4 large tortillas serve as the perfect base to hold all those delicious fillings.
• Olive oil or butter – 1 tablespoon adds a golden, crispy finish to the outside of the wraps when toasting.
Optional Add-Ins
• Sautéed onions – Enhance the flavor with a touch of sweetness and texture.
• Sliced jalapeños – Give your wraps a spicy kick for those who love heat.
• Bell peppers – Add colorful crunch and additional nutrients to your meal.
• Salsa – Serve on the side for a fresh and zesty dip that pairs perfectly.
Step‑by‑Step Instructions for Cheesy Beef Wraps
Step 1: Brown the Beef
In a large skillet over medium heat, add 1 pound of ground beef. Cook until it’s browned and crumbly, stirring often for about 5–7 minutes. Drain any excess fat from the skillet, ensuring your Cheesy Beef Wraps are not greasy. The beef should have a nice brown color that indicates it’s thoroughly cooked.
Step 2: Season the Beef
Once the beef is browned, sprinkle the taco seasoning over it and pour in ¼ cup of water. Stir the mixture well and let it simmer on low heat for 3–4 minutes. This will thicken the mixture and infuse the beef with the savory spices, creating a flavorful filling for your wraps.
Step 3: Prepare the Tortillas
While the beef is simmering, warm 4 large flour tortillas in a skillet or microwave for about 15 seconds. This step is crucial to prevent them from cracking when you roll them. Keep them covered to retain heat, ensuring they remain pliable for the Cheesy Beef Wraps.
Step 4: Assemble the Wraps
Lay the warmed tortillas flat on a clean surface. Spoon the seasoned beef mixture into the center of each tortilla, followed by a generous handful of 1 ½ cups of shredded cheddar cheese and any optional add-ins you'd like, such as sautéed onions or sliced jalapeños.
Step 5: Roll the Wraps
Carefully fold the sides of each tortilla inwards over the filling, and then roll tightly from the bottom to the top, similar to a burrito. Make sure the filling is secure within the tortilla. The tight roll helps to hold in all the delicious ingredients of your Cheesy Beef Wraps.
Step 6: Toast the Wraps
In the same skillet, heat 1 tablespoon of olive oil or butter over medium heat. Once hot, place the wraps seam-side down in the skillet. Toast for 2–3 minutes until the bottoms are golden and crisp, then gently flip and toast the other side for an additional 2–3 minutes.
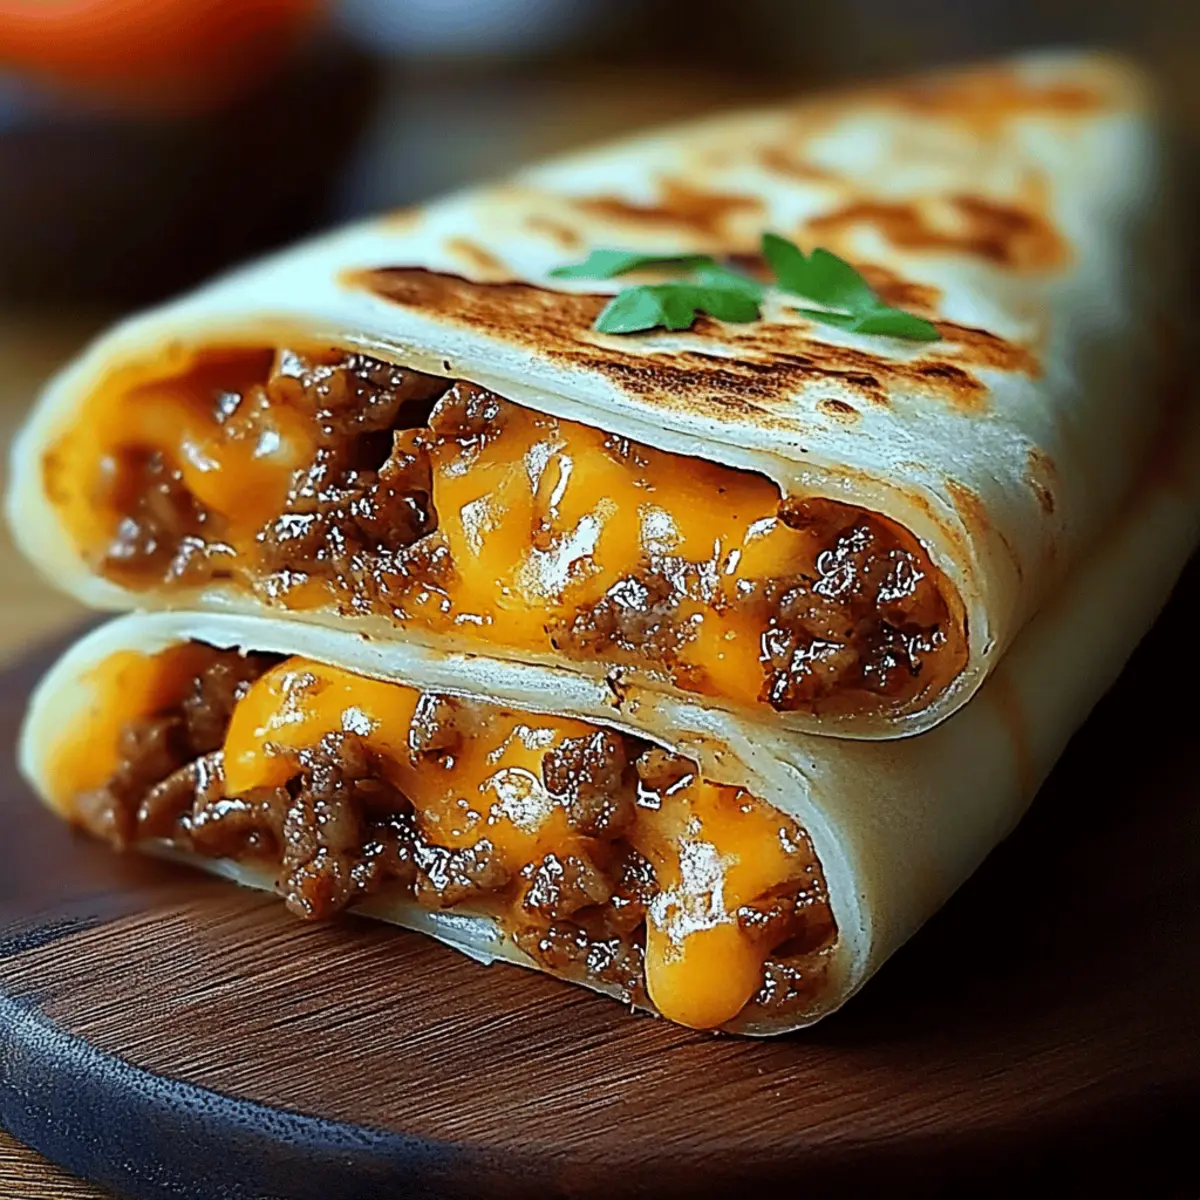
Step 7: Slice and Serve
After toasting, let the Cheesy Beef Wraps rest for 1 minute. This helps the cheese to settle and the wraps to stay together. Then, slice each wrap in half and serve warm, perfect for enjoying with your favorite dipping sauce or toppings.
Cheesy Beef Wraps Variations & Substitutions
Feel free to make these Cheesy Beef Wraps your own with delightful twists and substitutions!
- Dairy-Free: Use dairy-free cheese alternatives for a creamy texture without the dairy.
- Spicy Kick: Add chopped serrano peppers instead of jalapeños for an extra kick that spice lovers will adore.
- Vegetarian Version: Substitute ground beef with cooked lentils or jackfruit for a hearty, plant-based alternative.
- Gluten-Free: Wrap the filling in gluten-free tortillas, ensuring everyone can enjoy this delicious meal.
- Cheese Variety: Swap cheddar for pepper jack or mozzarella for a completely different flavor profile.
For an unexpected twist, consider combining flavors. A mix of sautéed mushrooms and bell peppers can add an earthy depth that'll surprise your palate.
- Herb Infusion: Add fresh cilantro or parsley to your beef mixture for a fresh, bright flavor that elevates the dish beautifully.
Make Ahead Options
These Cheesy Beef Wraps are a fantastic choice for meal prep! You can prepare the seasoned beef filling up to 3 days in advance by cooking it and storing it in an airtight container in the refrigerator. To keep your wraps fresh and prevent the tortillas from becoming soggy, assemble them just before cooking. When you're ready to enjoy, simply warm the tortillas, fill them with the prepped beef, cheese, and any desired add-ins, then roll and toast them as directed. This method saves time on hectic weeknights while ensuring that your Cheesy Beef Wraps are just as delicious as if made fresh!
Storage Tips for Cheesy Beef Wraps
Room Temperature: Enjoy your Cheesy Beef Wraps immediately for the best flavor and texture; however, they can be left out for up to 2 hours.
Fridge: Store any leftovers in an airtight container for up to 3 days. Wrap each one tightly in foil or plastic wrap to maintain freshness.
Freezer: For longer storage, wrap un-toasted wraps tightly in plastic wrap or foil and freeze for up to 2 months. Thaw overnight in the fridge before toasting.
Reheating: Reheat in a skillet over medium heat for 3–4 minutes per side to retain crispiness, ensuring you relive the deliciousness of your Cheesy Beef Wraps!
What to Serve with Cheesy Beef Wraps
Transform your Cheesy Beef Wraps into a delightful feast with these complementary sides that add flavor, texture, and visual appeal.
- Light Green Salad: A refreshing mix of greens with a tangy vinaigrette balances the richness of the wraps beautifully.
- Seasoned Oven-Baked Wedges: Crispy and seasoned, these potato wedges offer a hearty side that complements the savory filling. They’re a perfect crunch alongside your wraps!
- Creamy Guacamole: This rich dip enhances each bite with its creamy texture and subtle avocado flavor, creating a perfect pairing.
- Bright Citrusy Rice: Fluffy rice with a splash of lime zest adds a refreshing, bright note that cuts through the richness of the beef. Try adding some cilantro for an extra pop!
- Sweet Corn: Sautéed or grilled corn provides a natural sweetness that counterbalances the savory flavors of the wraps, making every mouthful a delight.
- Cool, Creamy Dipping Sauce: A tangy yogurt-based sauce or ranch dressing serves as a wonderful dip that keeps things fun and interactive at the table.
- Spicy Salsa: This zesty condiment could elevate your meal with a bit of heat, offering freshness and adding vibrant color to your plate.
- Chilled Beverages: Pair with iced tea or a refreshing soda to keep the meal light and enjoyable, perfect for those cozy family nights.
Expert Tips for Cheesy Beef Wraps
-
Season Well: Use the right amount of taco seasoning to avoid bland wraps. Following the recipe ensures maximum flavor in your cheesy beef wraps.
-
Tortilla Care: Warming tortillas is key! This prevents cracks when rolling. Don’t skip this step for a smooth wrap experience.
-
Filling Balance: Don’t overload the tortillas. A proper amount of filling makes it easier to roll and prevents spills when toasting.
-
Choose Your Beef: For best flavor, opt for 80/20 ground beef. Leaner options can be dry; choose wisely based on your taste preferences.
-
Experiment with Toppings: Feel free to get creative! Sautéed onions or jalapeños can elevate your cheesy beef wraps into something truly special.
Cheesy Beef Wraps Recipe FAQs
How do I choose the right ground beef for my Cheesy Beef Wraps?
Absolutely! For the best flavor and juiciness, I recommend using 80/20 ground beef. This ratio contains enough fat to keep the wraps moist and flavorful. If you prefer a leaner option, go for 90/10, but keep in mind it may be a bit drier, so extra seasoning might be needed.
What’s the best way to store leftover Cheesy Beef Wraps?
Very good question! Once cooked and cooled, wrap each Cheesy Beef Wrap tightly in foil or plastic wrap, and store them in an airtight container in the refrigerator for up to 3 days. This helps maintain their flavor and prevents them from drying out.
Can I freeze Cheesy Beef Wraps for later?
Absolutely! To freeze, wrap the un-toasted Cheesy Beef Wraps tightly in plastic wrap or foil, ensuring there are no air pockets. They will keep well for up to 2 months. When you’re ready to enjoy them, simply thaw overnight in the fridge and then toast as directed until golden and crunchy.
What should I do if my beef mixture is too watery?
If you find that your beef mixture is too watery after adding the taco seasoning and water, simply continue to simmer on low heat for a few extra minutes until the liquid reduces. Stir frequently, which helps keep it from burning. You want the mixture to be thick enough to hold together inside the wraps once assembled.
Are there any dietary considerations I should keep in mind for Cheesy Beef Wraps?
Great question! If you have dietary restrictions, consider using gluten-free tortillas for a gluten-friendly option. Additionally, if anyone in your household has specific allergies, like dairy, you can substitute cheddar cheese with a dairy-free alternative. Always check labels and ingredient lists for safety.
How can I adjust the heat level in my Cheesy Beef Wraps?
Totally! To customize the spice level, start with just a small amount of taco seasoning and taste the mixture before fully incorporating it. For extra heat, add chopped jalapeños or a few dashes of your favorite hot sauce inside the wraps, or serve with spicy salsa on the side. The more the merrier!

Indulgent Cheesy Beef Wraps Ready in Just 20 Minutes
Ingredients
Equipment
Method
- In a large skillet over medium heat, brown the ground beef for about 5–7 minutes.
- Sprinkle the taco seasoning and add water. Stir and simmer for 3–4 minutes.
- Warm the tortillas in a skillet or microwave to keep them pliable.
- Assemble the wraps by adding the beef mixture and cheese to each tortilla.
- Roll the tortillas tightly, securing the filling inside.
- Toast the wraps in a skillet with olive oil or butter for 2–3 minutes on each side.
- Let the wraps rest for 1 minute, then slice and serve warm.


Leave a Reply