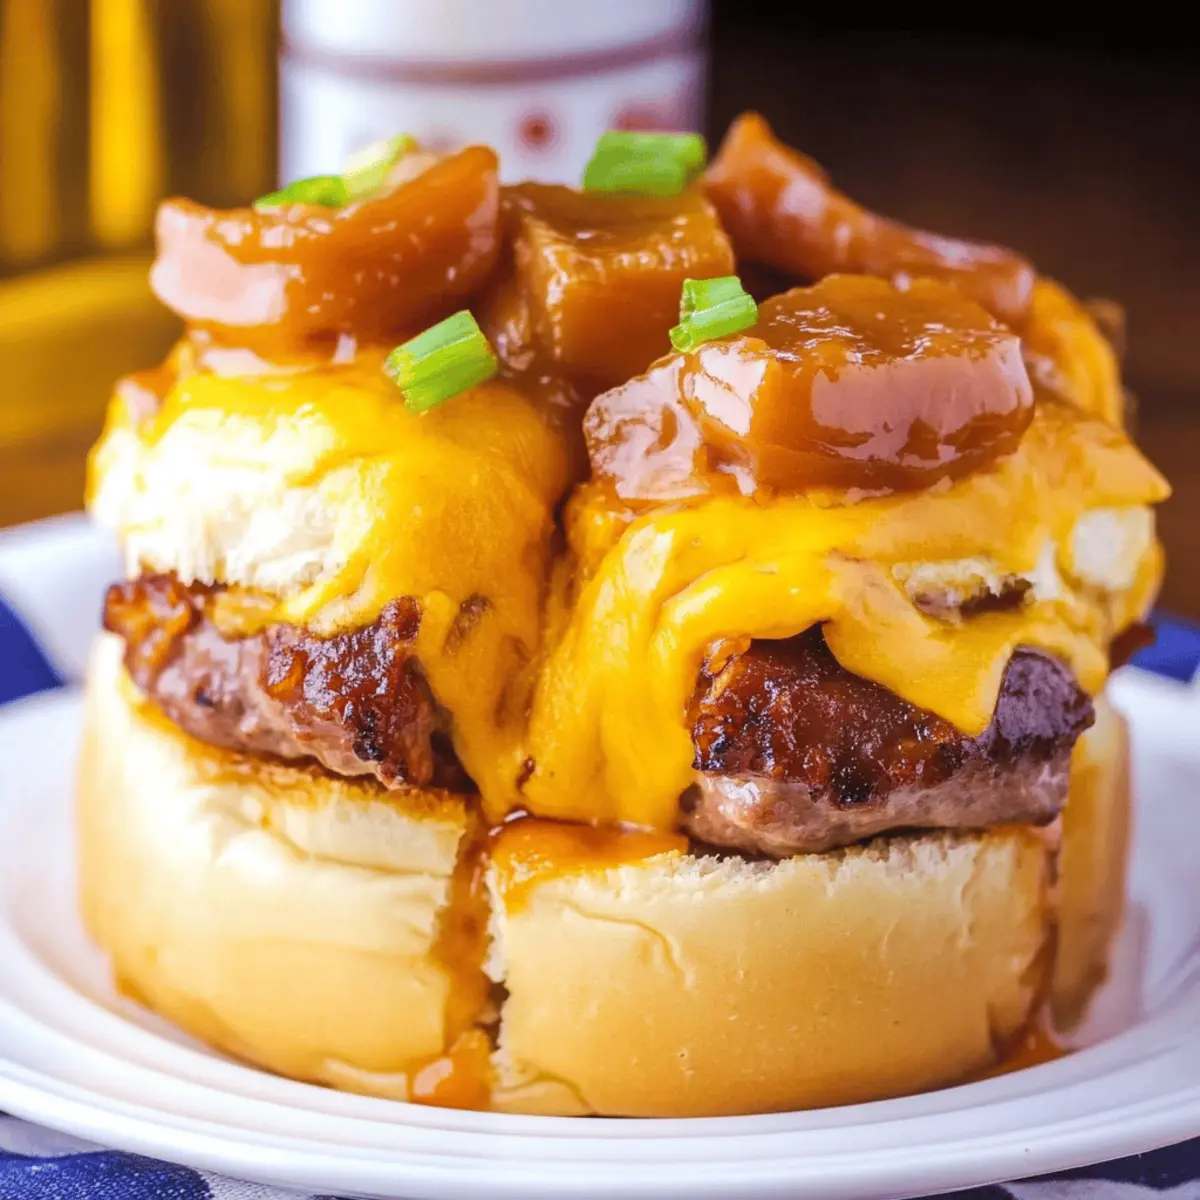
For a moment, I stood frozen in my kitchen, the tantalizing aroma of chili and cheese wafting through the air, igniting a deep craving for comfort food. These Chili Cheese Dog Sliders quickly became a go-to in my home, marrying the nostalgic flavors of beloved hot dogs with a modern twist that’s perfect for gatherings. With just 30 minutes from prep to plate, this recipe is a lifesaver for hectic weeknights or impromptu get-togethers. The tender Hawaiian rolls cradle juicy cocktail sausages and rich chili, topped with melty cheese that will keep your guests coming back for more. A satisfying crowd-pleaser that’s as fun to eat as it is to make, you won’t want to miss out on experiencing these joyful bites. What toppings will you choose to customize your sliders? Let’s dive into the deliciousness!
Why are Chili Cheese Dog Sliders a must-try?
Flavorful Fusion: The delightful blend of chili and cheese transforms each bite into a savory explosion.
Quick and Easy: With just 30 minutes from prep to finish, you can whip up these sliders in no time, making them perfect for busy weeknights.
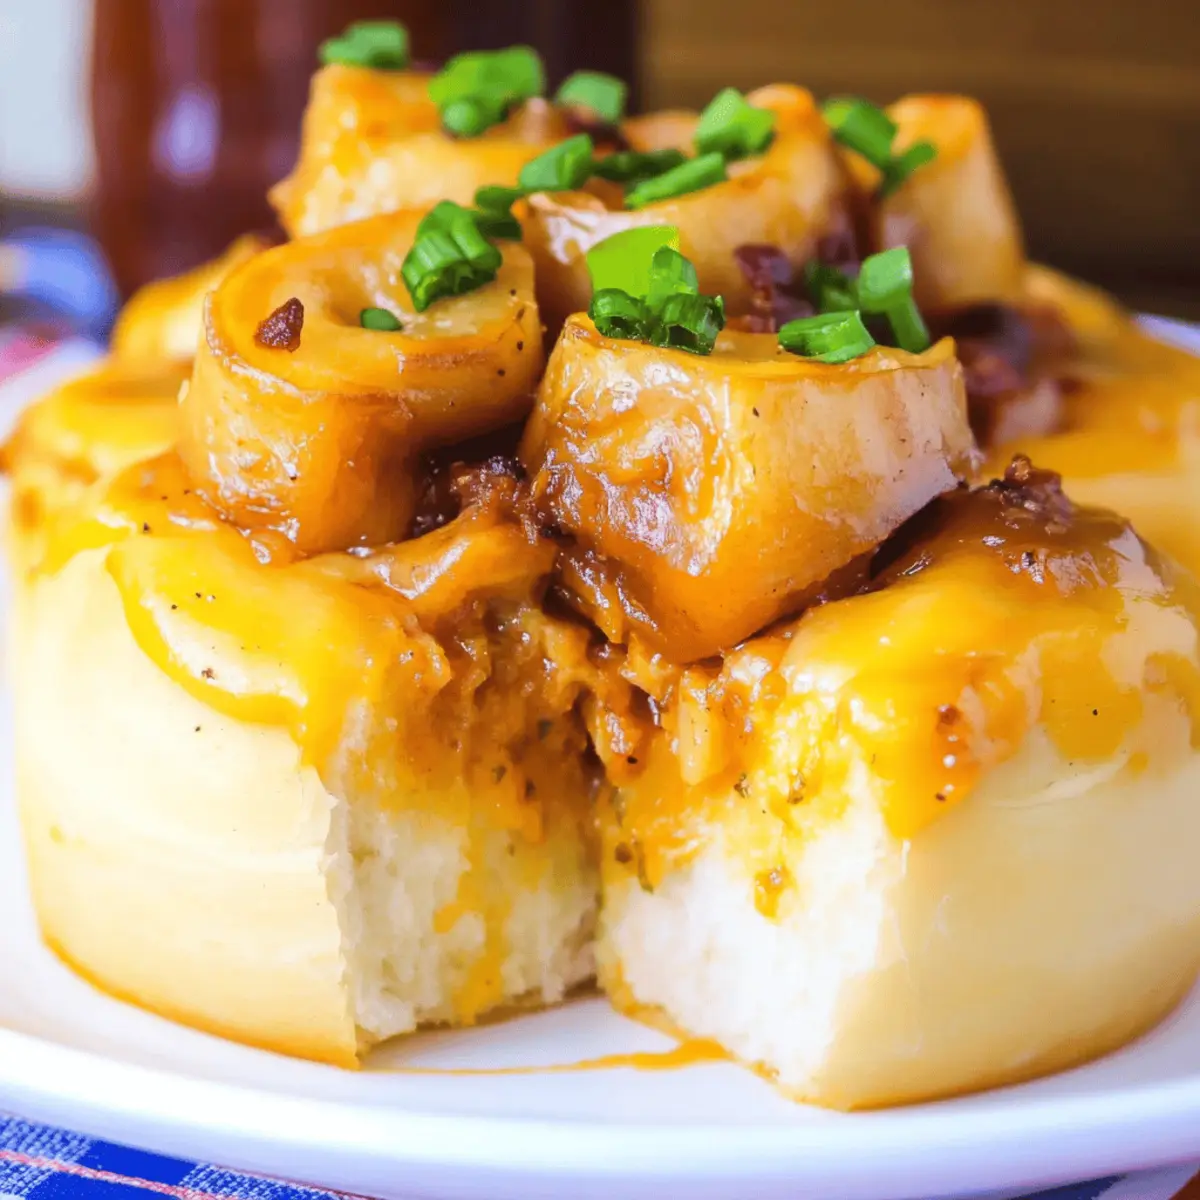
Crowd-Pleasing: Everyone loves comfort food! These sliders are sure to be a hit at parties or game nights, effortlessly feeding a crowd.
Customizable: Whether you prefer classic toppings like onions and mustard or want to get creative, the topping options are endless.
Soft and Cheesy: The Hawaiian rolls, combined with melty cheese, create a texture that’s both tender and satisfying.
Why settle for fast food when you can serve up these delicious Chili Cheese Dog Sliders that are not only quick to prepare but also bursting with flavor? Enjoy every cheesy and chili-filled moment!
Chili Cheese Dog Slider Ingredients
For the Sliders
• 12 count Hawaiian sweet rolls – These sweet rolls provide the perfect soft base for your sliders.
• 3 slices cheddar cheese – Use sharp cheddar for a bolder flavor or swap for your favorite cheese variety.
• 12 cocktail sausages (Lit’l Smokies) – These juicy sausages bring that nostalgic hot dog taste to each bite.
• 15-ounce can chili – Choose your preferred style—beans, no beans, or even spicy hot dog chili for a kick!
For the Topping
• 2 Tablespoons butter – Either salted or unsalted, this adds richness to the sliders.
• 1 teaspoon garlic salt – Elevates the flavor with a perfect garlicky touch.
• 1 teaspoon onion powder – Enhances the overall taste with a subtle onion flavor.
• 1 ½ cups shredded cheddar cheese – More cheese means more melty goodness!
For Customization
• Topping suggestions: white onion, green onions, ketchup, mustard – Get creative with your favorites to make the sliders truly your own.
Crafting these Chili Cheese Dog Sliders means embracing comfort in every delicious bite!
Step‑by‑Step Instructions for Chili Cheese Dog Sliders
Step 1: Preheat and Prepare
Begin by preheating your oven to 350°F (175°C). While the oven warms up, place the 12 count Hawaiian sweet rolls in an ungreased 9×13-inch baking dish, keeping them all together to maintain their shape. This sweet bread will be the perfect cozy cradle for your sliders, so make sure they fit snugly in the dish.
Step 2: Create the Slits
Using a sharp knife, carefully cut a slit into the top of each roll, going about ¾ of the way deep. Be gentle to avoid cutting all the way through, as you want each roll to hold its shape for the Chili Cheese Dog Sliders. This cut will create a lovely pocket for the fillings, ensuring every bite is packed with flavor.
Step 3: Add Cheddar Cheese
Slice the three cheddar cheese pieces into quarters, yielding a total of twelve delightful bits. Place one piece of cheese into each slit you’ve created in the Hawaiian rolls. As the sliders bake, this cheese will melt beautifully, adding a rich, gooey layer to your sliders that perfectly complements the chili and sausages.
Step 4: Insert Sausages and Chili
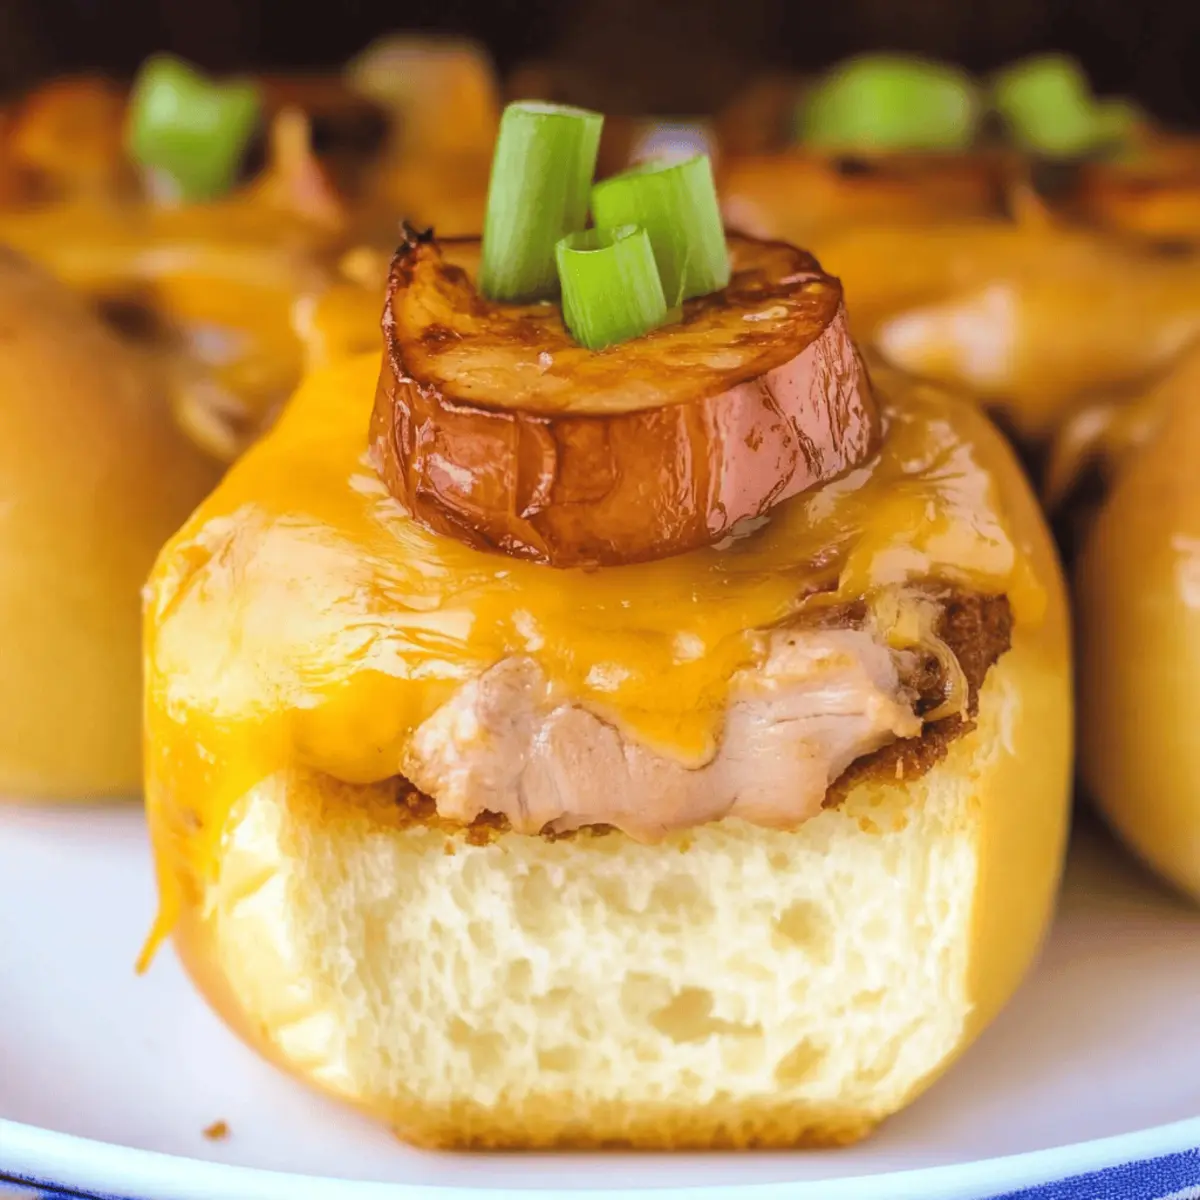
Next, take one cocktail sausage and carefully insert it into each roll, right alongside the cheese piece. After placing the sausages, top them with a spoonful of chili, filling the rolls with savory goodness. For a burst of flavor, ensure that each sausage is generously covered with chili, making your Chili Cheese Dog Sliders even more delicious.
Step 5: Melted Butter Mixture
In a small microwave-safe bowl, melt 2 tablespoons of butter until it's bubbly. Stir in 1 teaspoon of garlic salt and 1 teaspoon of onion powder, blending well to infuse the butter with flavor. This aromatic mixture will add a delightful finish to your sliders, so it’s essential to incorporate it evenly.
Step 6: Brush the Rolls
Using a pastry brush, generously apply the melted butter mixture over the tops of each roll, ensuring that they are beautifully coated. This step not only enhances the flavor but also promotes a lovely golden-brown color during baking. A little bit of this flavor infusion goes a long way in elevating your Chili Cheese Dog Sliders.
Step 7: Add Shredded Cheese
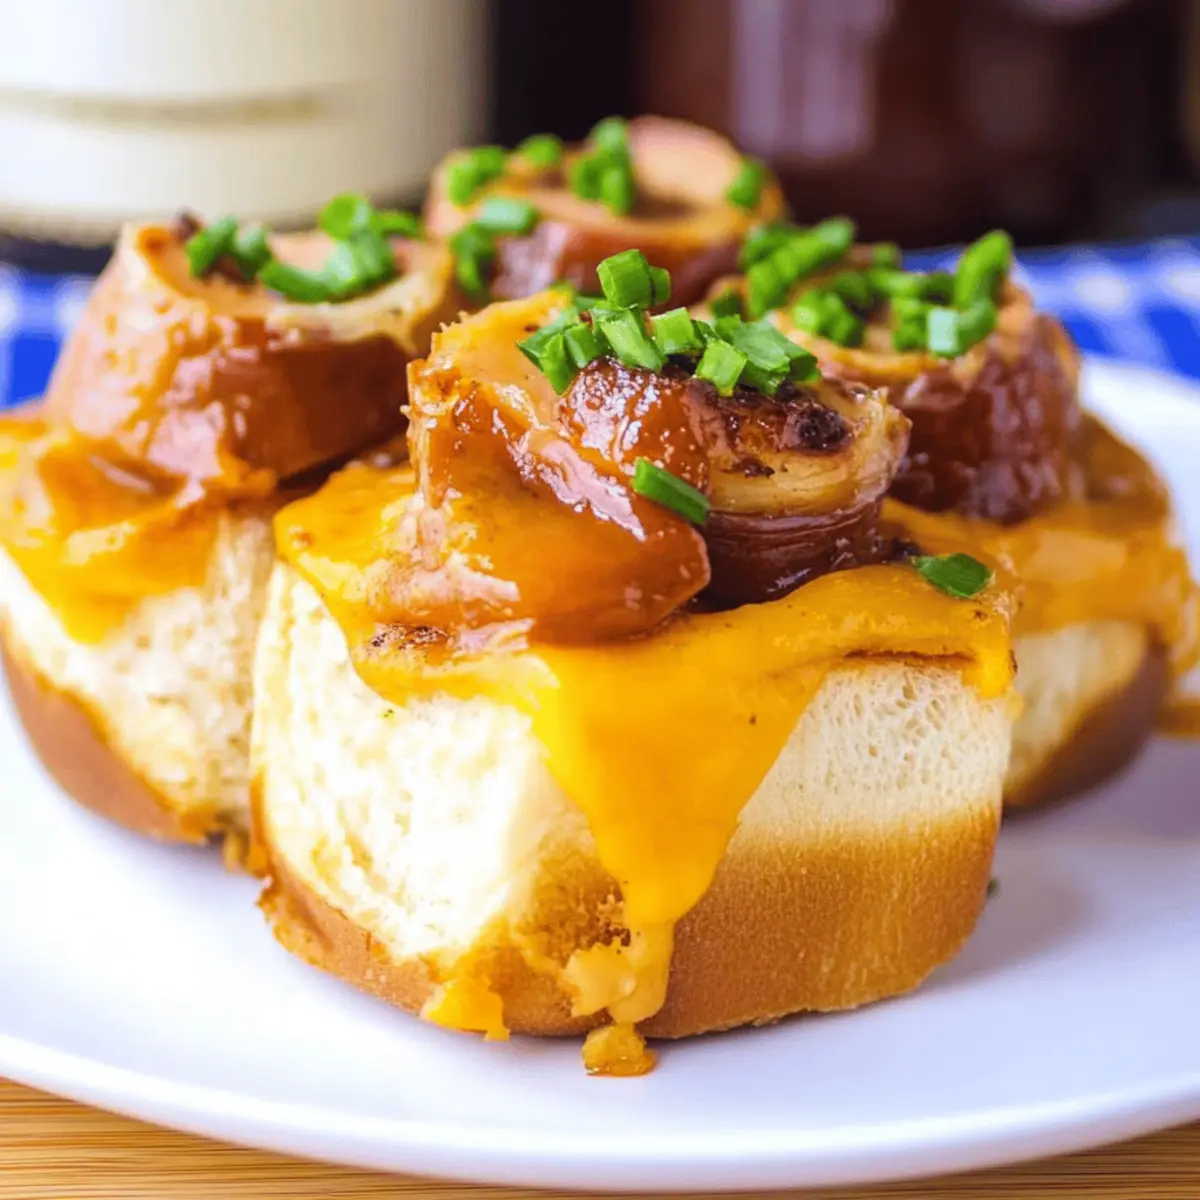
Sprinkle 1 ½ cups of shredded cheddar cheese evenly over the top of the entire arrangement. As the cheese melts and bubbles in the oven, it will create a irresistible cheesy crust, binding all the elements of your Chili Cheese Dog Sliders together in cheesy harmony.
Step 8: Bake to Perfection
Place the baking dish in the preheated oven and bake for 15-20 minutes, or until the tops are golden brown and the cheese is thoroughly melted. Keep an eye on the sliders towards the end of the baking time, so you don’t miss that moment when they transform into bubbly perfection, ready to be devoured.
Step 9: Serve with Toppings
Once out of the oven, allow your Chili Cheese Dog Sliders to cool for a few minutes. Then, customize each slider with your favorite toppings like diced white onion, green onions, ketchup, or mustard. This final touch will add a burst of freshness and flavor, making your sliders a delightful crowd-pleaser at any gathering.
Chili Cheese Dog Sliders Variations & Substitutions
Feel free to explore your culinary creativity with these sliders, turning every bite into a new adventure!
- Vegetarian Option: Swap cocktail sausages for veggie dogs or grilled mushrooms for a hearty alternative that's just as satisfying.
- Spicy Kick: Use spicy chili or add sliced jalapeños for a fiery twist that brings the heat to each slider. Spice lovers will appreciate this bold addition!
- Gluten-Free: Substitute Hawaiian rolls with gluten-free bread or lettuce wraps for a lighter, gluten-friendly option that doesn’t skimp on flavor.
- Cheesy Boost: Experiment with different cheeses like pepper jack, gouda, or even a blend of your favorites for a melting pot of flavors. Cheese lovers rejoice!
- Beans & More: Add canned black beans or kidney beans into the chili for an extra protein punch and a hearty addition to your sliders.
- Toppings Galore: Instead of traditional toppings, try pickled jalapeños, crispy bacon bits, or avocado slices for an exciting flavor profile.
- Herbaceous Touch: Incorporate fresh herbs like cilantro or parsley into the chili for a refreshing brightness that elevates the dish.
- Smoky Flavor: Add a touch of smoked paprika or chipotle powder to the butter mixture, infusing every slider with a subtle smoky goodness.
Get creative and make these Chili Cheese Dog Sliders your own twisted masterpiece!
What to Serve with Chili Cheese Dog Sliders
Pairing these scrumptious bites with the right sides can elevate your meal to a full feast, perfect for any occasion.
-
Crispy French Fries: The golden crunch of fries offers a satisfying contrast to the soft sliders, making every bite an adventure.
-
Coleslaw: Creamy and tangy, coleslaw adds a refreshing crunch that beautifully balances the rich flavors of the chili cheese sliders.
-
Baked Beans: The sweet and smoky flavor of baked beans complements the sliders perfectly, providing hearty satisfaction while adding a touch of tradition.
-
Pickle Chips: These tangy bites can cut through the richness of the sliders, providing a bright and zesty flavor that everyone will love.
-
Cornbread Muffins: Soft and sweet, cornbread muffins are an excellent side, enhancing the comfort food experience with a delightful texture.
-
Refreshing Green Salad: A simple side salad with crisp lettuce, tomatoes, and a light vinaigrette adds freshness to the meal and balances the richness of the sliders.
-
Beer or Root Beer: Pairing with a cold beer or classic root beer enhances the experience, rounding out the flavors of your Chili Cheese Dog Sliders while inviting fun conversation.
Expert Tips for Chili Cheese Dog Sliders
• Use Fresh Rolls: Always use fresh Hawaiian sweet rolls to ensure a soft and pillowy texture that perfectly complements the fillings.
• Even Cheese Distribution: Make sure each slider gets an equal amount of cheese and chili to avoid any uneven melty goodness.
• Don’t Overfill: Avoid overloading each roll with chili, as it may lead to sogginess. A spoonful is just right for perfect balance!
• Watch the Bake Time: Keep an eye on the sliders as they bake. Remove them once they’re golden brown to prevent burning while ensuring optimal meltiness of cheese.
• Let Them Rest: Let the Chili Cheese Dog Sliders sit for a few minutes before serving. This helps the flavors meld together and makes for easier serving.
How to Store and Freeze Chili Cheese Dog Sliders
Room Temperature: Store leftover Chili Cheese Dog Sliders in an airtight container for up to 2 hours after baking to maintain freshness.
Fridge: Place any uneaten sliders in the fridge in an airtight container for up to 3 days. Reheat in the microwave or oven until warm.
Freezer: Wrap the sliders tightly in plastic wrap and then foil, or use a freezer-safe container for up to 2 months. Thaw overnight in the fridge before reheating.
Reheating: For best results, reheat in the oven at 350°F (175°C) for about 10-15 minutes, or until cheese is melted and bubbly.
Make Ahead Options
These Chili Cheese Dog Sliders are perfect for busy home cooks looking to save time! You can prepare the sliders up to 24 hours in advance by assembling them through Step 6 (brushing the melted butter mixture on top) and then cover them tightly with plastic wrap in the refrigerator. This allows the flavors to meld. When you're ready to bake, simply remove the wrap and sprinkle on the shredded cheese before popping them into a preheated oven at 350°F (175°C) for about 15-20 minutes until golden and bubbly. By prepping ahead, you'll ensure delicious, quick meals with minimal effort—ideal for weeknight dinners or gatherings!
Chili Cheese Dog Sliders Recipe FAQs
How do I select the best chili for my Chili Cheese Dog Sliders?
Absolutely! When choosing chili, go for the type that excites your taste buds. If you're a fan of spice, pick a spicy hot dog chili; if you prefer milder flavors, a regular chili (with or without beans) works wonders. Personally, I love the richness of a no-bean chili paired with the toppings.
How should I store leftover Chili Cheese Dog Sliders?
Very! Leftover sliders can be stored in an airtight container in the fridge for up to 3 days. Just let them cool to room temperature before storing to maintain their quality. When you're ready to enjoy them again, you can easily reheat them in the oven or microwave.
Can I freeze Chili Cheese Dog Sliders?
Absolutely! To freeze, wrap the sliders tightly in plastic wrap, then in aluminum foil, or place them in a freezer-safe container. They will stay fresh for up to 2 months. When you're ready to enjoy them, just thaw overnight in the fridge and reheat as directed for best results.
What if my rolls are too soggy after baking?
It happens! To avoid soggy rolls, make sure not to overload them with chili—just a spoonful is perfect. Additionally, letting the sliders rest for a few minutes after baking allows steam to escape, reducing any excess moisture. If the problem persists, you can also try baking them a few additional minutes to firm them up!
Are there any dietary considerations for Chili Cheese Dog Sliders?
Definitely! If you're preparing these for kids or guests with allergies, be cautious about the sausages and cheese. Opt for gluten-free rolls and check labels for any potential allergens in the chili and cheese. You can also customize with plant-based sausages and dairy-free cheese alternatives to accommodate different diets!
How long can I keep the Chili Cheese Dog Sliders at room temperature?
Perfect question! These sliders should ideally be eaten within 2 hours of baking if left at room temperature. After that, I recommend refrigerating any leftovers to keep them safe and still delicious. Enjoy every cheesy, chili-filled moment!
Irresistible Chili Cheese Dog Sliders for Your Next Feast
Ingredients
Equipment
Method
- Preheat your oven to 350°F (175°C) and prepare an ungreased 9×13-inch baking dish with the Hawaiian rolls.
- Carefully cut a slit into the top of each roll, about ¾ of the way deep.
- Slice the cheddar cheese into quarters and place one piece into each slit in the Hawaiian rolls.
- Insert one cocktail sausage into each roll alongside the cheese, then top with a spoonful of chili.
- Melt 2 tablespoons of butter in a microwave-safe bowl and stir in garlic salt and onion powder.
- Brush the melted butter mixture over the tops of each roll.
- Sprinkle 1 ½ cups of shredded cheddar cheese over the top of the sliders.
- Bake for 15-20 minutes until golden brown and cheese is melted.
- Allow to cool slightly before serving with desired toppings.


Leave a Reply