"Have you ever found yourself indulging in a sweet treat and wished you could recreate that joy at home? With these Mini Oreo Cheesecakes, you can! This delightful dessert combines the iconic taste of Oreo cookies with creamy cheesecake goodness, making it a simple yet impressive option for any gathering. In just about 15 minutes of prep time, you can whip up these bite-sized wonders that are not only a crowd-pleaser but also perfect for satisfying that late-night sweet tooth. Whether you're hosting a party or just want to pamper yourself, these little cheesecakes offer a fun twist on traditional desserts. So, are you ready to give your taste buds a reason to celebrate? Let’s dive into this delicious recipe!"
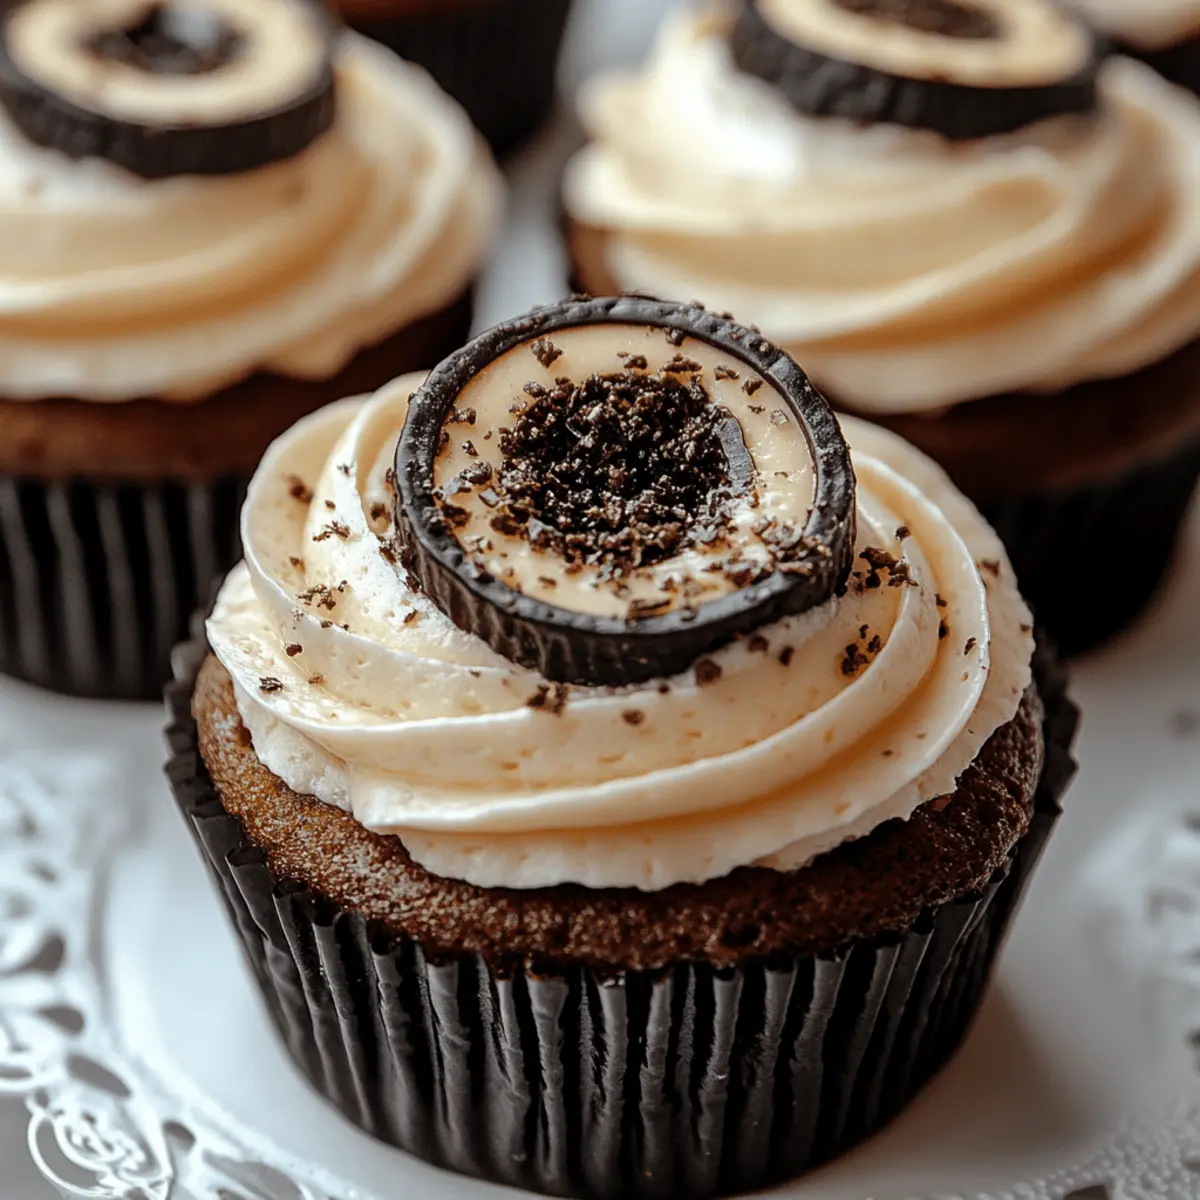
Why Are Mini Oreo Cheesecakes So Irresistible?
Bite-Sized Bliss: These Mini Oreo Cheesecakes are perfectly portioned for a satisfying sweet without going overboard.
Easy Preparation: With just 15 minutes of prep time, you can whip these treats up in a flash!
Ultimate Flavor Fusion: The rich cheesecake pairs beautifully with the beloved chocolatey crunch of Oreos, making each bite heavenly.
Versatile Toppings: Customize your indulgence with crushed cookies, whipped cream, or even a drizzle of chocolate sauce for extra flair!
Perfect for Any Occasion: Whether it’s a birthday party, family gathering, or a cozy night in, these cheesecakes will impress everyone.
Crowd-Pleasing Simplicity: You’ll win over family and friends with this easy, delicious dessert that will have them cheering for more!
Mini Oreo Cheesecake Ingredients
For the Crust
• Oreo cookies – crush them finely for a sturdy base.
• Melted butter – helps bind the crust together for that satisfying crunch.
For the Filling
• Cream cheese – use softened cream cheese for a smooth and creamy texture.
• Granulated sugar – sweetens the filling to balance the rich flavors.
• Sour cream – adds a delightful tanginess to the cheesecake mixture.
• Vanilla extract – enhances the flavor profile with a warm, comforting taste.
• Large egg – helps bind the filling and provides the perfect creamy consistency.
Feel free to get creative with extra toppings or mix-ins to personalize your Mini Oreo Cheesecakes!
Step‑by‑Step Instructions for Mini Oreo Cheesecakes
Step 1: Preheat the Oven
Begin by preheating your oven to 325°F (163°C). This temperature is perfect for baking the creamy filling of your Mini Oreo Cheesecakes. As the oven warms up, prepare your mini muffin pan by lining it with paper liners to make removing the cheesecakes a breeze once they’re baked.
Step 2: Make the Crust
In a mixing bowl, combine 24 crushed Oreo cookies with 4 tablespoons of melted butter. Stir until the mixture resembles wet sand. Next, evenly press the cookie mixture into the bottoms of each muffin liner, forming a solid crust. Aim for a compact base that will support the cheesecake filling while adding a delightful crunch.
Step 3: Prepare the Cheesecake Filling
Using a hand mixer or stand mixer, beat 16 ounces of softened cream cheese in a large bowl until it’s smooth and creamy. Gradually add in ¼ cup of granulated sugar, ¼ cup of sour cream, and 1 teaspoon of vanilla extract. Mix until fully combined before adding 1 large egg, blending until the filling is luscious and free of lumps.
Step 4: Fill the Crusts
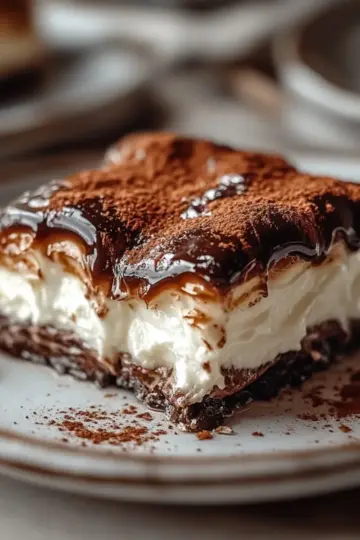
Spoon the creamy cheesecake filling over each Oreo crust, filling the muffin cups nearly to the top. Be careful not to overfill, as the filling will puff slightly during baking. Each cup should showcase that beautiful contrast between the dark crust and light filling of your Mini Oreo Cheesecakes.
Step 5: Bake to Perfection
Place the muffin pan in your preheated oven and bake for 15-18 minutes. Watch closely for the centers; they should be slightly jiggly but set when done. Once baked, remove the pan from the oven, and let it cool to room temperature before moving on to the next step.
Step 6: Cool and Chill
After the cheesecakes have cooled completely, transfer them to the refrigerator. Allow them to chill for at least 3 hours, or overnight if possible. This chilling time is crucial for the Mini Oreo Cheesecakes to firm up and achieve their signature creamy texture, making them even more delightful to enjoy.
Step 7: Serve with Style
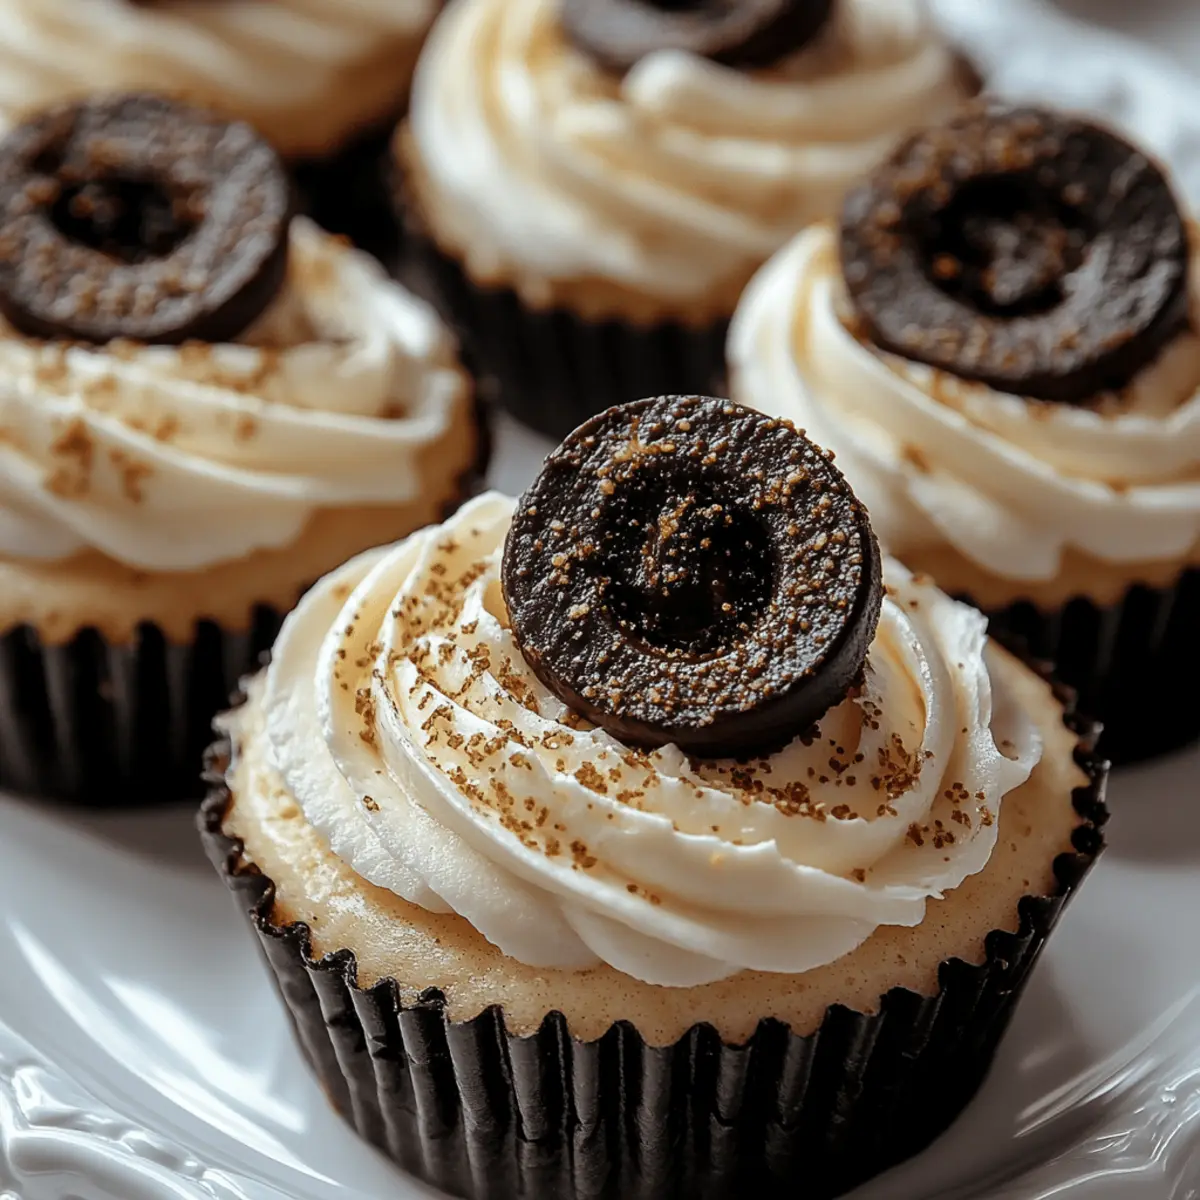
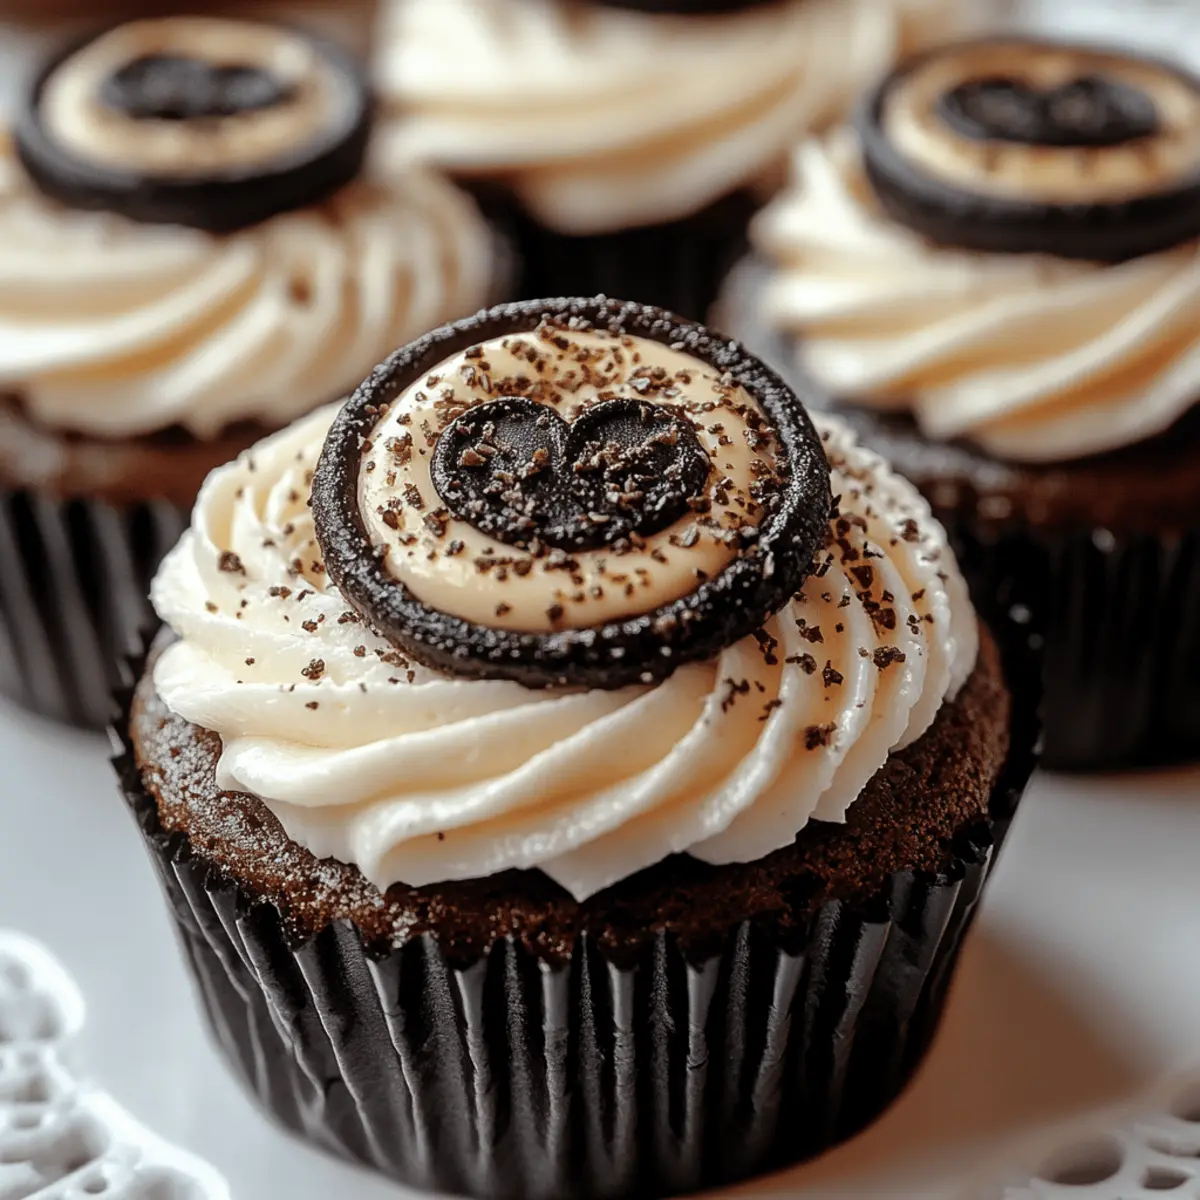
When you’re ready to serve, top the Mini Oreo Cheesecakes with crushed Oreo cookies, a dollop of whipped cream, or a drizzle of chocolate sauce to elevate their presentation. These simple additions will complement the rich flavors and make every bite a real treat!
What to Serve with Mini Oreo Cheesecakes
Looking to create a delightful experience that complements these creamy treats?
- Fresh Berries: The tartness of strawberries or raspberries cuts through the richness, adding brightness and a pop of color to your plate.
- Vanilla Ice Cream: A scoop of velvety vanilla ice cream pairs beautifully, creating a warm and cool contrast with every bite.
- Chocolate Drizzle: Elevate your cheesecakes by drizzling melted chocolate over the top for a rich, decadent touch that will make them even more indulgent.
- Whipped Cream: Light and airy, fresh whipped cream balances the density of the cheesecake, creating a heavenly mouthful that melts away.
- Coffee or Espresso: Serve alongside a cup of freshly brewed coffee to enhance the chocolate flavors and provide a cozy, comforting pairing.
- Mint Chocolate Chip Milkshake: For a fun twist, this creamy, minty beverage adds a playful touch and a refreshing contrast to each bite of cheesecake.
- Cocoa Powder Dusting: A light dusting of cocoa powder adds a subtle chocolatey element and enhances the dessert’s presentation with a touch of elegance.
- Fruit Salad: A refreshing mix of seasonal fruits can cleanse the palate, rounding out your dessert experience with freshness and zest.
- Chocolate-Covered Strawberries: Luxurious and appealing, these sweet bites complement the Oreos, adding another layer of decadence to your dessert table.
Make Ahead Options
These Mini Oreo Cheesecakes are a fantastic option for meal prep, saving you time in the kitchen! You can prepare the crust and filling the night before, storing them separately in the refrigerator, while the crust can stay fresh for up to 3 days. Simply press the crust into the muffin pan, make the filling, and refrigerate overnight, ensuring the best texture. When you're ready to bake, just spoon the filling onto the crusts, and follow the baking instructions as usual. This method ensures the cheesecakes turn out just as delicious, providing a delightful dessert with minimal effort on the day of serving!
Expert Tips for Mini Oreo Cheesecakes
Crust Perfection: Ensure the cookie mixture is packed tightly into the bottom of the muffin cups for a sturdy base that holds the filling.
No Overmixing: When combining the cheesecake ingredients, mix just until smooth. Overmixing can lead to cracks during baking.
Watch the Bake Time: Keep a close eye on your cheesecakes as they bake; slight jiggles in the center are perfect. Avoid overbaking to keep them creamy!
Cooling Duration: Allow your Mini Oreo Cheesecakes to cool completely at room temperature before refrigerating to ensure they set properly without excess moisture.
Topping Variety: Feel free to get creative! Add toppings like fresh fruit or nuts along with crushed Oreos for a fun twist on these classic treats.
Mini Oreo Cheesecakes Variations
Feel free to add your own personal touch to these delightful bites!
-
Dairy-Free: Swap cream cheese for a dairy-free alternative like cashew cream or coconut cream for a creamy base.
Try using coconut whipped cream as a topping for that tropical twist! -
Gluten-Free: Use gluten-free Oreo cookies to make this treat suitable for gluten-sensitive friends.
It's just as indulgent and delicious, without sacrificing the classic flavor! -
Chocolate Lovers: Incorporate ¼ cup of cocoa powder into the cheesecake filling for an extra chocolaty flavor.
This addition makes each bite even more decadent and rich! -
Fruit Infusion: Add ½ cup of pureed strawberries or raspberries to the cheesecake mixture for a fruity twist.
It creates a lovely contrast with the Oreo crust, bursting with fresh flavor! -
Nutty Crunch: Mix in ½ cup of finely chopped nuts like pecans or almonds into the crust for additional texture.
This creates a delightful crunch, elevating each bite to new heights! -
Spice It Up: For a warm flavor profile, add a pinch of cinnamon or nutmeg to the cheesecake mixture.
These spices perfectly complement the chocolate flavors, providing a cozy touch. -
Mini Pumpkin Cheesecakes: Substitute ½ cup of sour cream with pumpkin puree for a seasonal variation.
Top with a sprinkle of cinnamon for a perfect fall-inspired dessert! -
Caramel Drizzle: Drizzle warm caramel sauce over the chilled cheesecakes for an indulgent finish.
It adds a rich, sweet layer that’s simply irresistible!
How to Store and Freeze Mini Oreo Cheesecakes
Fridge: Keep leftover Mini Oreo Cheesecakes covered in an airtight container in the refrigerator for up to 3-4 days to maintain their creamy texture and deliciousness.
Freezer: For longer storage, place them in a single layer on a baking sheet to freeze first. After they're solid, transfer to a freezer bag for up to 2 months.
Thawing: When ready to enjoy, thaw the cheesecakes overnight in the fridge. This gentle thawing method ensures they remain perfectly creamy.
Serving After Freezing: To serve, you can enjoy them chilled straight from the fridge or let them sit at room temperature for a few minutes for extra creaminess.
Mini Oreo Cheesecakes Recipe FAQs
How do I select the best Oreos for this recipe?
Absolutely! When choosing Oreos, look for fresh packages without any dark spots or staleness. Opt for regular Oreos unless you’re aiming for something gluten-free; in that case, gluten-free Oreos work wonderfully!
How should I store Mini Oreo Cheesecakes after baking?
Very important! Keep your leftover Mini Oreo Cheesecakes covered in an airtight container in the refrigerator for up to 3-4 days. This helps to preserve their creamy texture and delightful flavor.
Can I freeze Mini Oreo Cheesecakes, and if so, how?
Yes, you can! To freeze, first lay your Mini Oreo Cheesecakes in a single layer on a baking sheet and freeze them until solid, about 2-3 hours. Once frozen, transfer them to a freezer bag, sealing it well. They will keep for up to 2 months. When ready to enjoy, let them thaw overnight in the fridge for the best texture.
What should I do if my cheesecake filling is too thick?
If you find the cheesecake filling too thick during mixing, no worries! You can add a tablespoon of sour cream or milk to the mixture. Blend it gently until you achieve that smooth, creamy consistency you want—this can help prevent cracks when baking as well.
Can I use substitutions for the ingredients to accommodate allergies?
Definitely! You can use non-dairy cream cheese for a dairy-free version, and if you or your guests have gluten allergies, just swap regular Oreos for gluten-free Oreos. For a vegan option, replace eggs with flaxseed meal (1 tablespoon flaxseed meal mixed with 2.5 tablespoons water) and increase the baking time slightly to ensure they set well.
How can I tell when my mini cheesecakes are done baking?
Look for a slight jiggle in the center when baking—perfect! They should be set around the edges but remain a little wobbly in the middle. This indicates they'll firm up nicely as they cool and chill afterward.
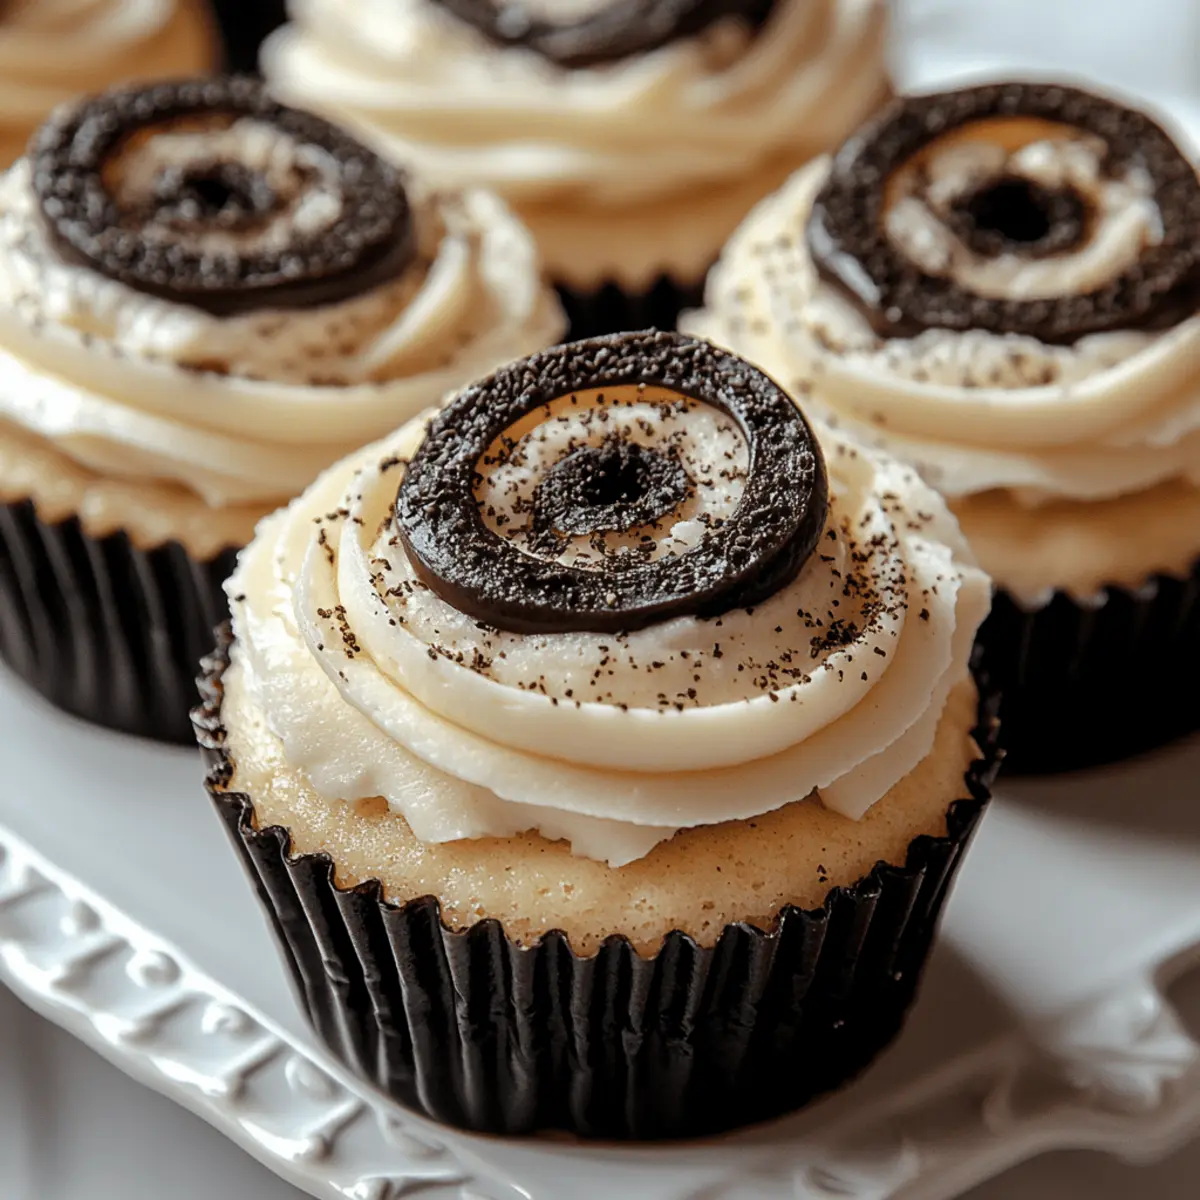
Decadent Mini Oreo Cheesecakes for Sweet Indulgence
Ingredients
Equipment
Method
- Preheat the oven to 325°F (163°C) and prepare the mini muffin pan with liners.
- In a mixing bowl, combine 24 crushed Oreo cookies with 4 tablespoons of melted butter and press into the muffin liners to form the crust.
- Beat 16 ounces of softened cream cheese until smooth, then add ¼ cup granulated sugar, ¼ cup sour cream, and 1 teaspoon vanilla extract; mix until combined. Add 1 large egg and blend.
- Spoon the cheesecake filling over each crust, filling nearly to the top.
- Bake for 15-18 minutes until the centers are slightly jiggly but set. Cool to room temperature.
- Chill in the refrigerator for at least 3 hours before serving.
- Top with crushed Oreos, whipped cream, or chocolate sauce before serving.

Leave a Reply